
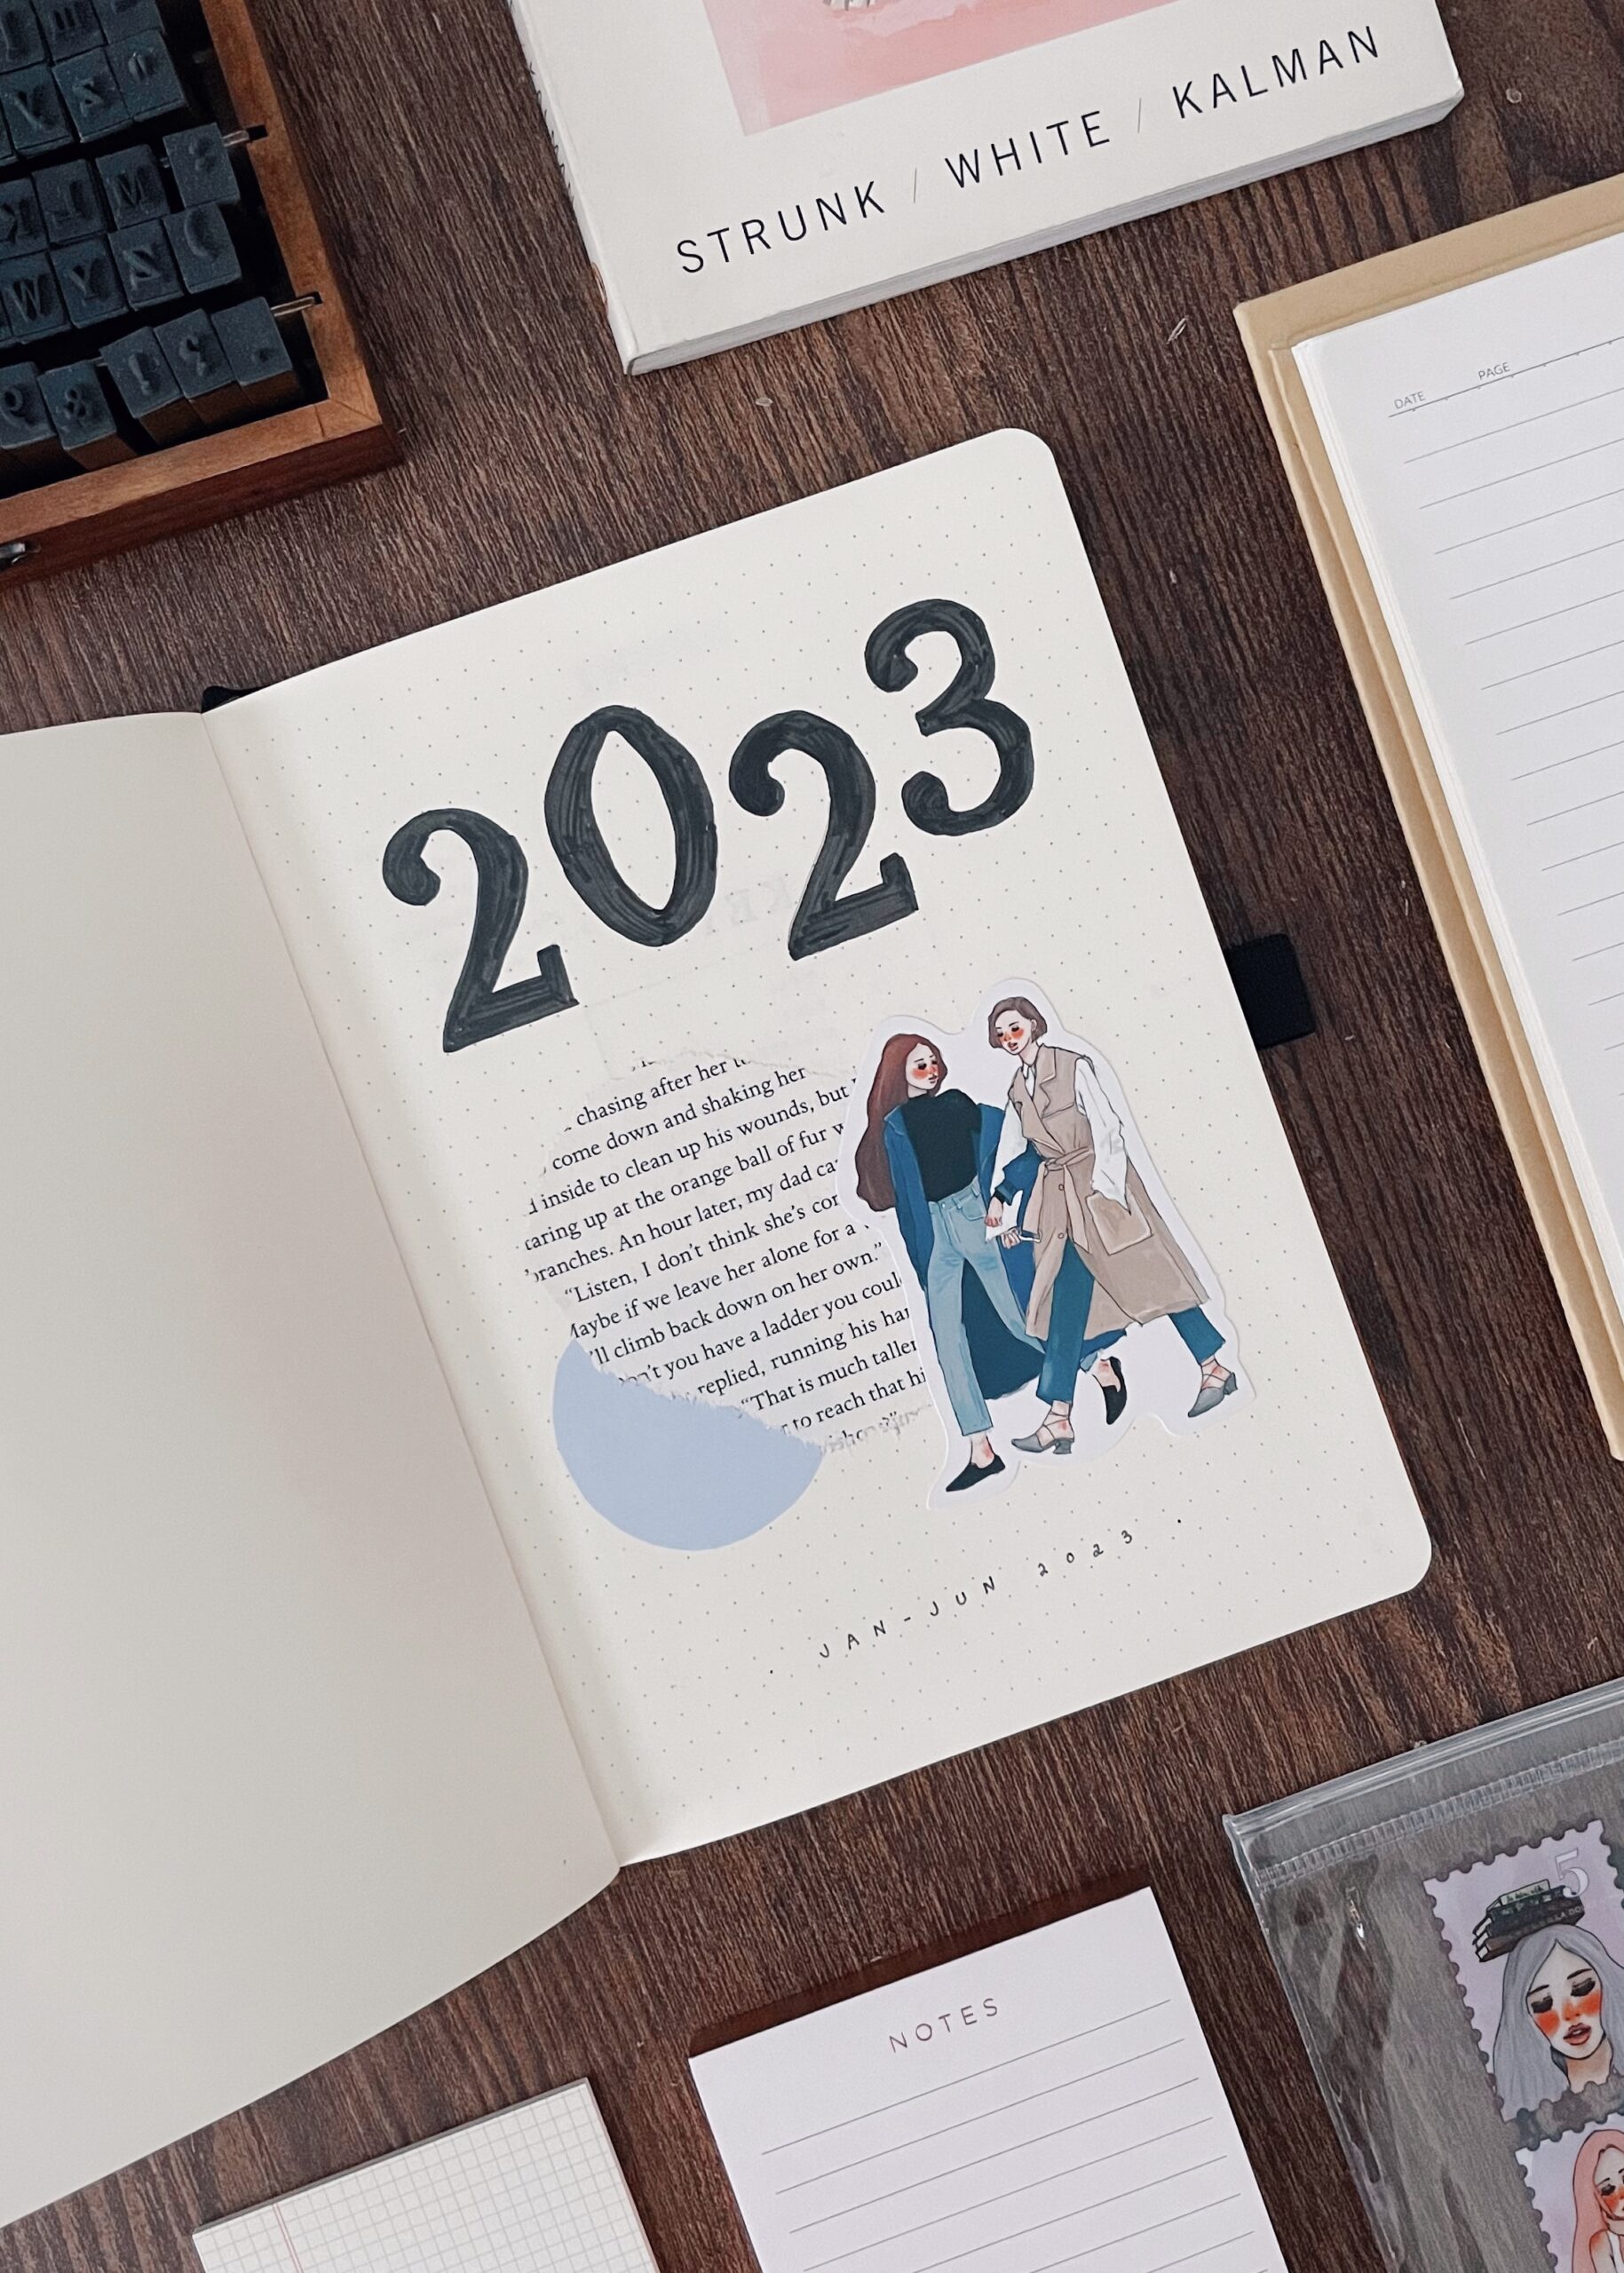
One of my favorite things about the new year is choosing, setting up, and living in my new bullet journal. As someone who has been bullet journaling since 2018, it is a ritual I heavily and happily rely on.
There has been so much growth in my bullet journal method over the years, and each time I set up a new one, I feel even more confident in my process than before. This year is no exception. I’ve grown so much from my days of painstakingly setting up “aesthetic” planner-style weekly spreads (2018) to clean, minimal, functional spreads that give me more freedom and flexibility—and still look great.
If you’ve been wanting to start bullet journaling but feel overwhelmed with expectations, or if you’re simply looking for some inspiration, then this minimal setup might be perfect for you.
First, the Notebook
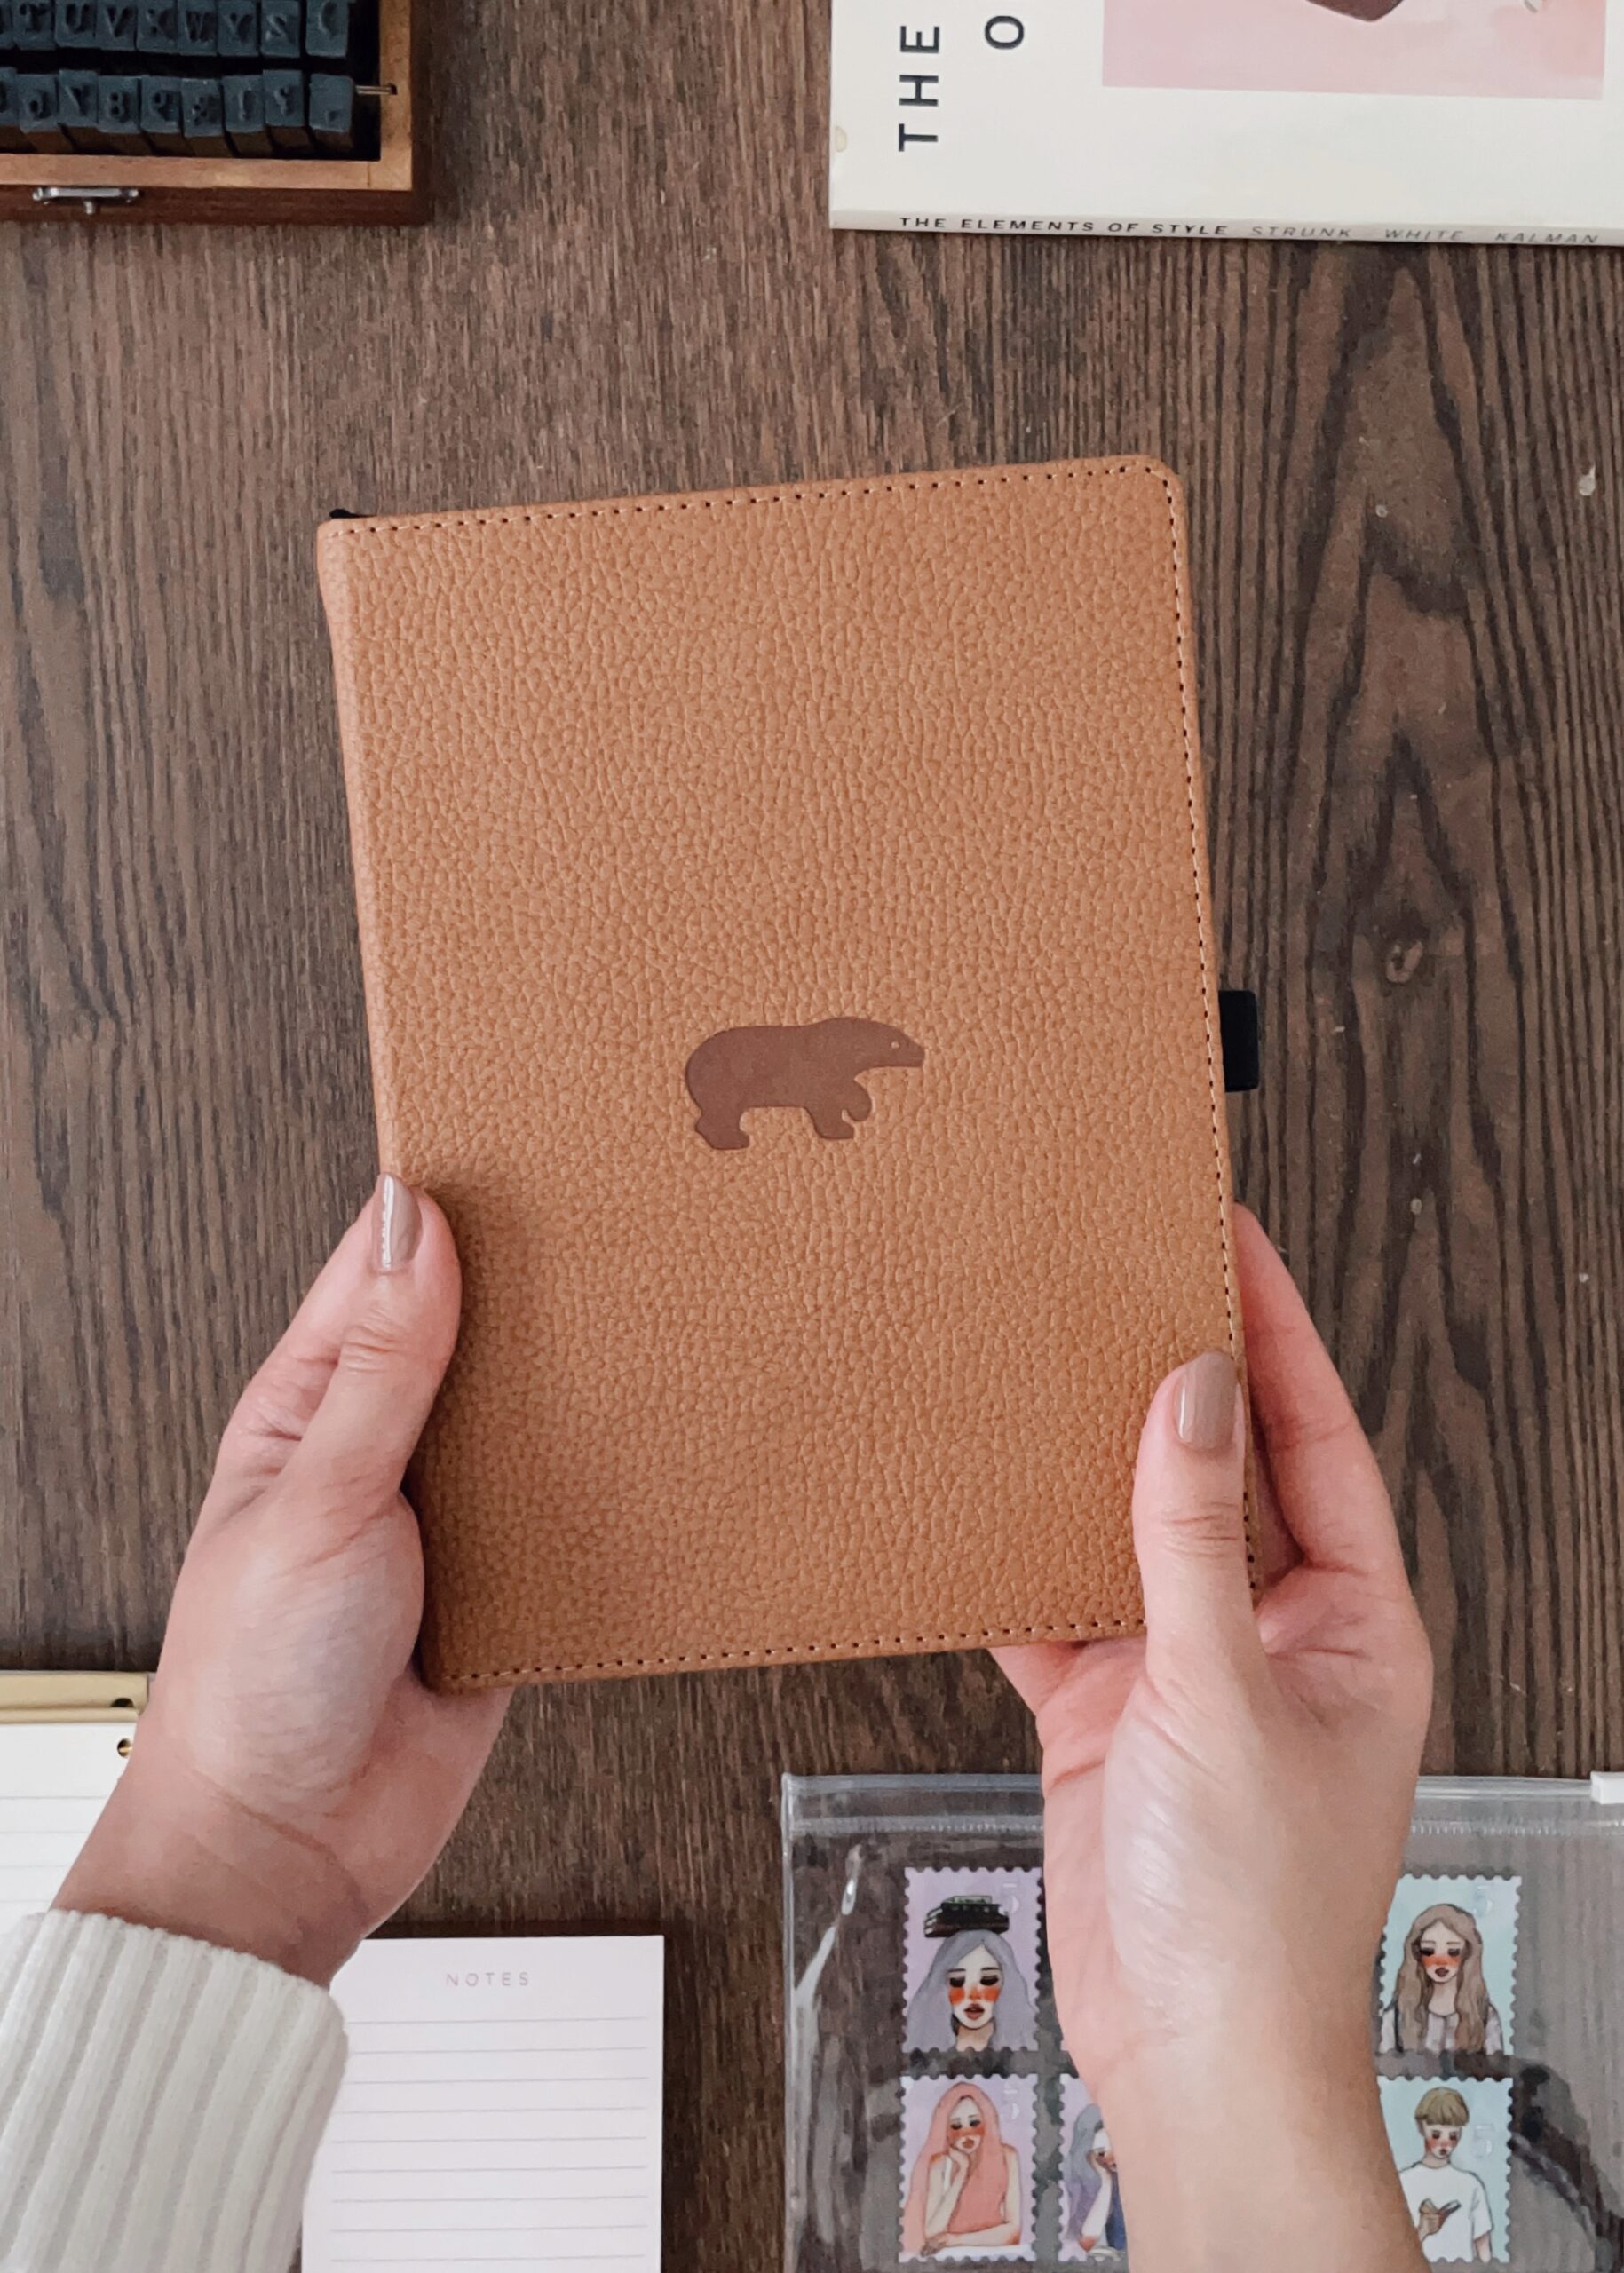
This year, I am comfortably back in my sixth A5+ Dingbats notebook in the shade Bear. This is my third time buying this particular notebook because it is my favorite (and I’ve tried a LOT). The pages are cream (so it’s easier on the eyes) and 100gsm, which I’ve discovered is my favorite paper weight. I’ve tried 120gsm and the pages start to feel a little too stiff for me (I don’t know HOW people use 150gsm if you aren’t, like, painting), so 100 it is.
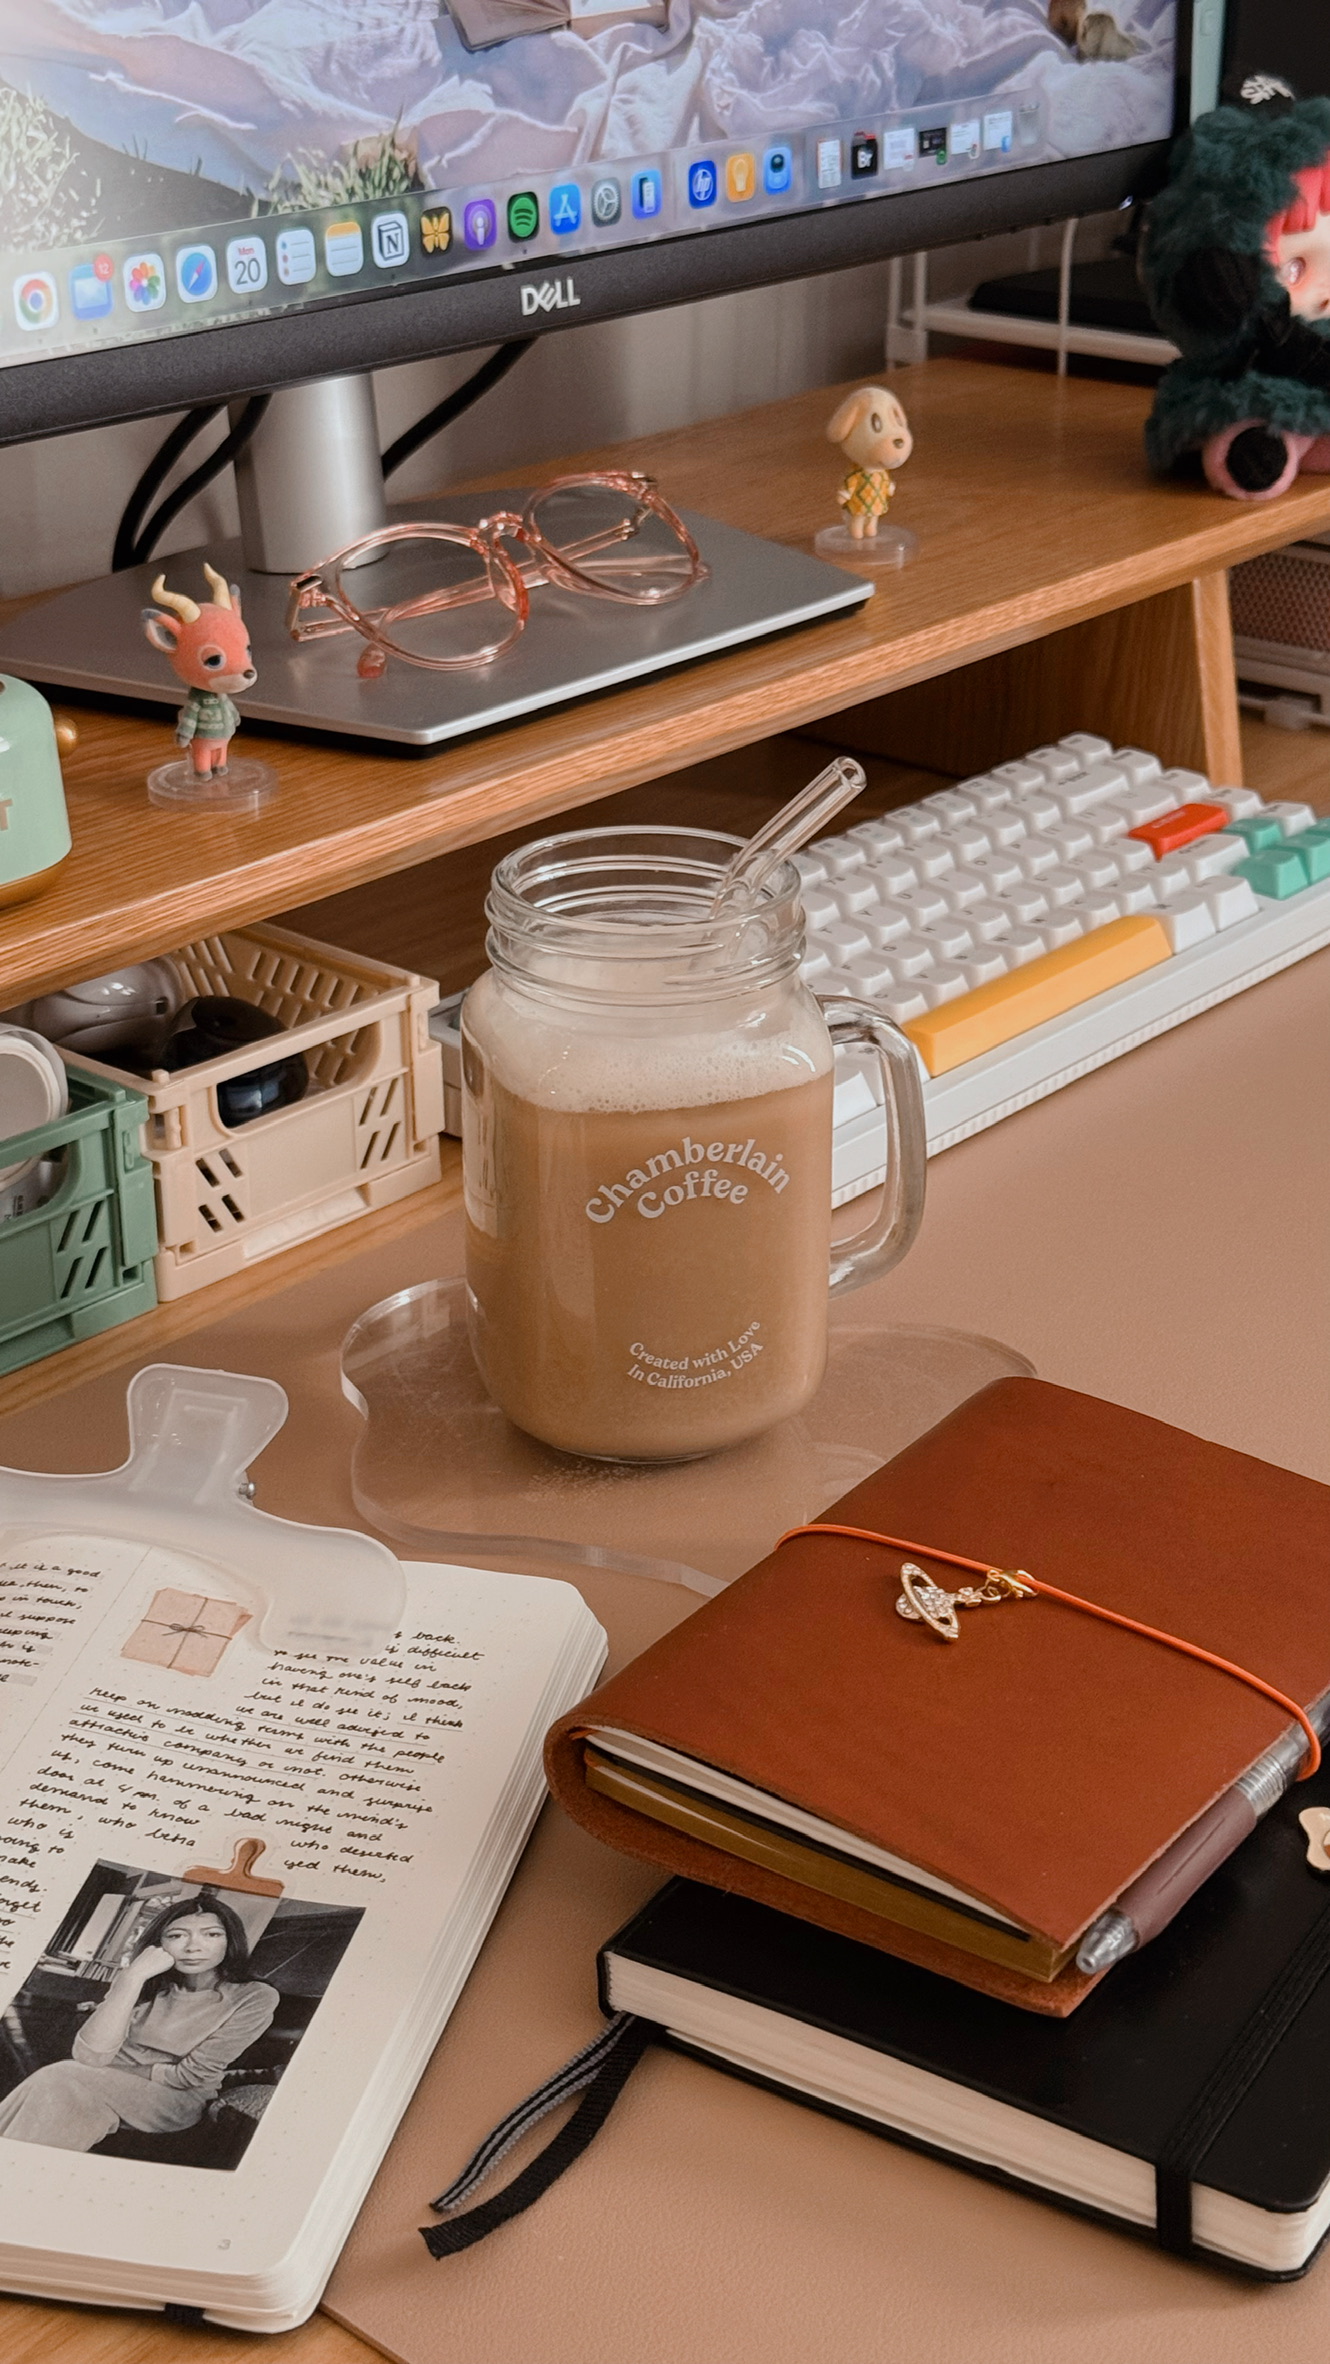
I also love the debossed animal on the buttery-soft, vegan cover. It adds such a charming touch. Plus, this notebook lays flat, which is great because I like to have my notebooks open on my desk. For more reasons why I love these notebooks, check out my Instagram Reel about my collection.
The Title Page
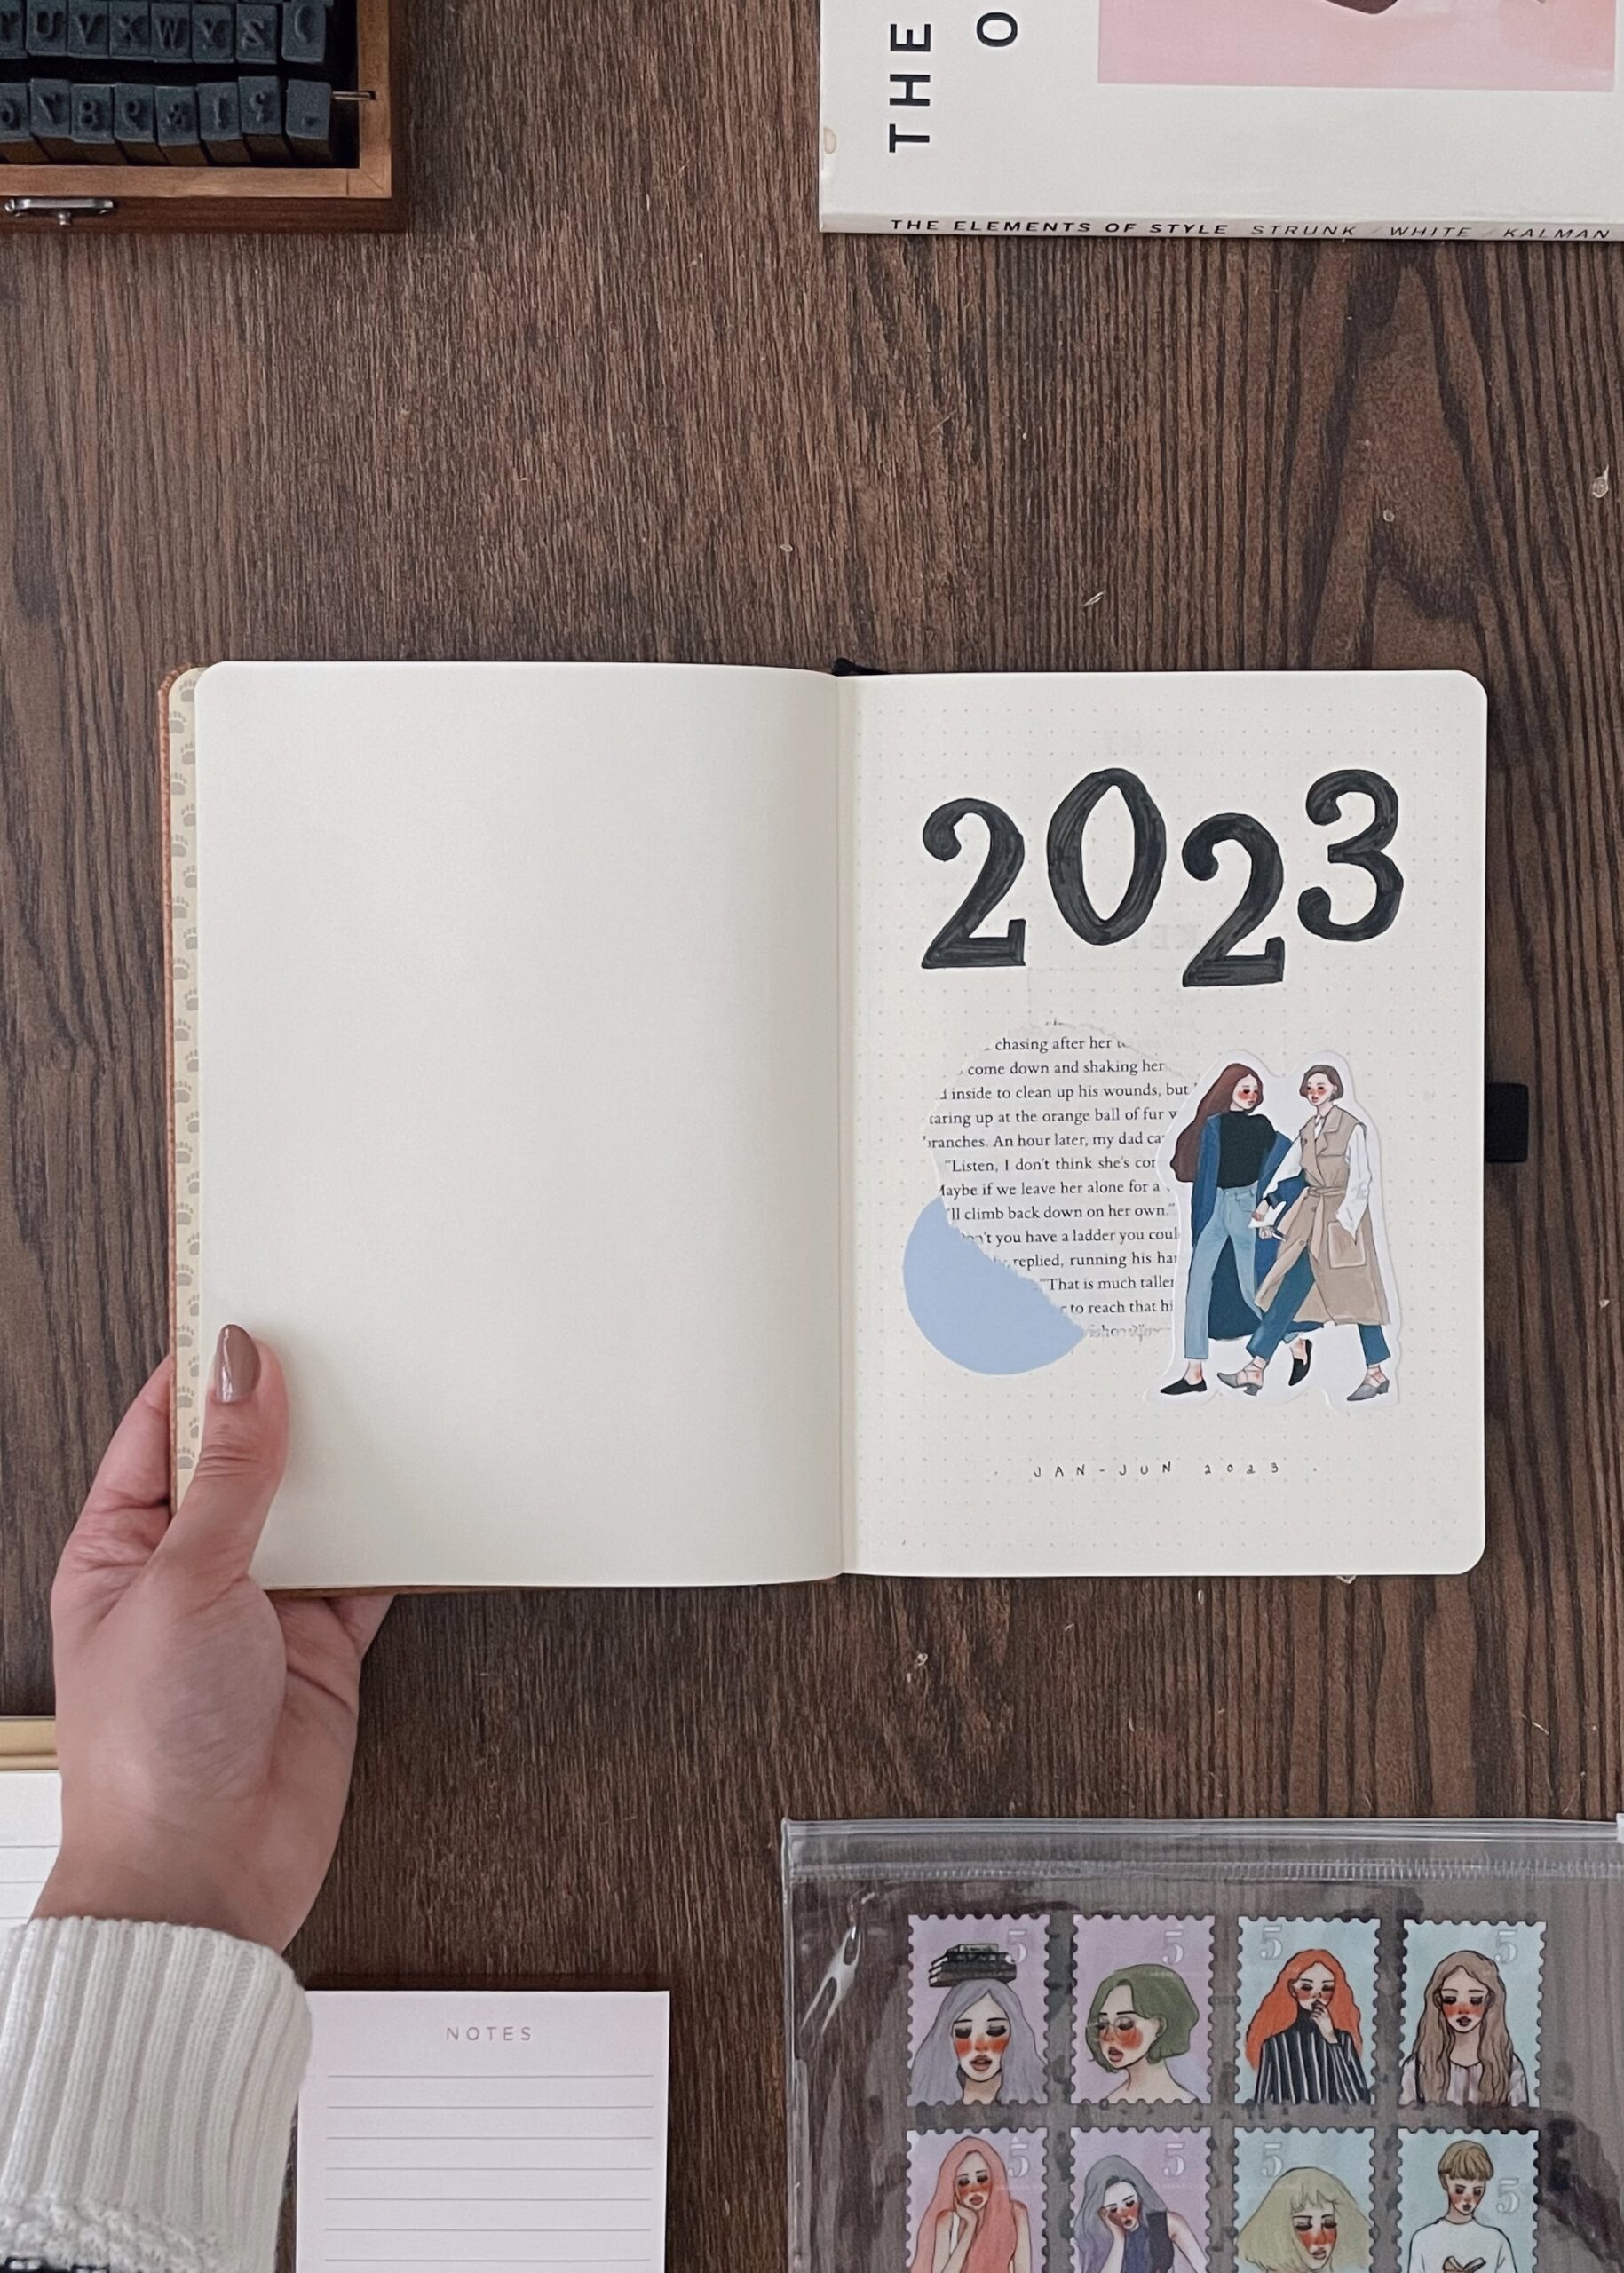
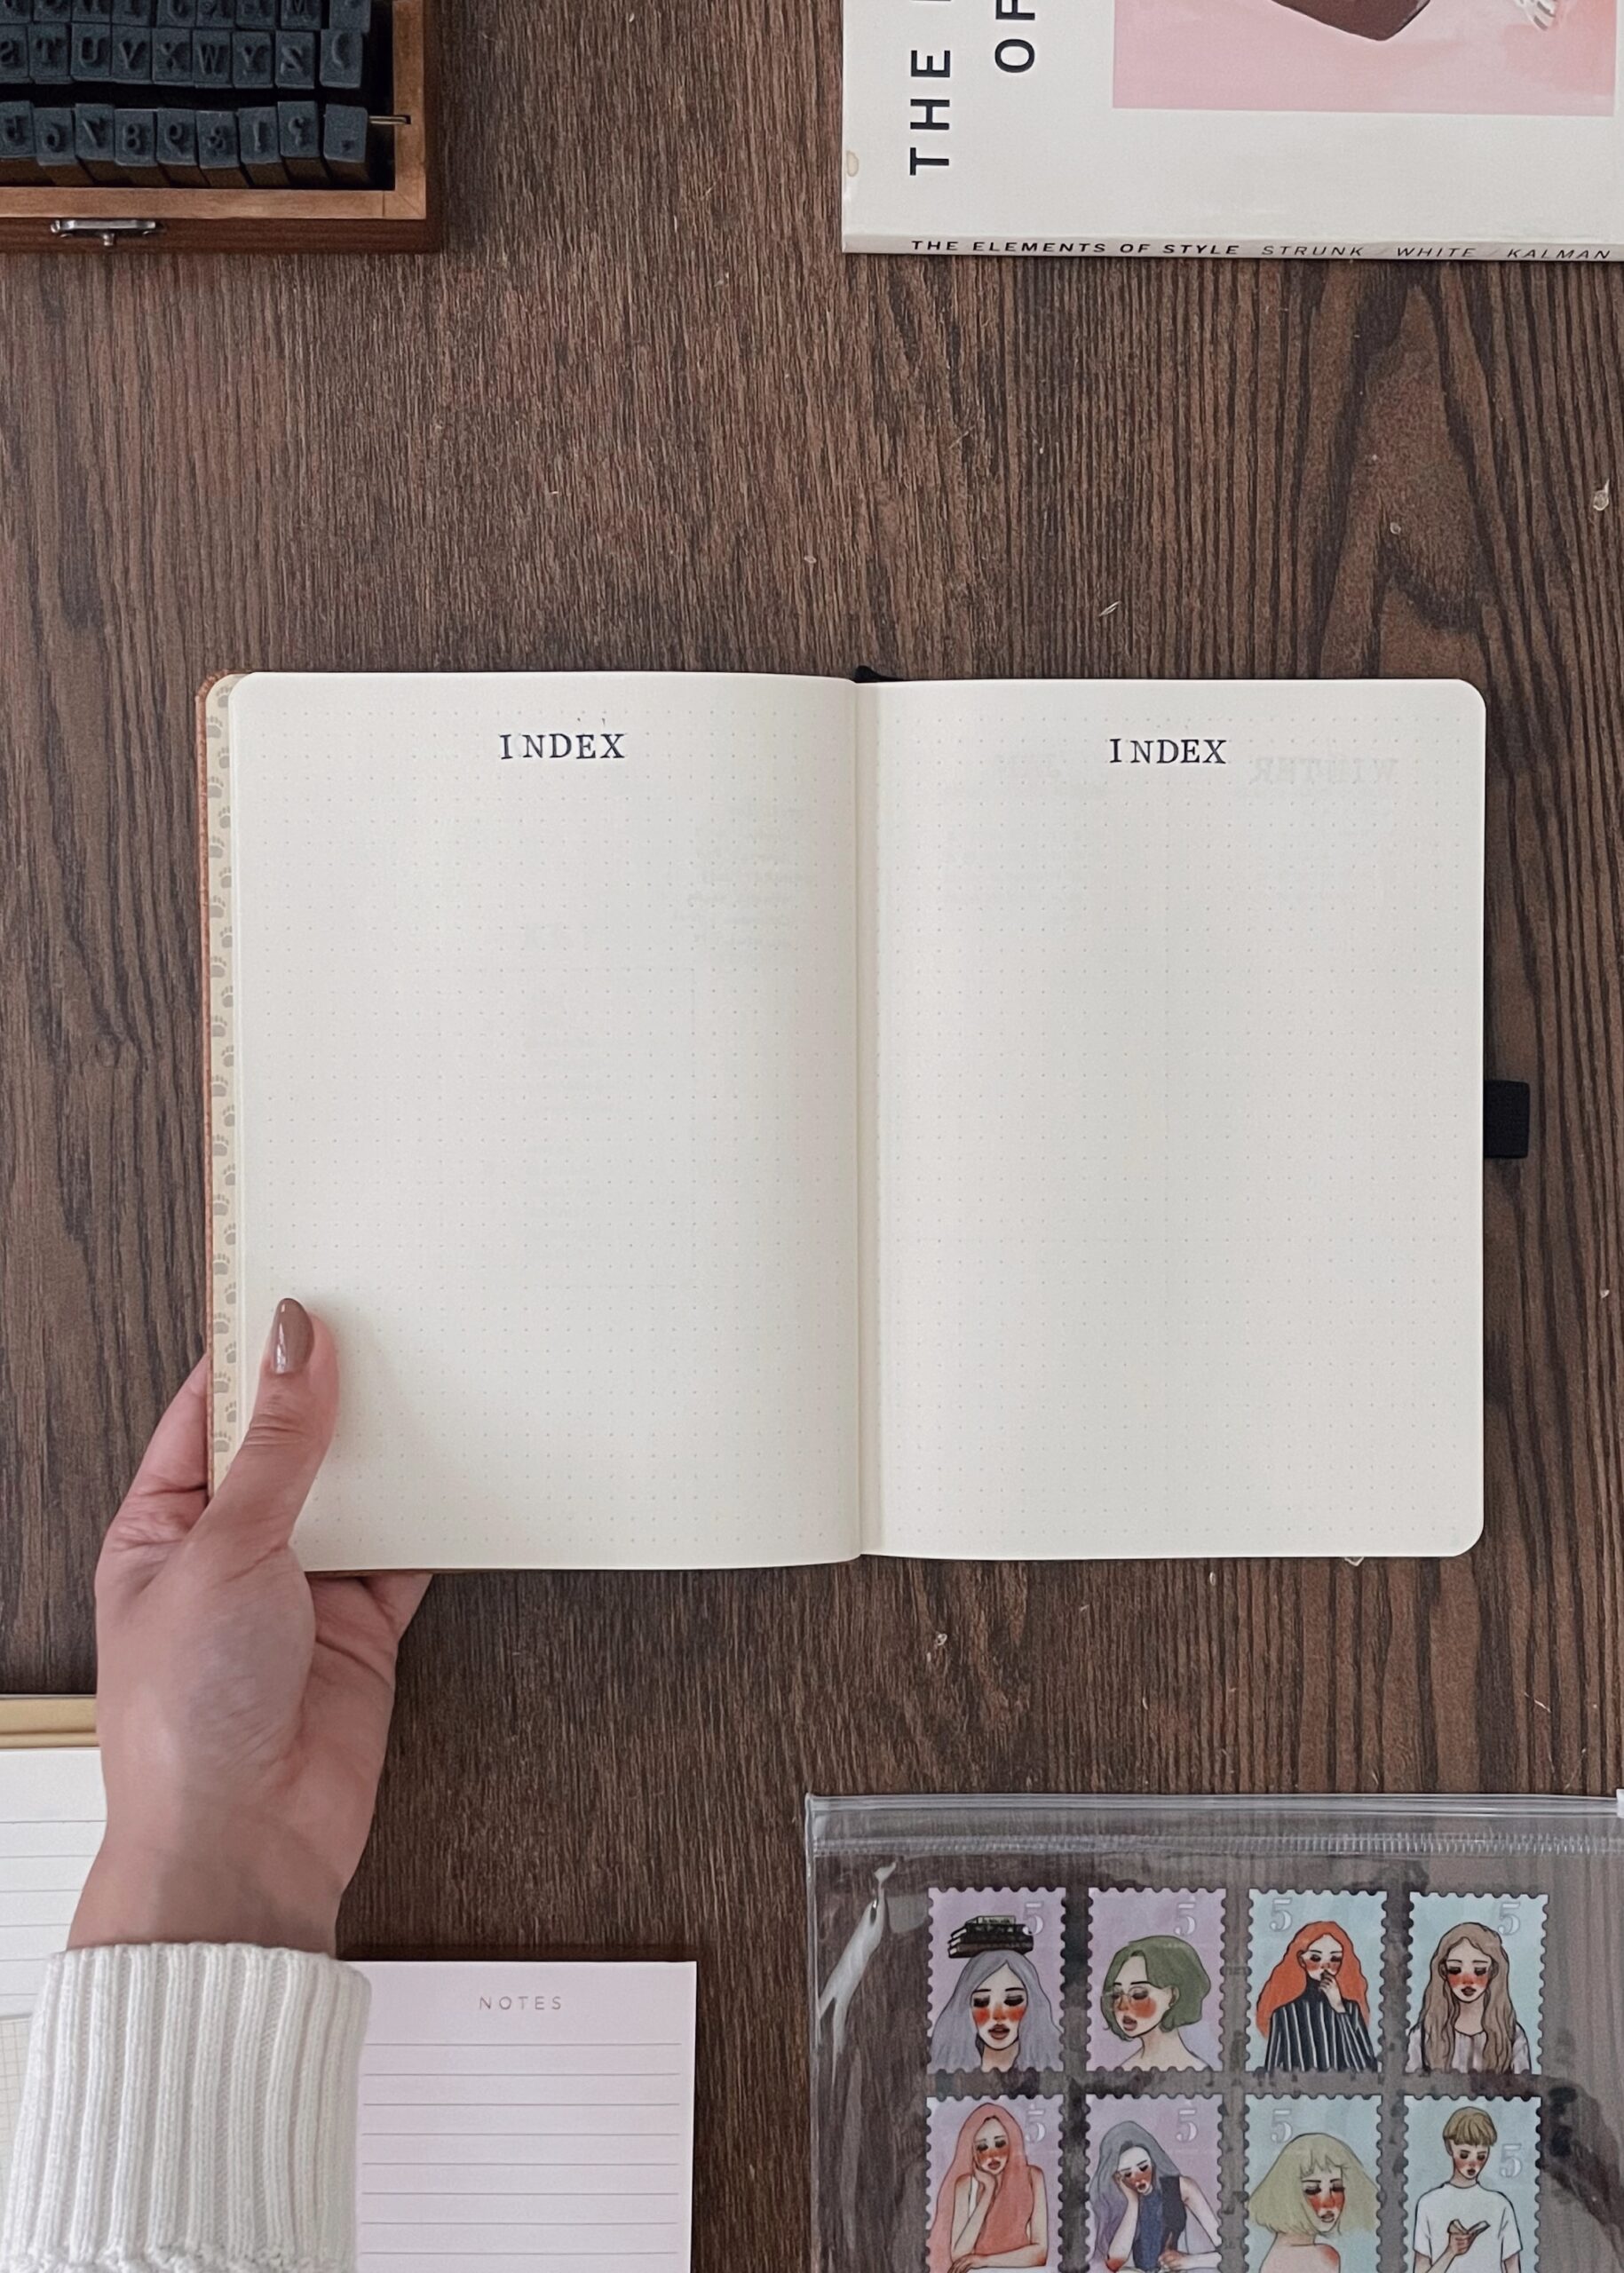
Although I don’t paint or illustrate elaborate, themed spreads in my journal, I still like to get a little creative, and I do that with stickers. It’s faster and simpler, which is fundamental to my practice. I would rather not spend too much time deciding and then setting up a monthly theme because I want to spend that time actually working on my projects and goals instead. But, since this is the start of the notebook, I do like to begin with a collage or title page of some kind.
The Key and Index
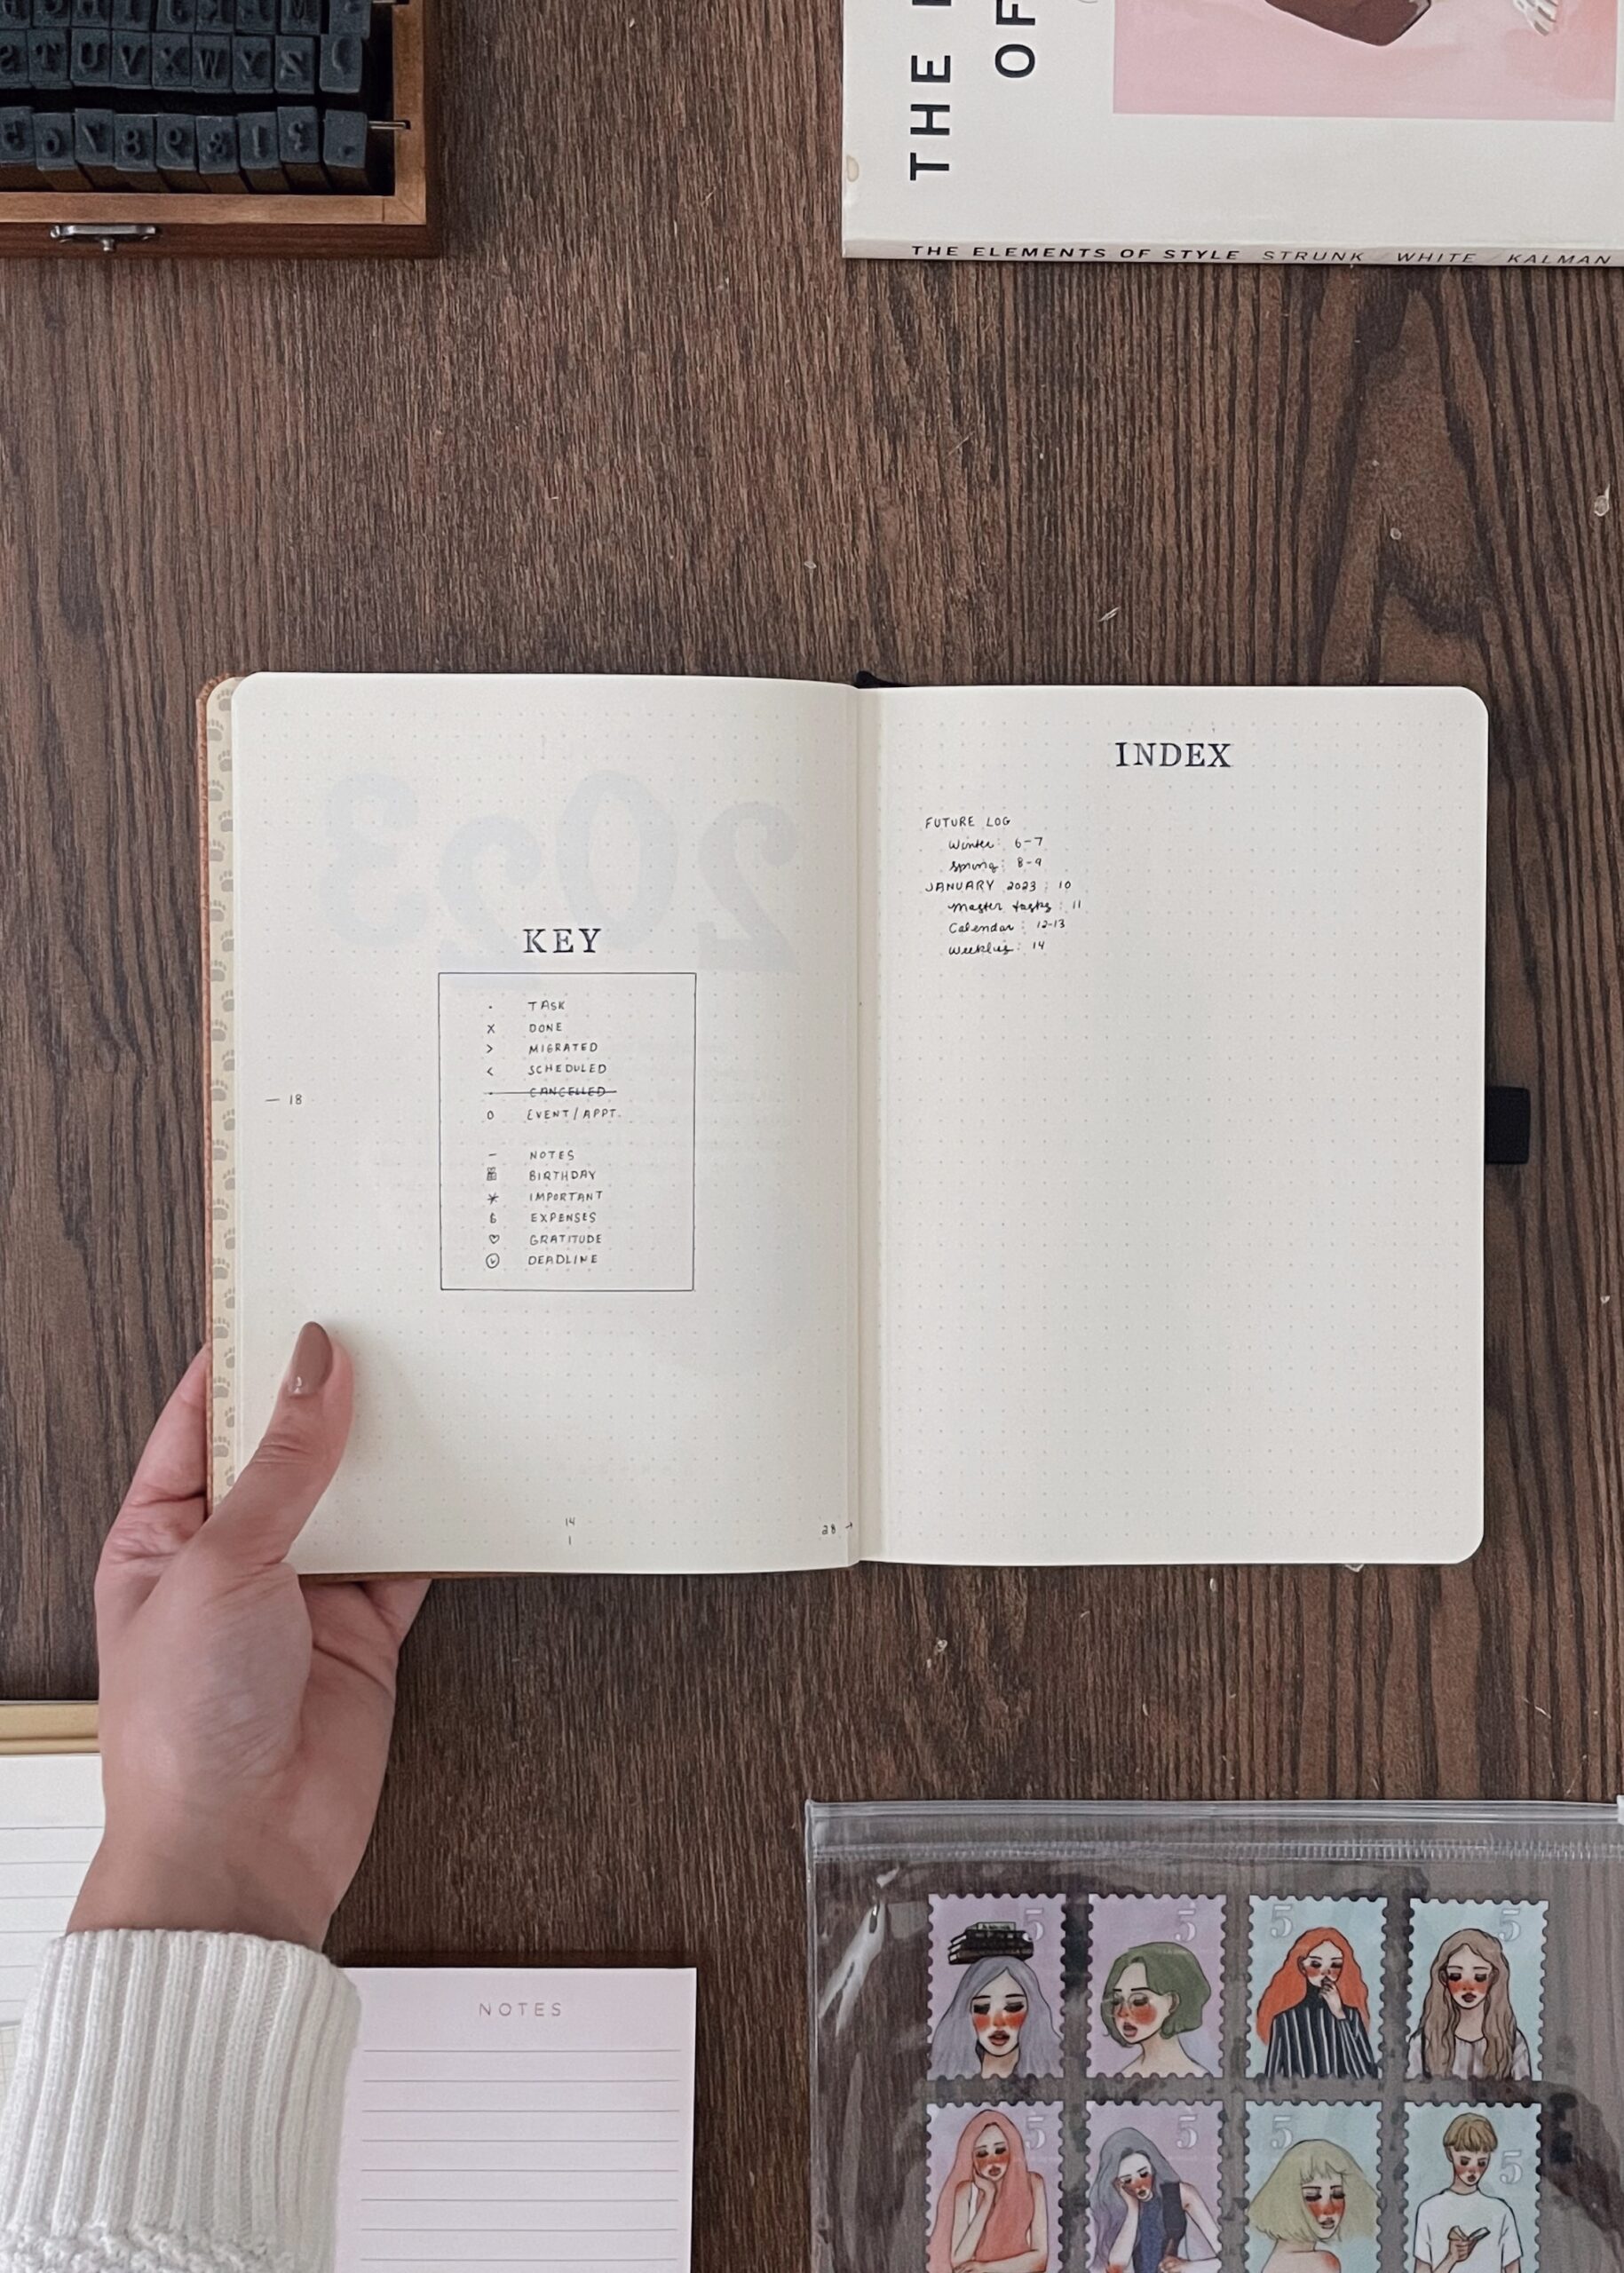
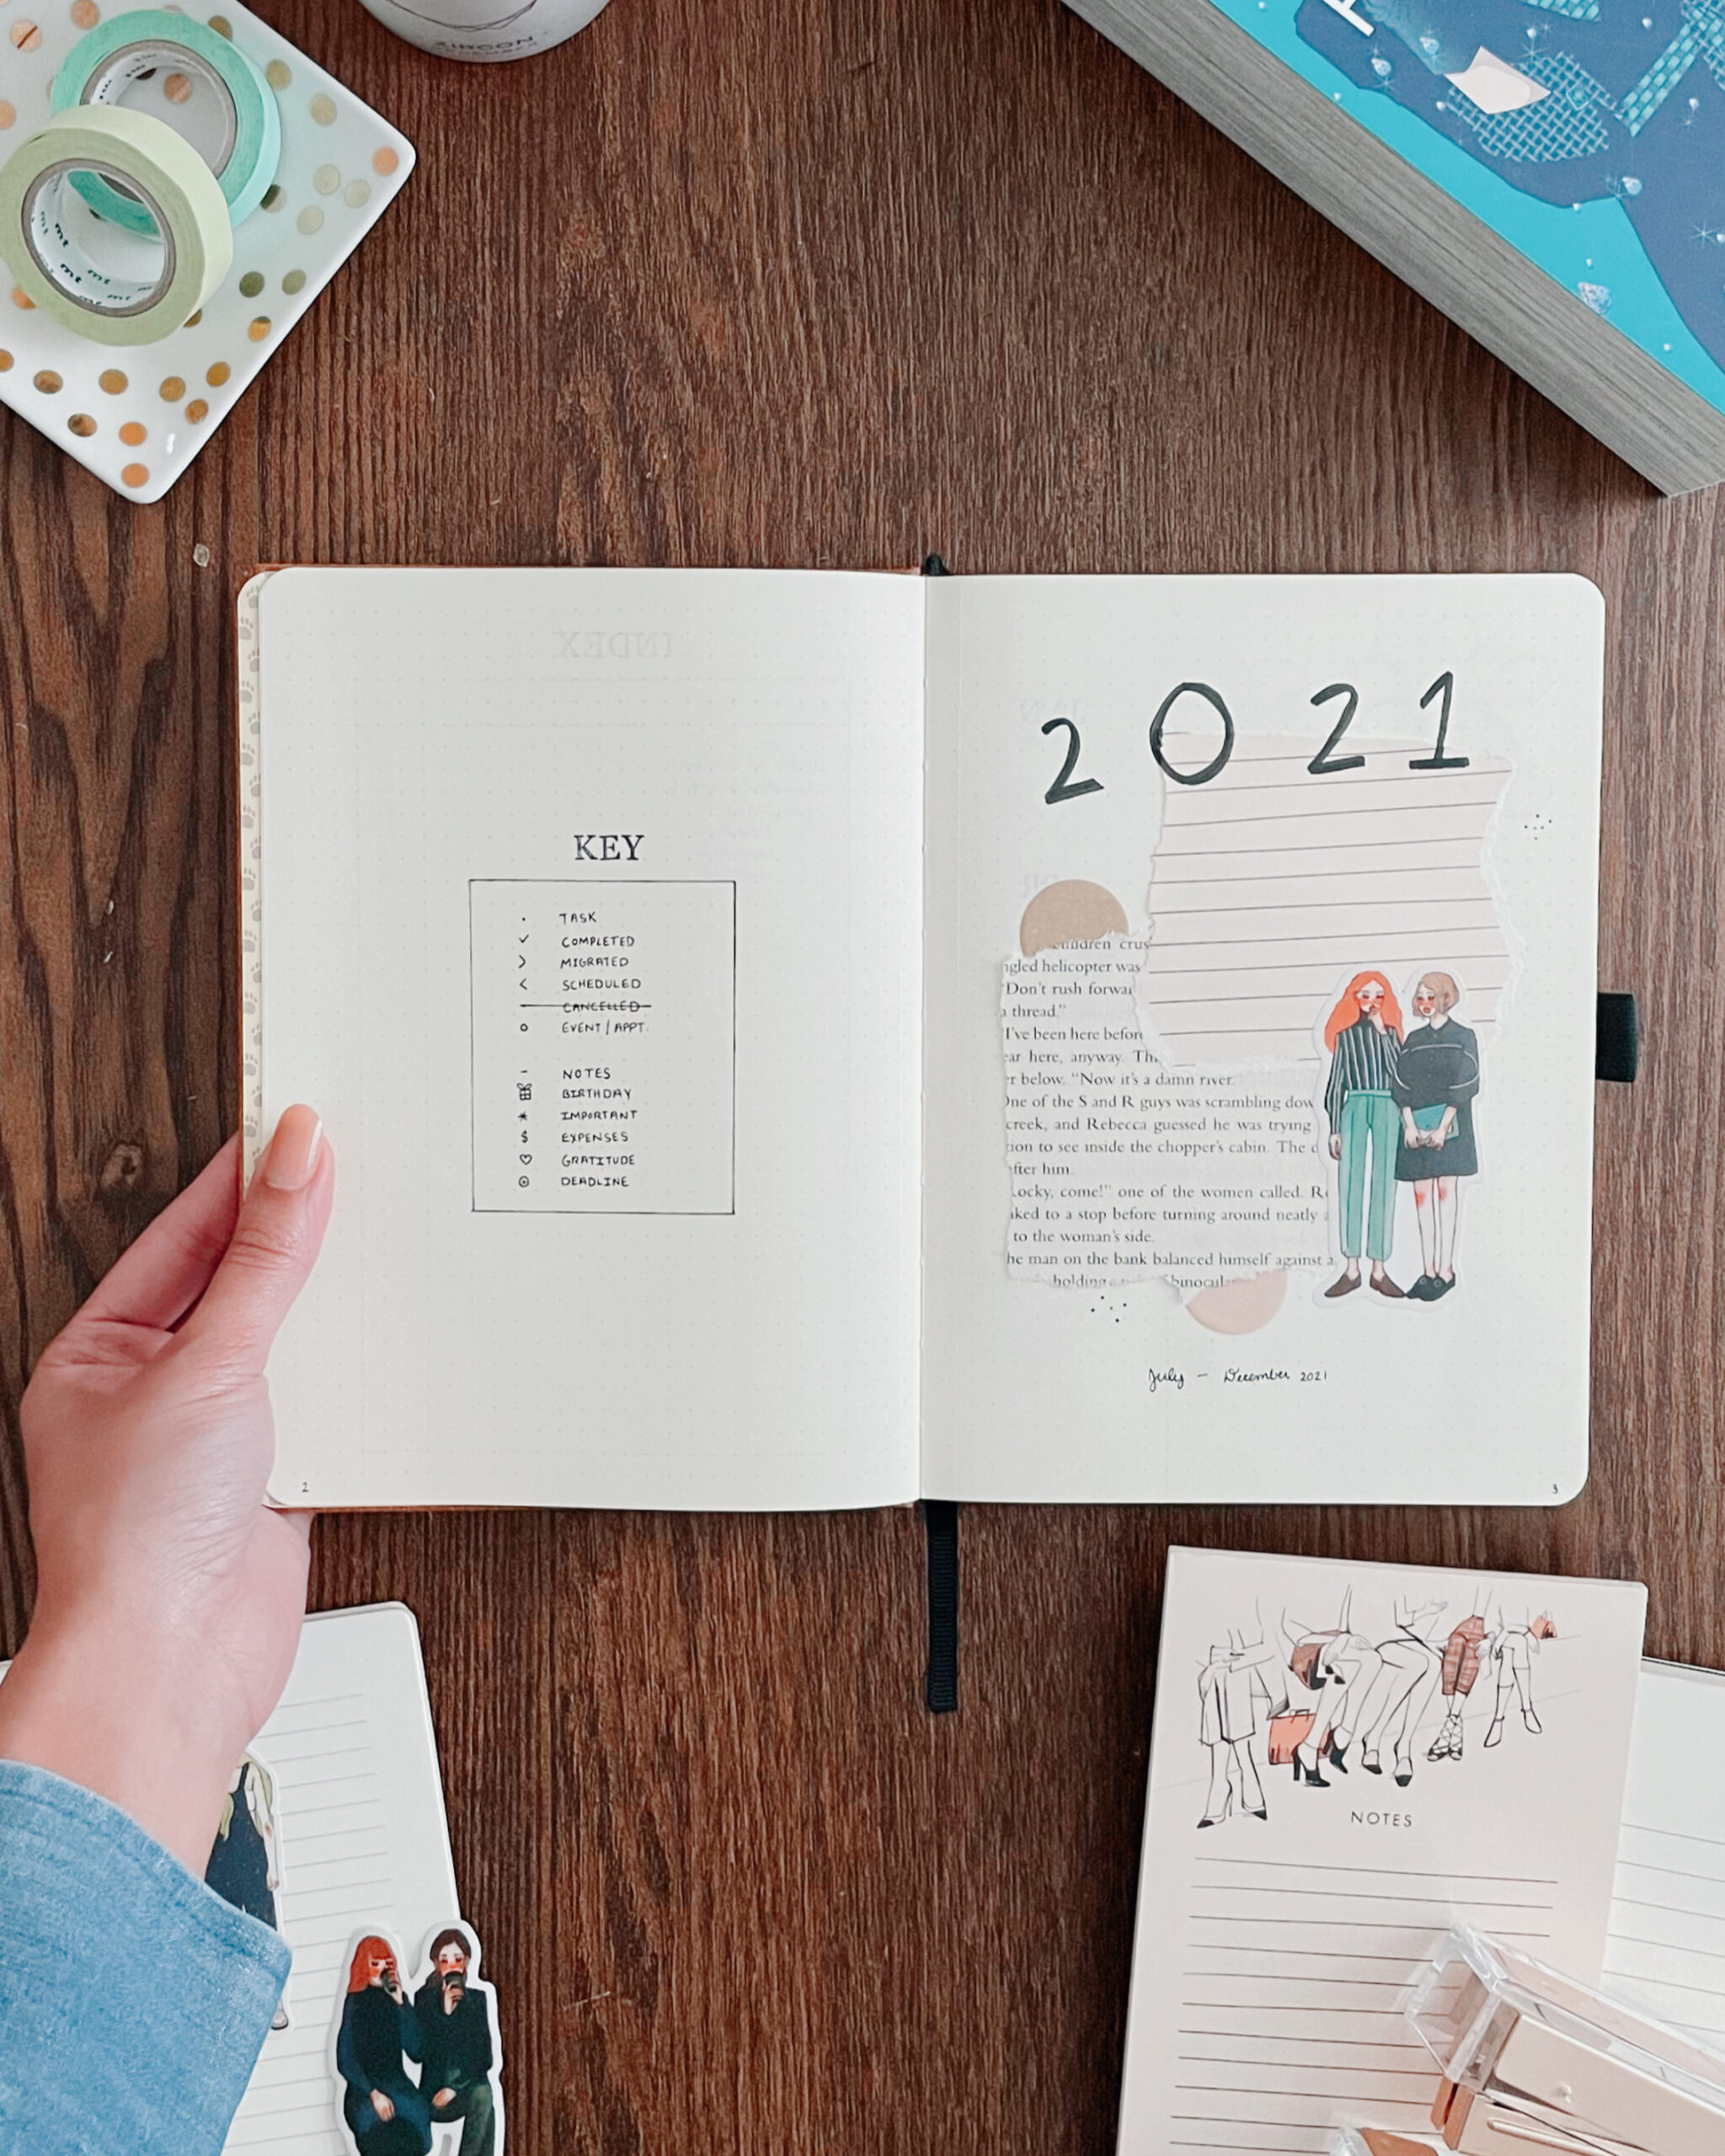
The key is a staple in my bullet journal, mostly for future me to reference. The first half contains pretty standard icons used in bullet journaling, and the second half are icons I mostly added myself. If you’re just starting out, it might be helpful to include a key, but even a veteran like me likes to include it for reference as well.
Next, I gave myself three pages for my index, since I index everything. Since you can’t hit CTRL+F in a physical notebook, I like to index and thread my pages together to find them easier. I talked about this a lot in my 2022 setup, and it is one of the most helpful spreads in my notebook. I honestly can’t recommend this page enough, especially if you tend to take many notes and write tons of entries like I do.
The Future Log
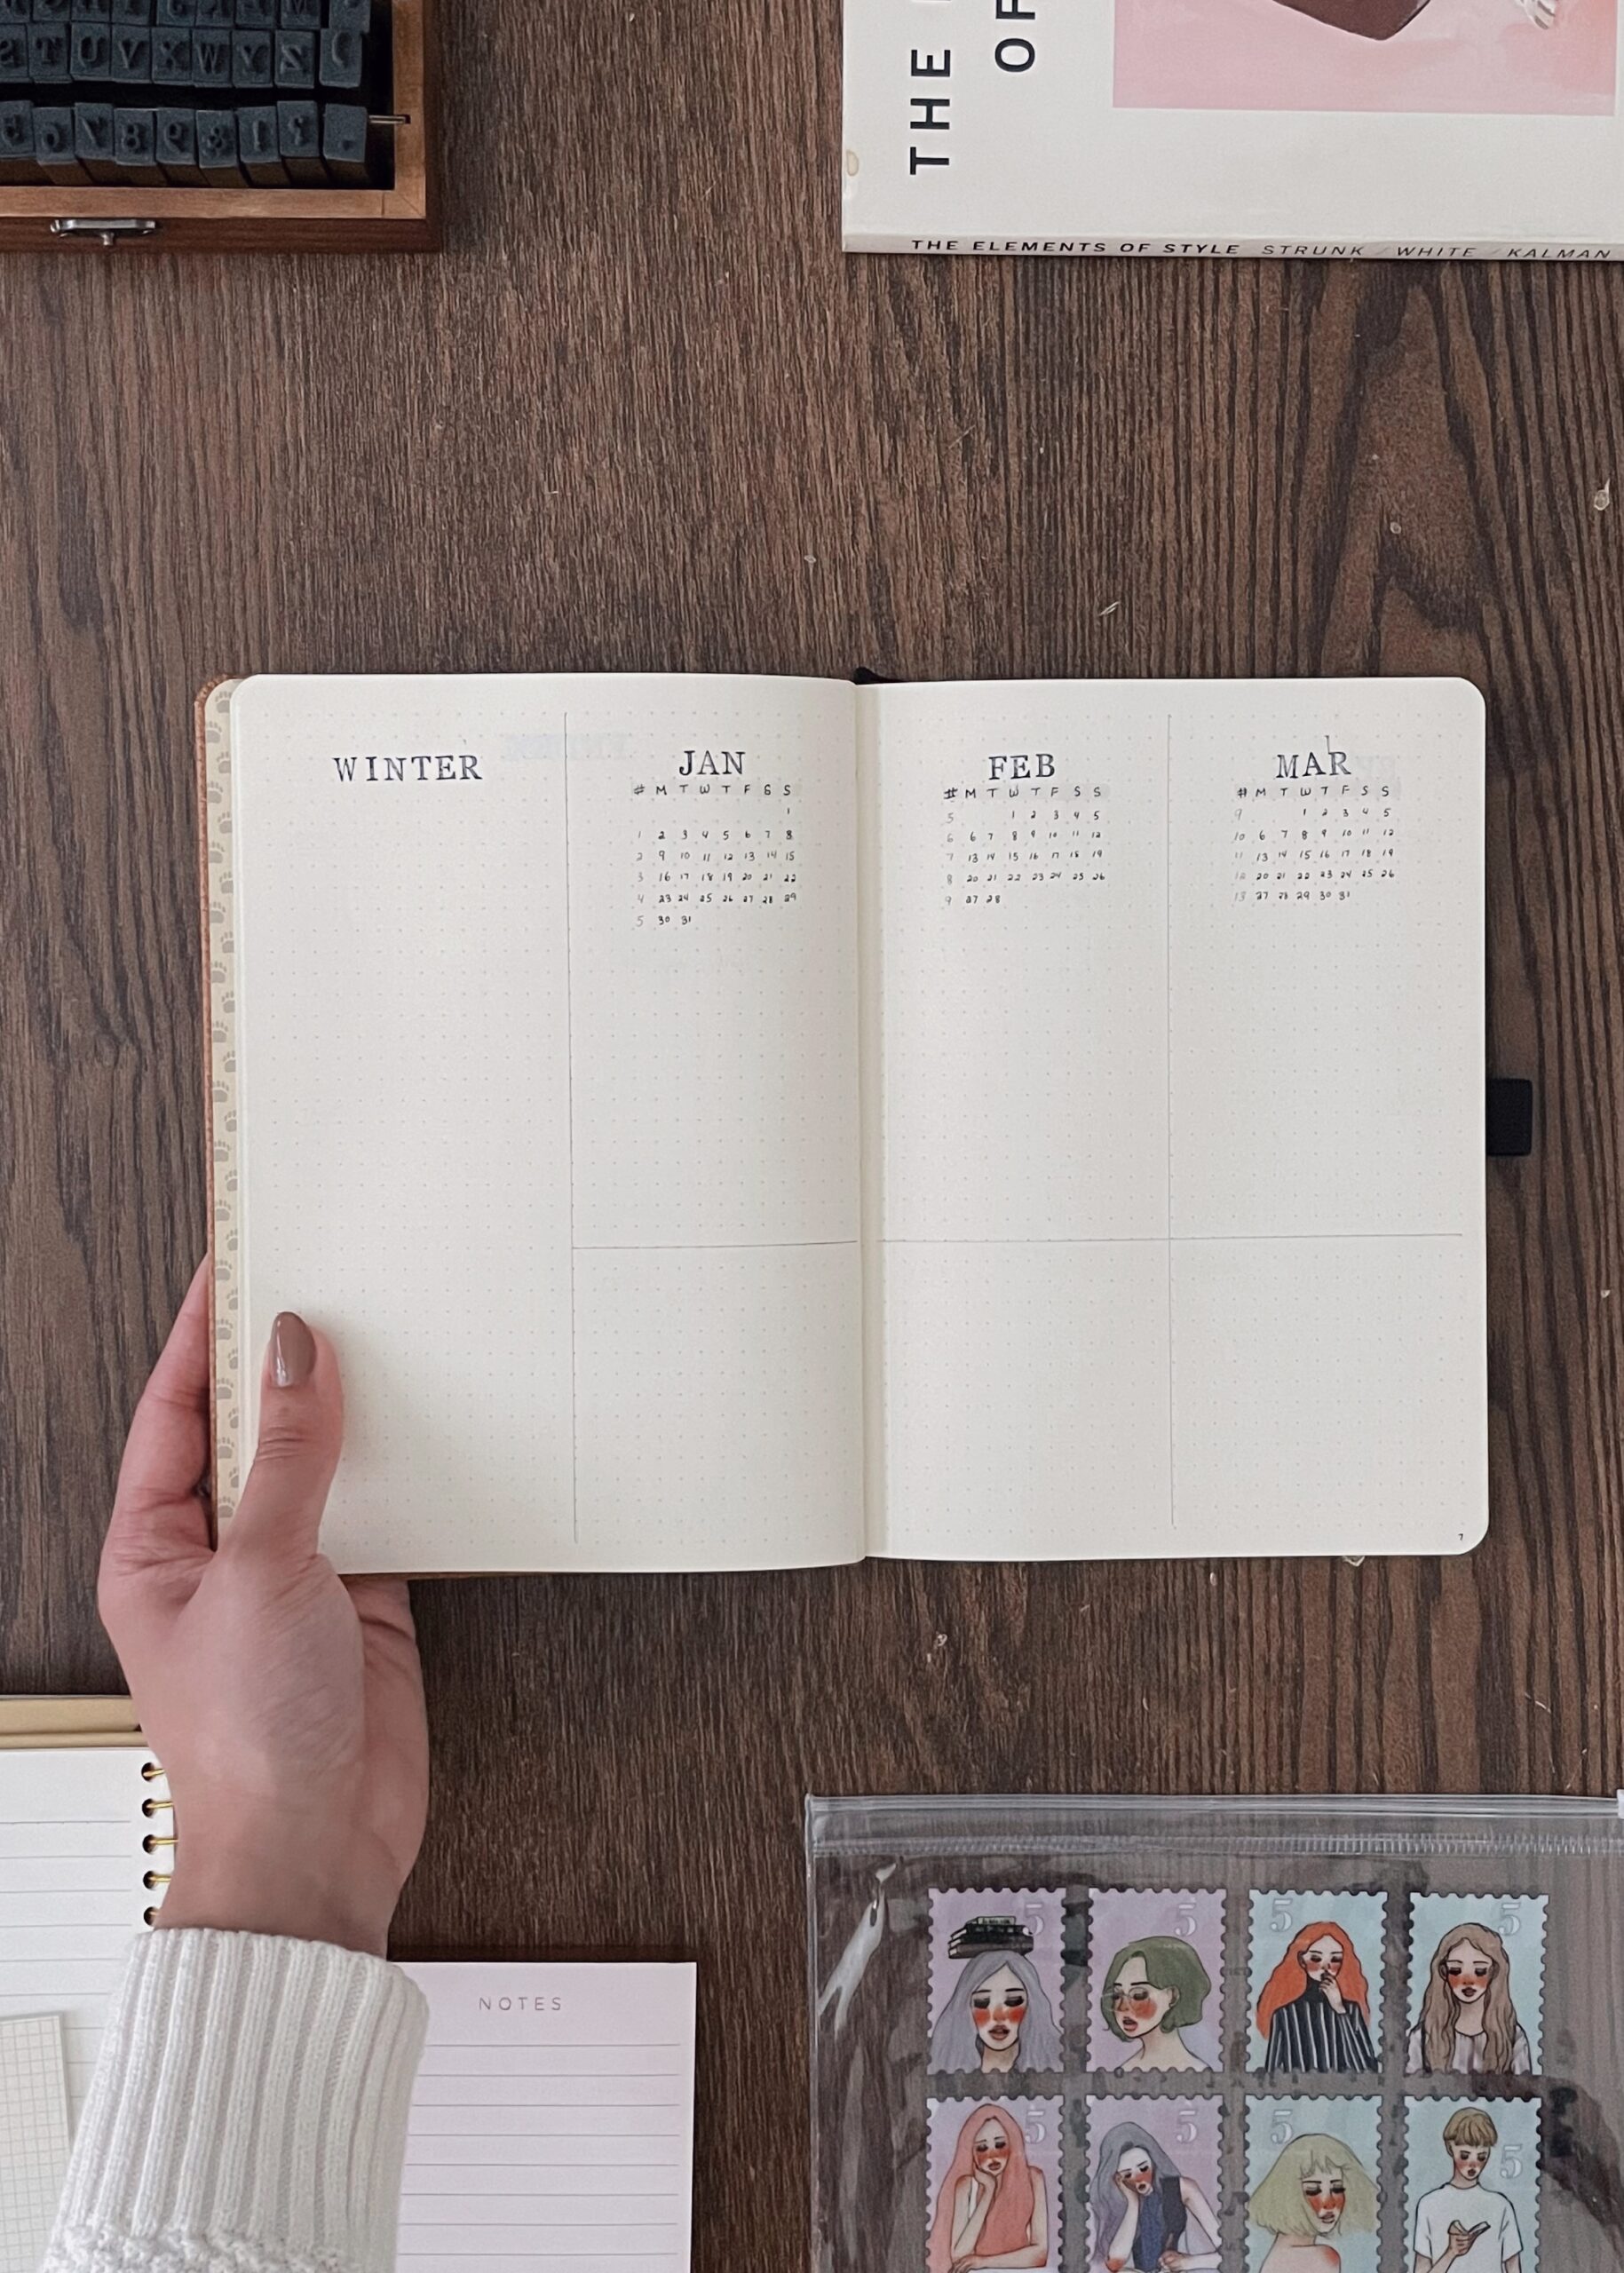
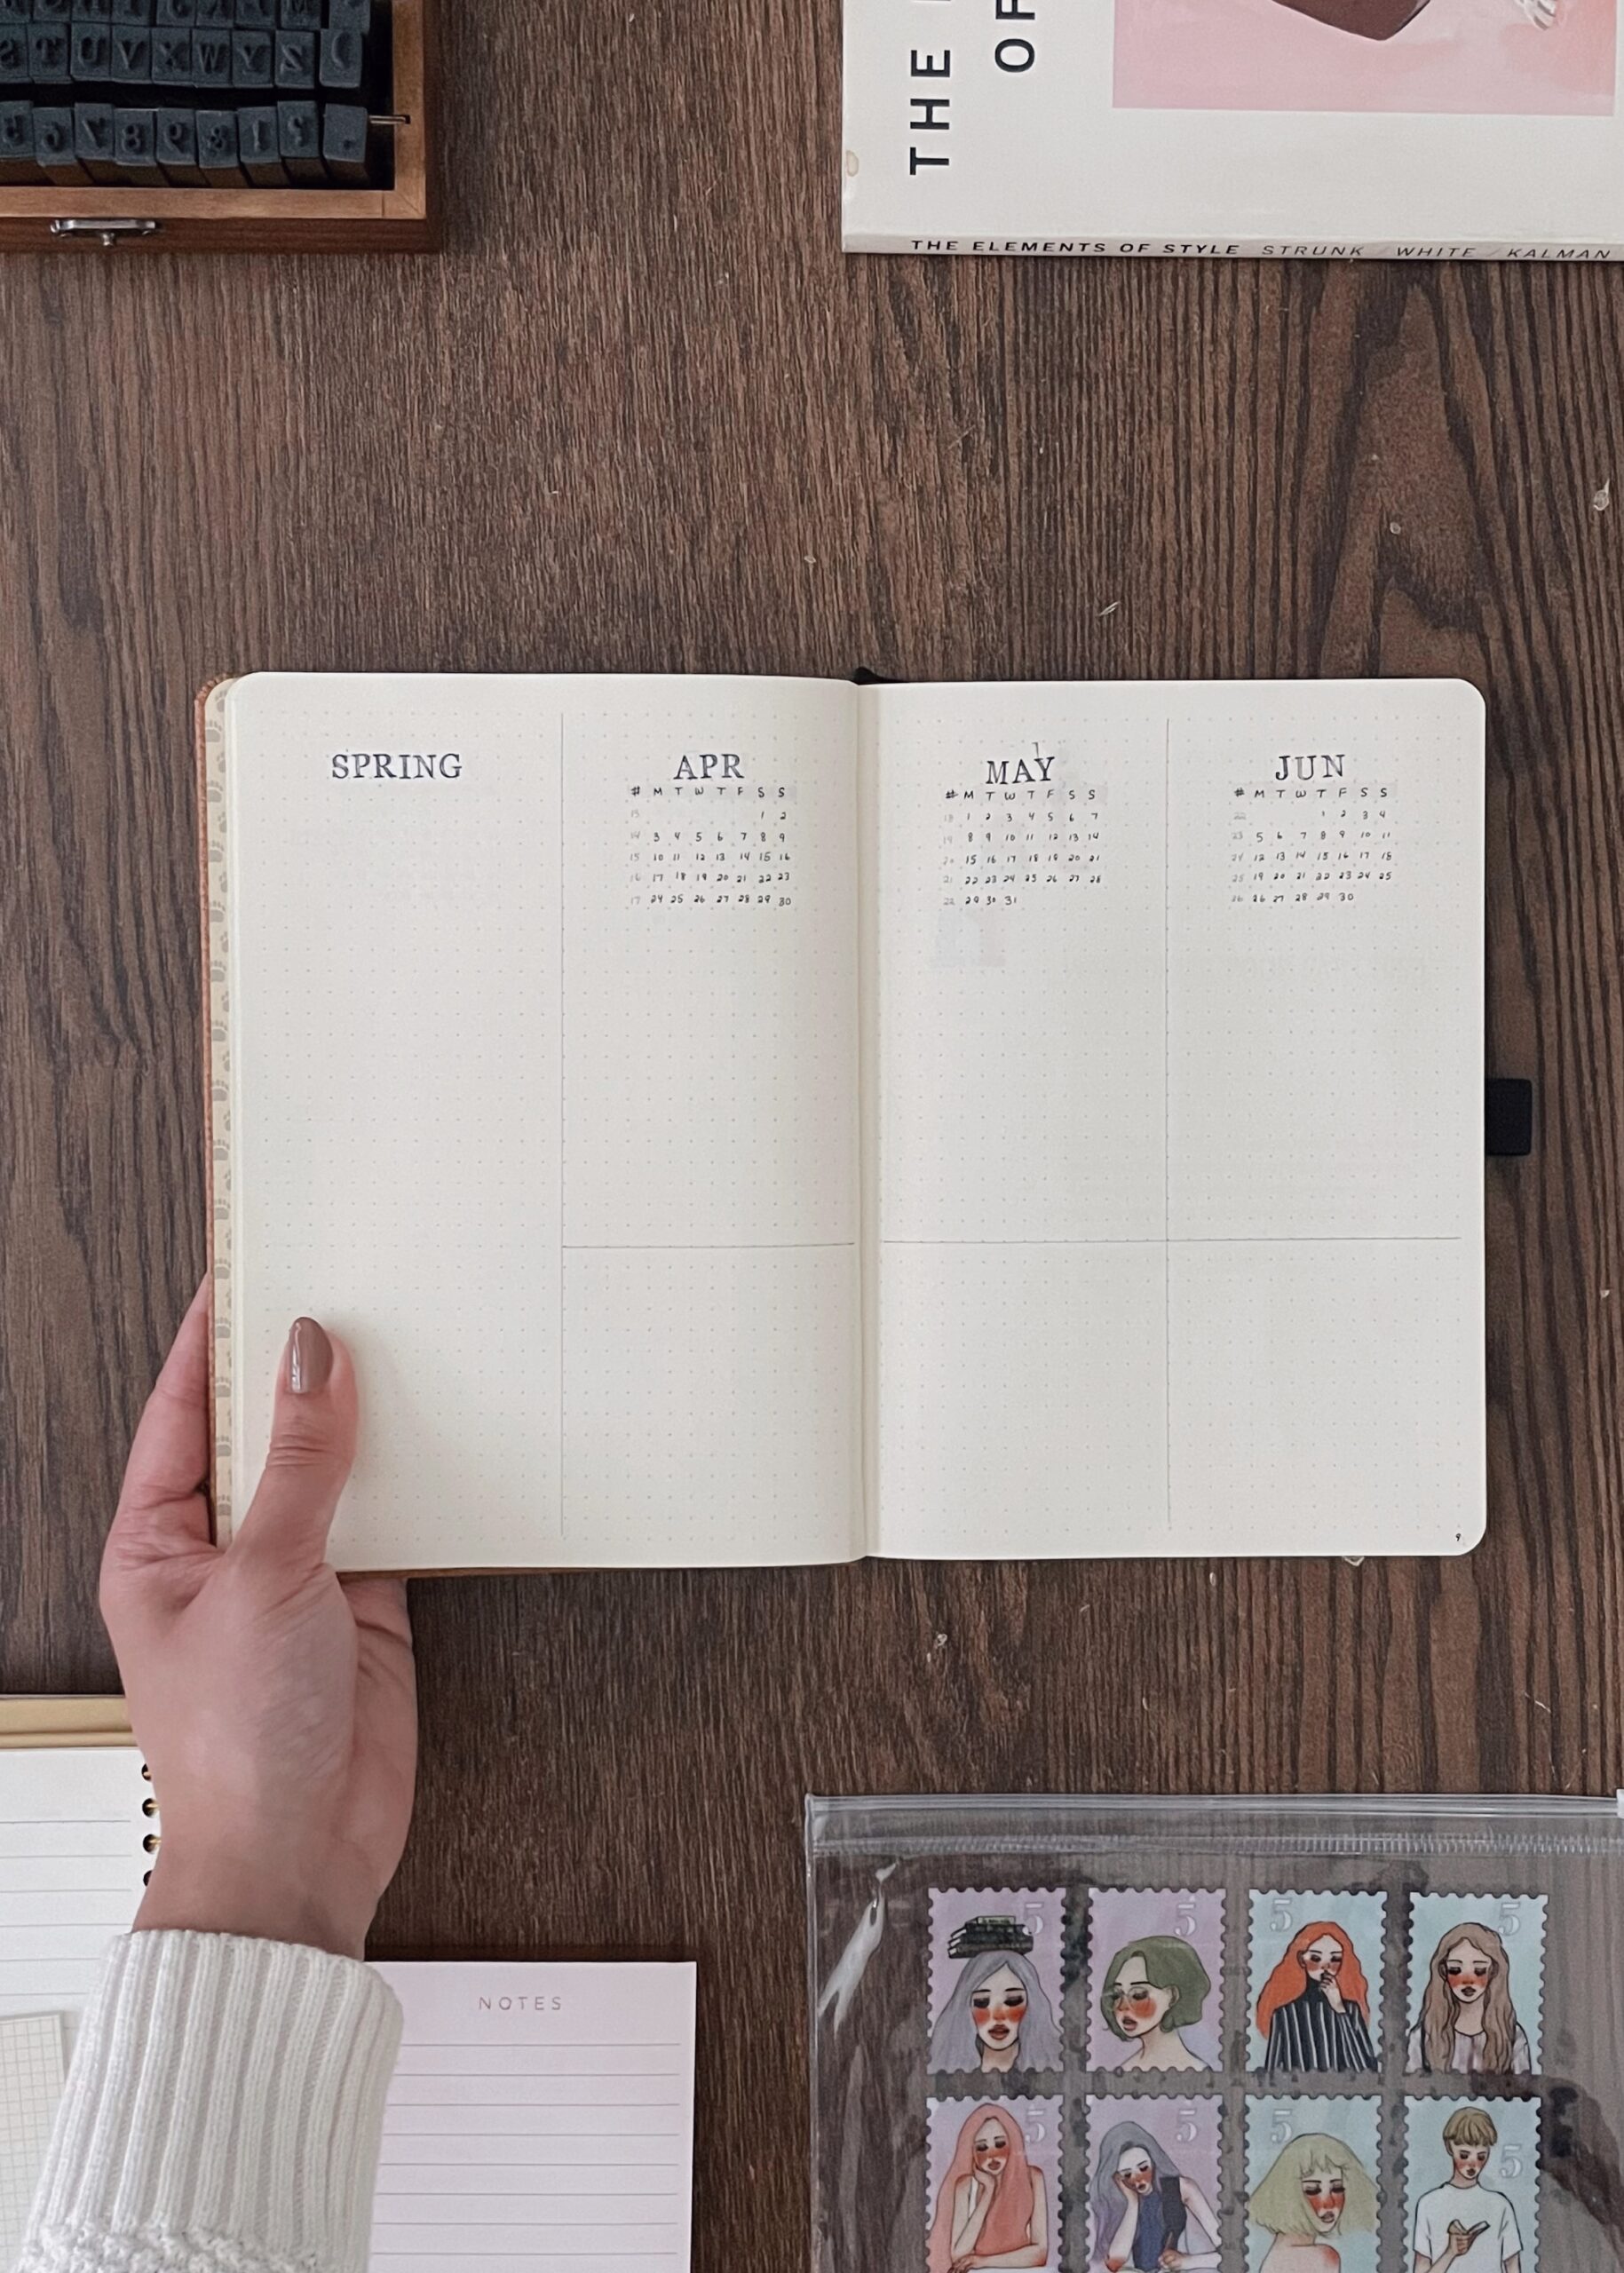
You’ll notice right away that there isn’t a “2023 Goals” page in my notebook. I basically stopped doing “yearly” goals after COVID-19 derailed everything in 2020. Now I like to focus on quarterly, or seasonal, goals. It makes my goals and projects feel more manageable and bite-sized. It also encourages me to reflect every season and pivot if I need to.
This setup worked so well for me in 2022 that I replicated it again this year. Since I know this notebook will only go through June, I don’t include a future log for July onward. I tend to keep longer-term goals in my Notion anyway and try to focus on present goals in my bullet journal.
The Monthly Log
Firstly, a note: Since I don’t use a lot of collection pages (I save that for Notion!), I typically go right into my monthly log here. If I do feel the need for a collection page later, I just set it up whenever I need it. I try not to be tied down to putting something in the front “just because.” I can’t tell you how many times I’ve set up a collection page and never used it (answer: a lot).
Cover page + Dashboard
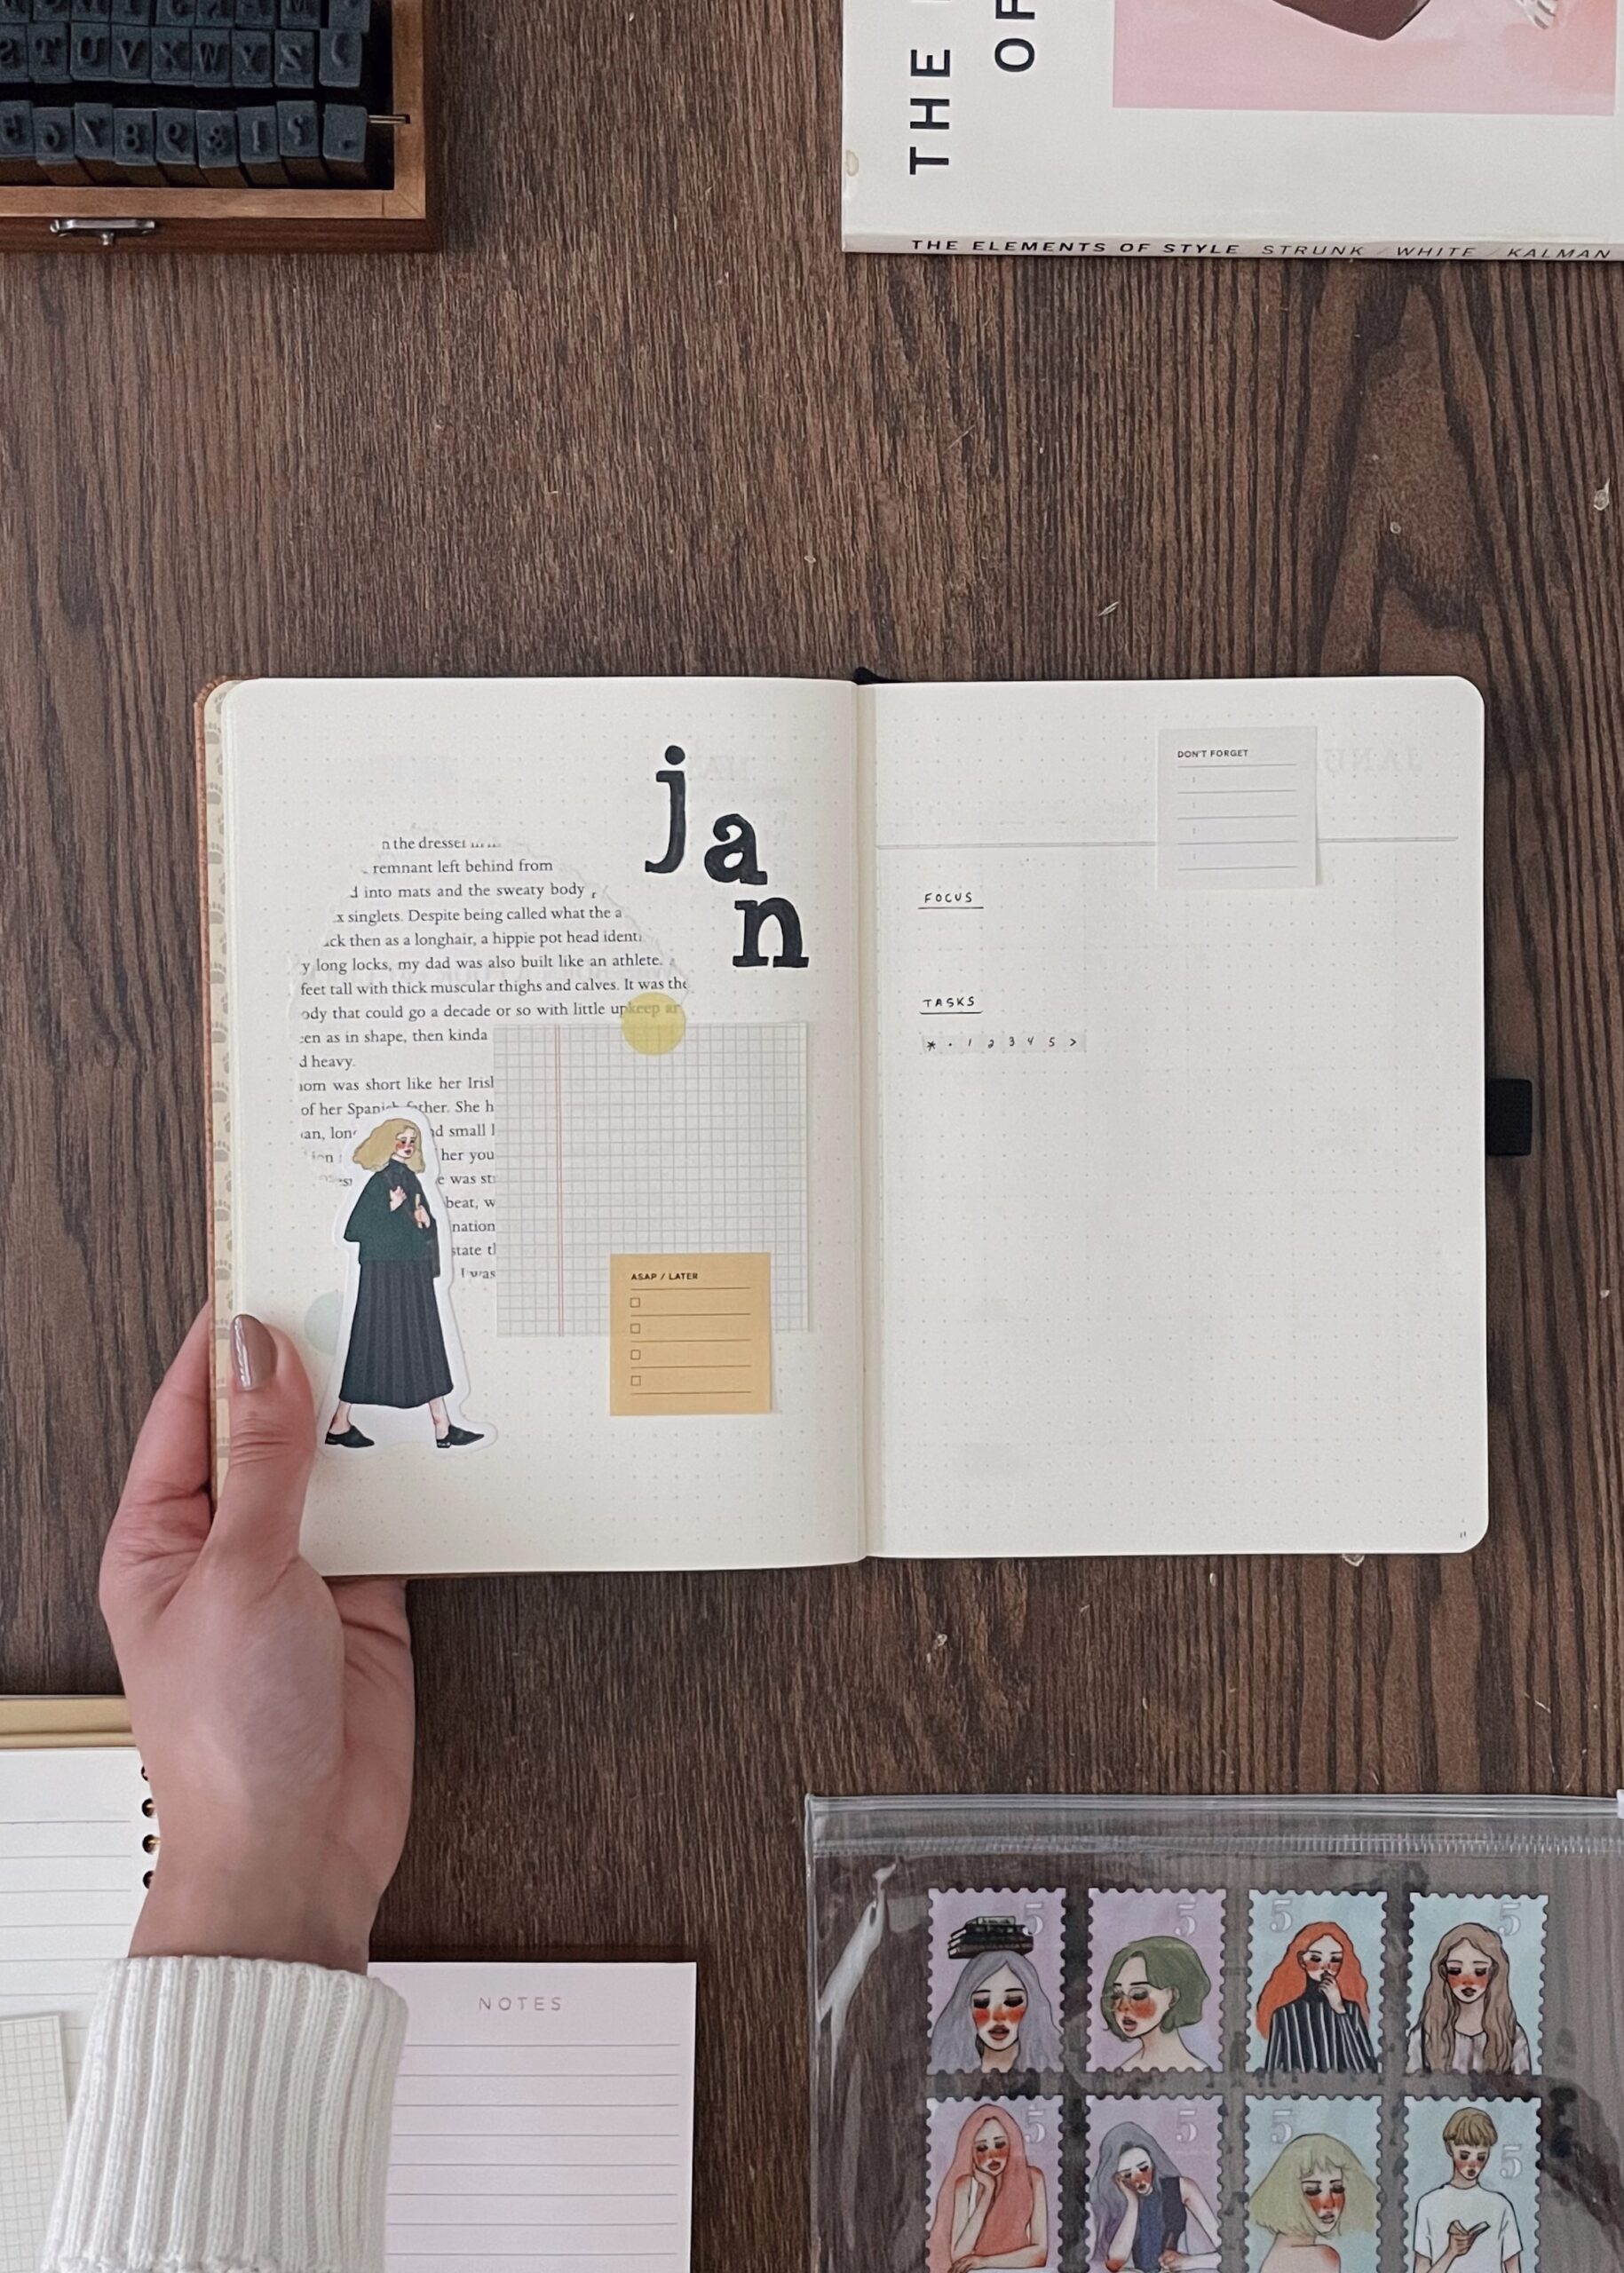
Something that worked well for me this past year is my monthly log setup. I love starting each month with a collage. Again, it gives me a chance to be a little more creative and set the tone for the month. I consider this spread to be my monthly dashboard, a place to turn to when I need to see an overview of the month’s projects and tasks. I usually migrate tasks over from the future log and then expand on them here.
To help organize when I would like to do what, I use the Alastair method and put a dot in the column for the week I’d like to do the thing. Then during my weekly setups, I turn to this spread and see what I need to include. It is so, so hopeful when you use the traditional rolling daily log method and don’t set up your weeks in advance. This page helps me jot down tasks for the future as I go.
Finally, once I get an overview of all the month’s tasks, I set a focus or two for the whole month. The focus is typically broad and acts like more of an intention than a task. It helps keep me motivated and on track.
Calendar View
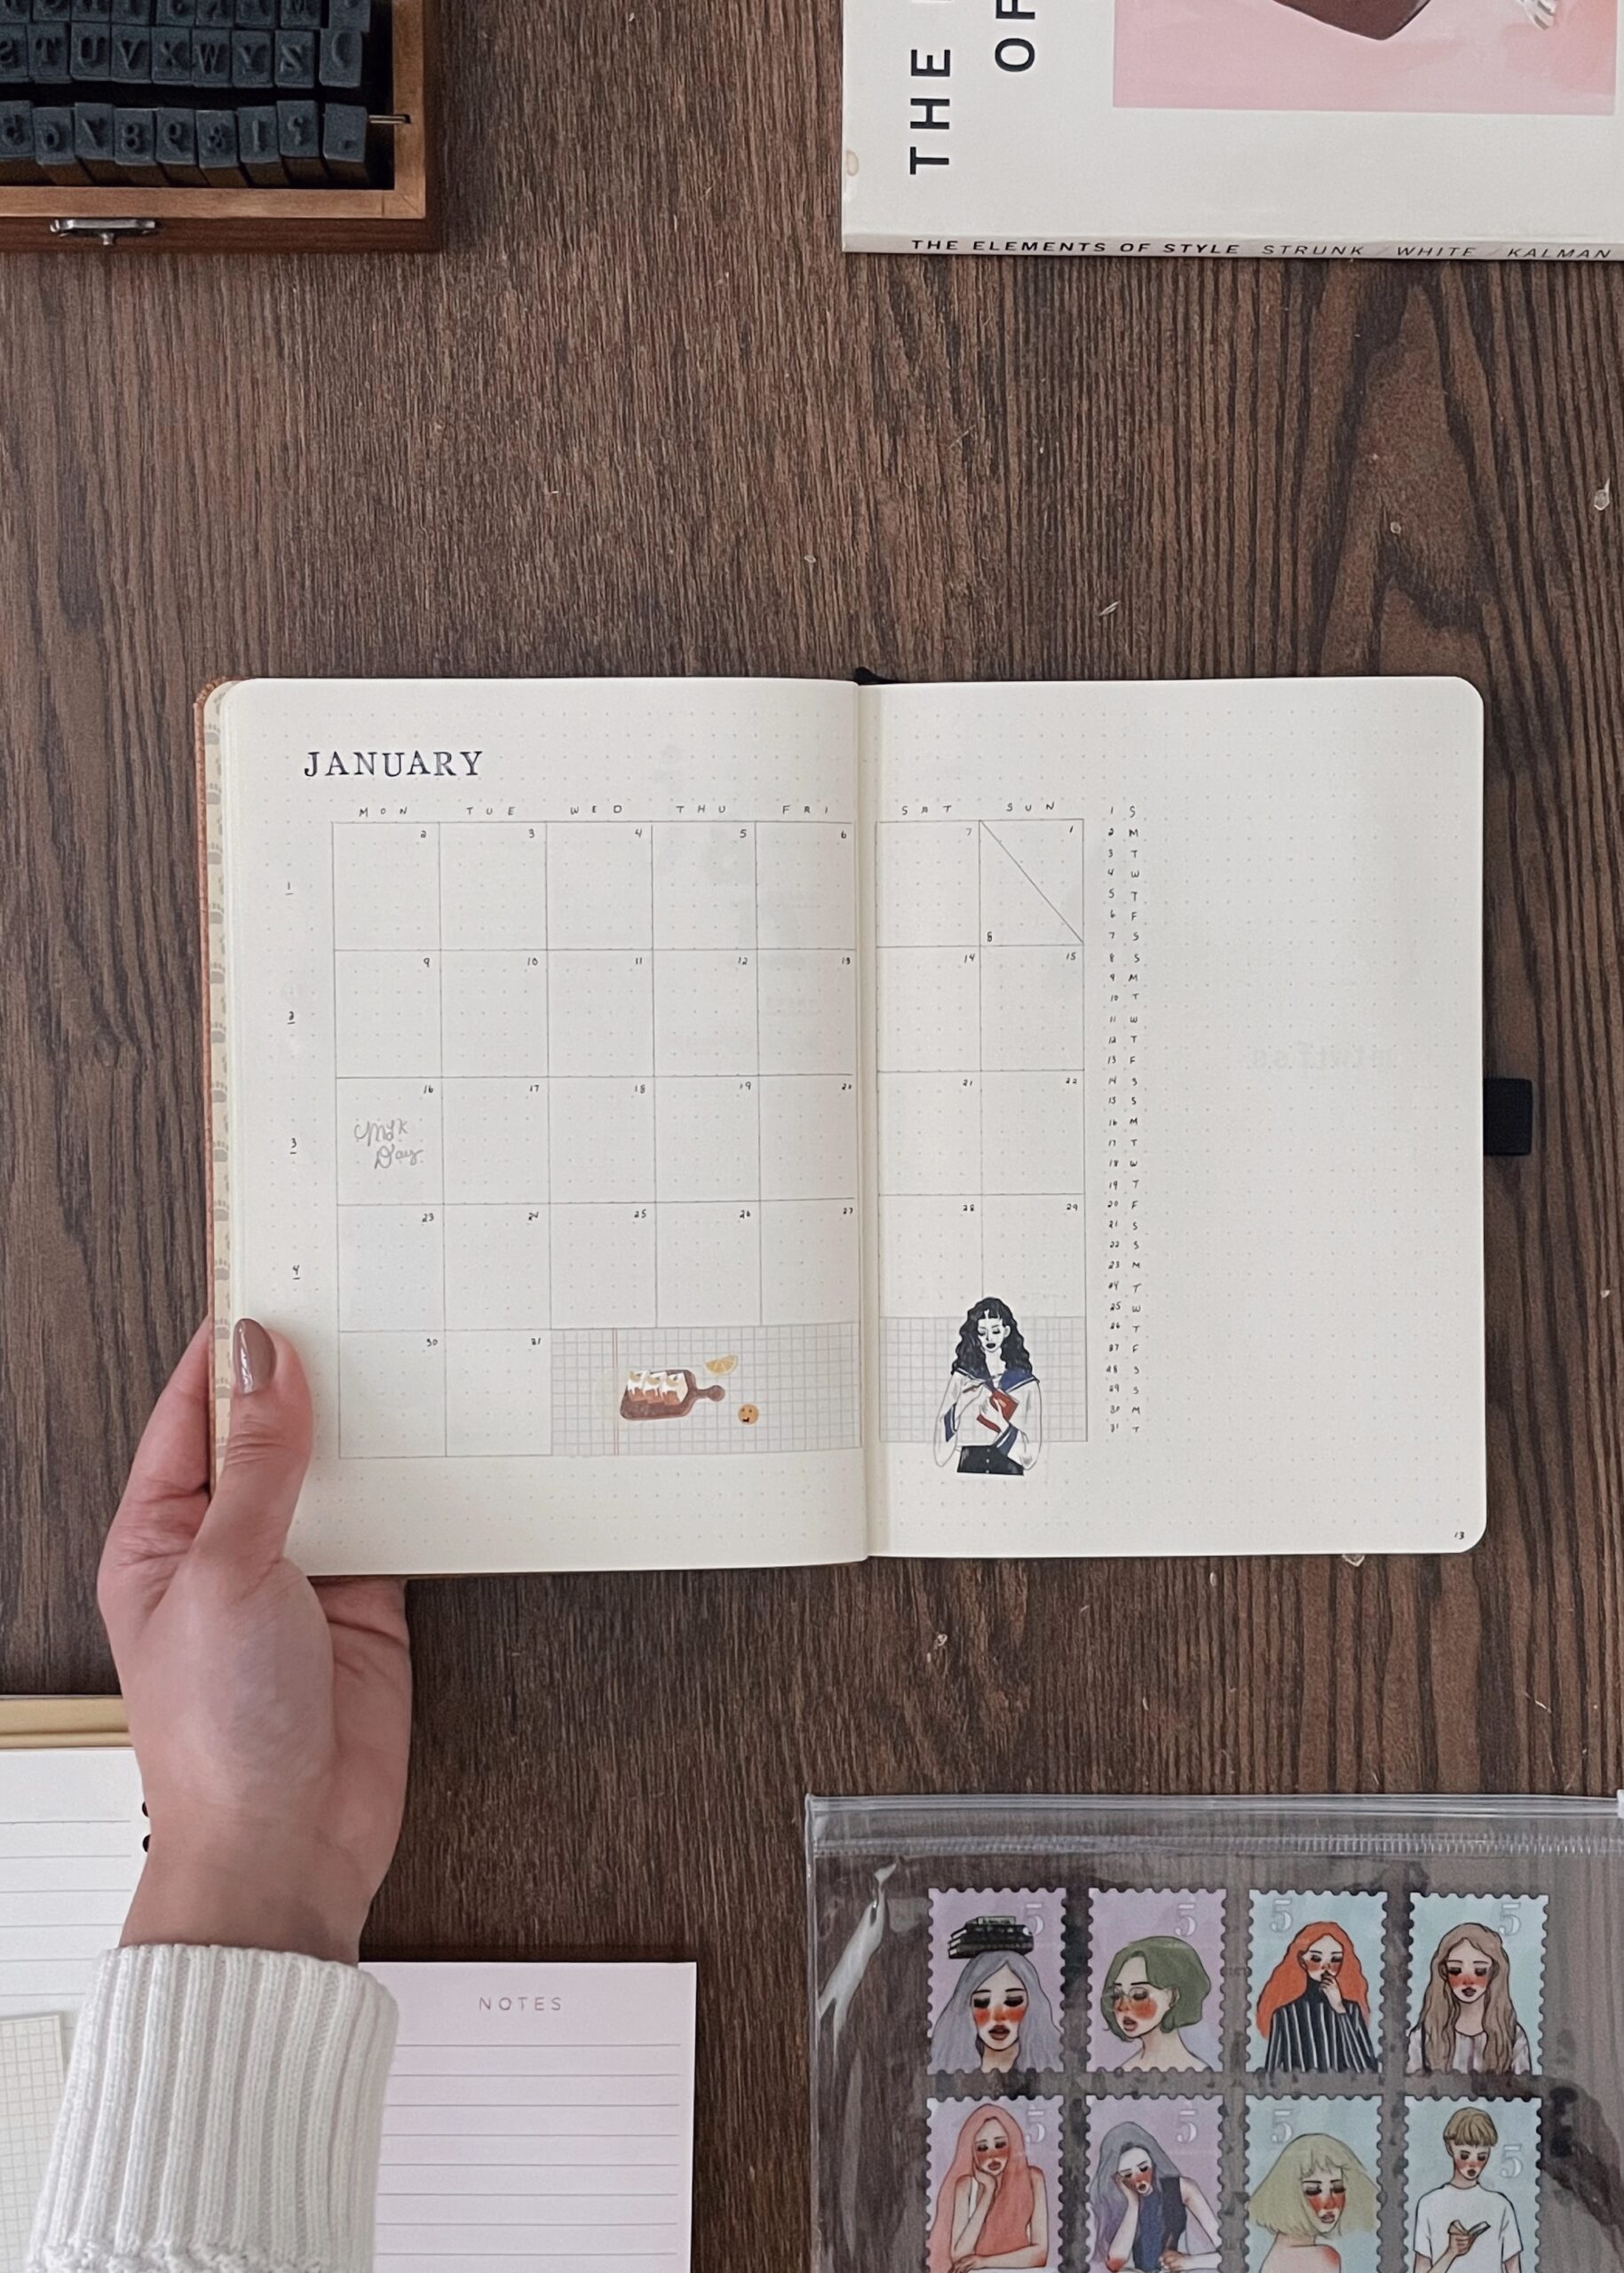
If you’ve been following my setups on Ko-fi over the last 6 months, you’ll know I love a good calendar view. In fact, it’s my favorite page to set up and fill in. I don’t really use my calendar spread as an event-planning tool (I use my digital calendar for that), but as a memory-keeping tool. I start by filling in major events in pencil in the rectangles, then after the day is over, I write what happened on that day’s corresponding line in pen.
I tend to write anything from game releases, holidays, birthdays, and even just a nice thing that happened that day here. Then, at the end of the month, I can look back on this page and see one significant thing that happened each day and get a pretty good idea of how the month went.
As the month goes on, this page fills up with stickers, stamps, doodles, notes… it’s truly my favorite page to look back on once it is filled.
Weekly dashboard + Rolling dailies
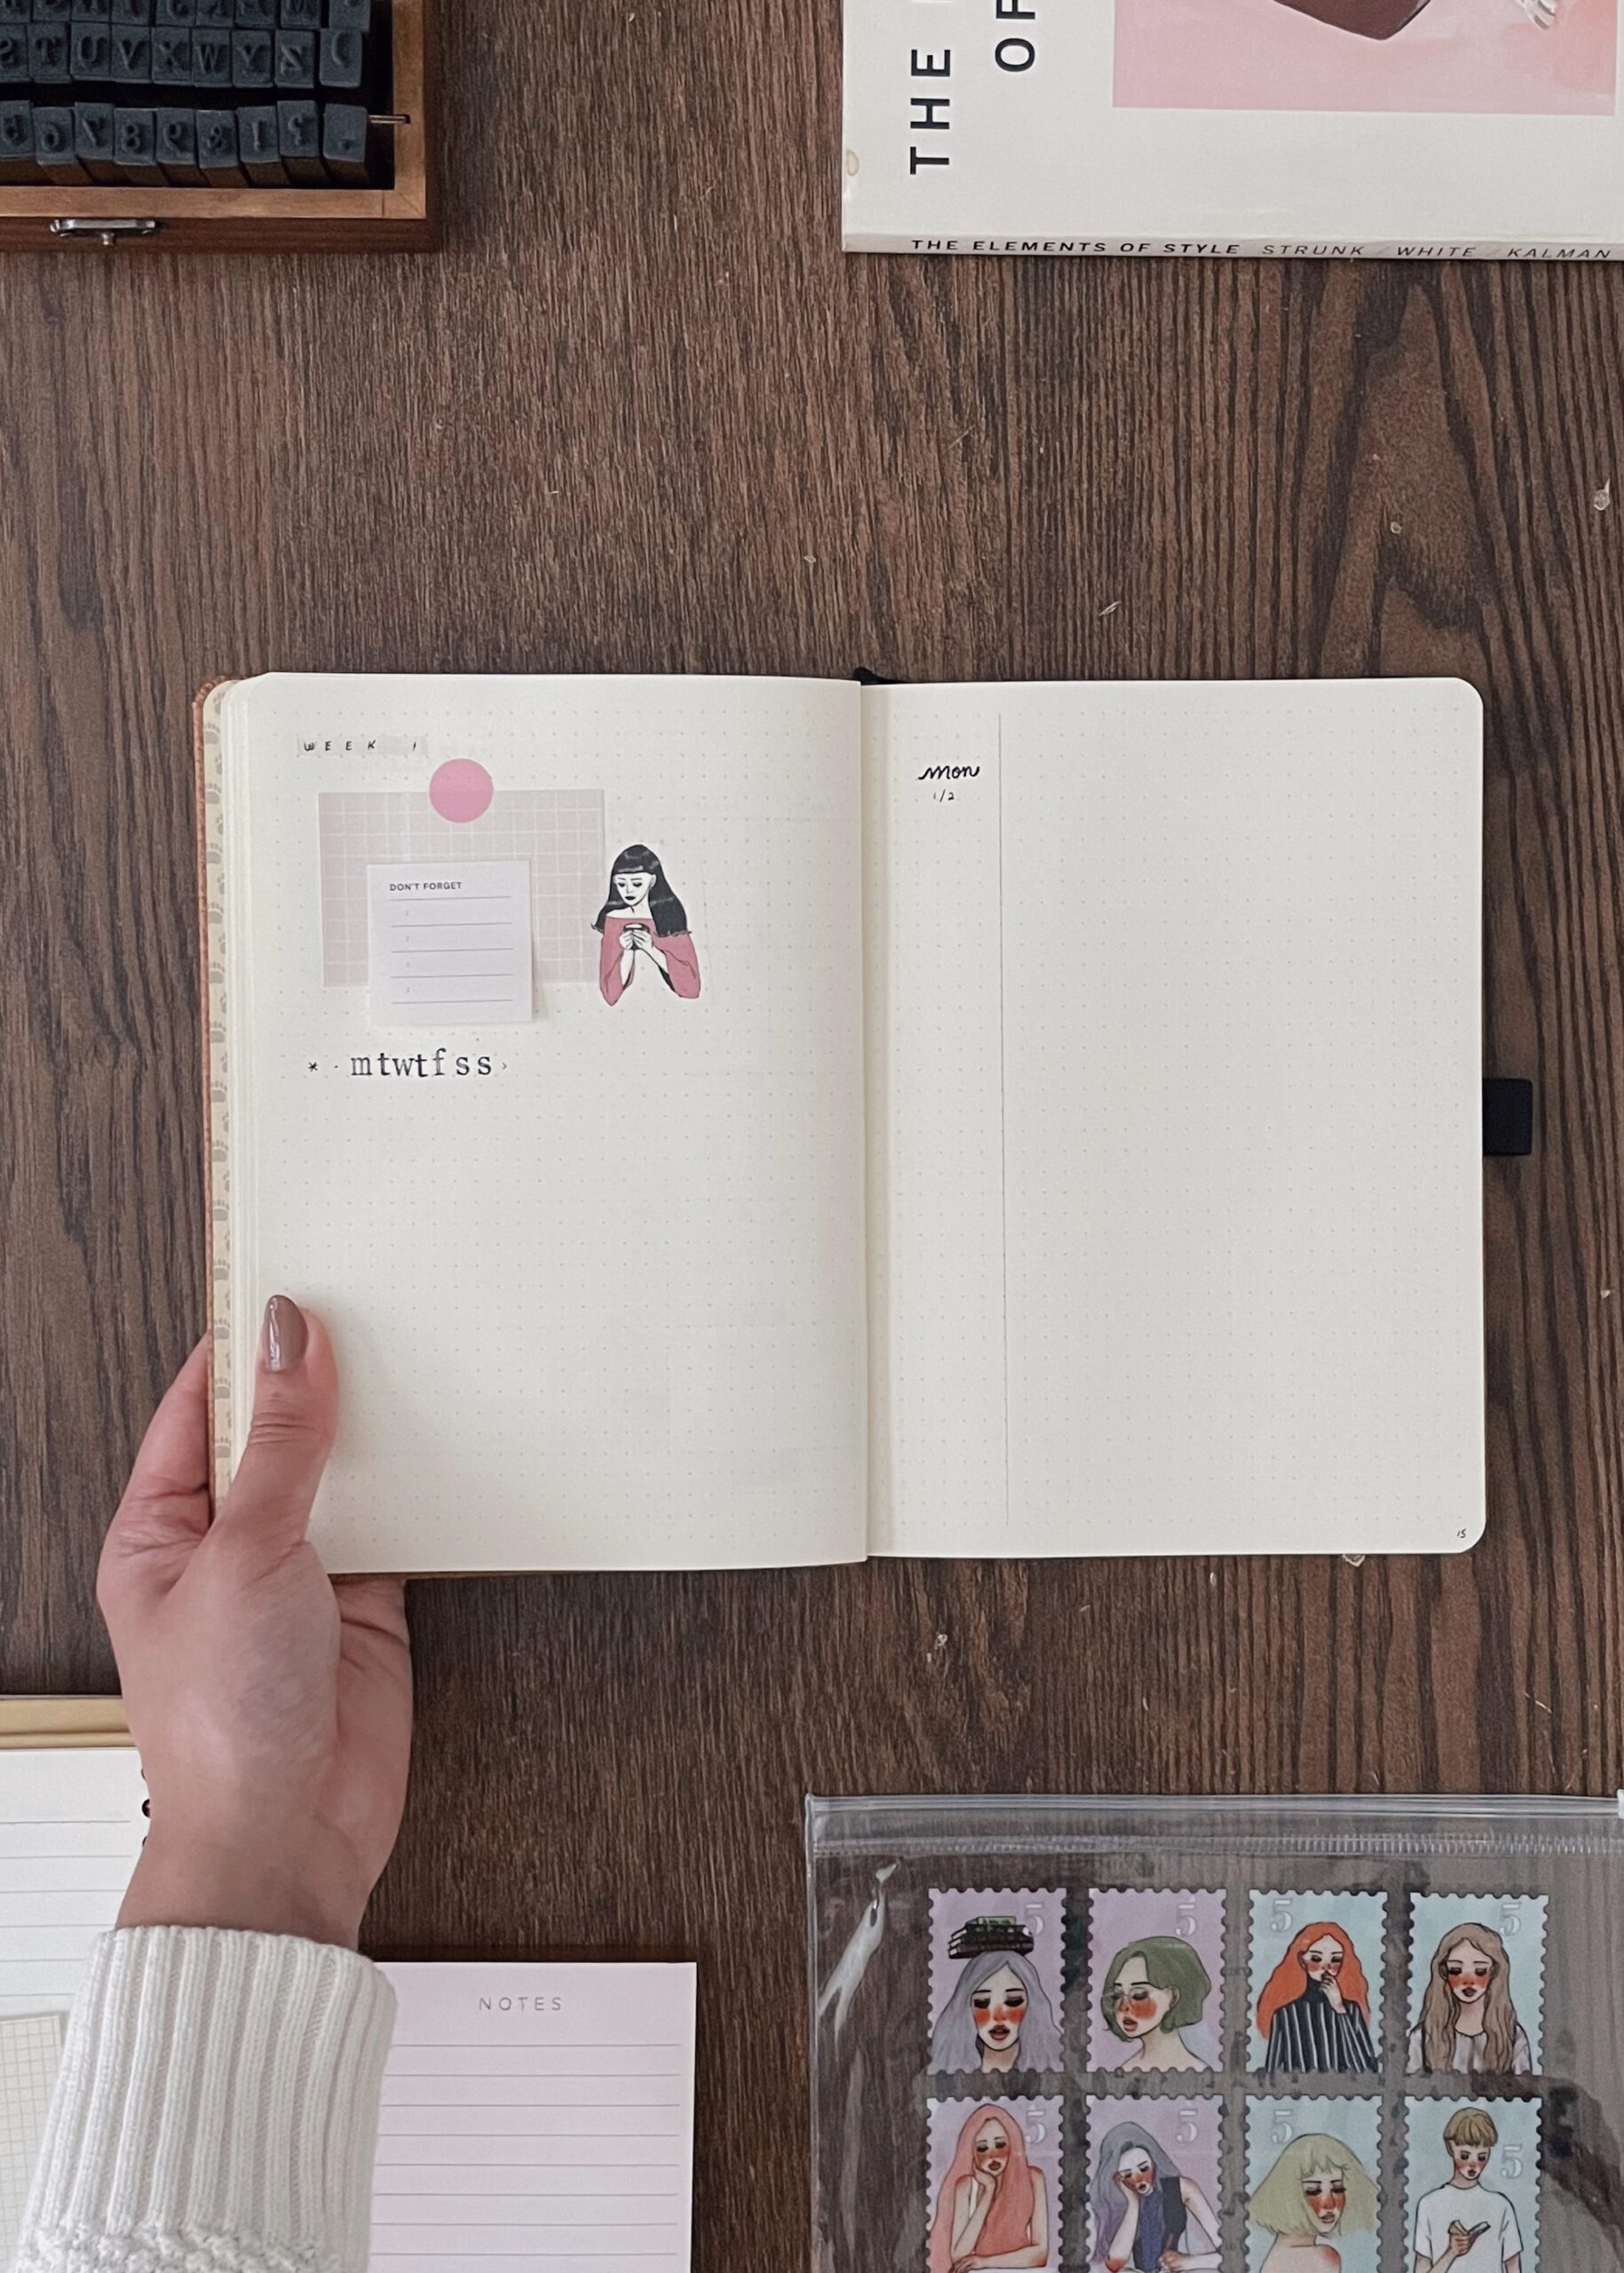
Finally, my weekly setup. I use the traditional rolling daily method in my bullet journal, which means I don’t set up my weeks in advance across two pages, like a planner. I stopped using planners for my personal notebook because I found the allocated space so limiting. With the rolling method, I literally just take it day by day and use as much or as little space as I need. And if I don’t need it that day, I just skip it. It doesn’t waste paper and it gives me the freedom and flexibility to take up all the space I require. (A pretty good mindset for also living your life, honestly.)
Since I can’t plot my week in advance with this method, I set up a weekly dashboard, similar to my Monthly Dashboard, with a focus for the week and the Alastair method. This acts as a running task list. Every Sunday when I am planning the week ahead, I write down a list of all the things I want to do that week. Then I put a dot in the column for the day of the week I’d like to do that thing.
So if it’s Monday and I aim to do something on Thursday, I add that task to the list and put a dot in the column for Thursday. Then on Thursday morning, I refer to this list and migrate all the tasks that are in the Thursday column. This method has been so helpful for me because I can see at a glance how many tasks I have allotted for each day. It quickly becomes obvious which days are overloaded with tasks, so when that happens, I then try to move them to another day to balance things out.
Finally, I make a faux margin in my notebook to help divide the page and make space for me to add the date, stickers, notes, etc.
I highly recommend this method if you are taking your notebook day by day, but still want to keep track of future tasks for later in the week. If you think of a task that should go later in the month, just flip back to your Monthly Dashboard and add it there.
Final Thoughts
I’ve been using this setup (with minor tweaks) a lot for the past 6-12 months, and it has worked for me SO well that I am continuing to do it in the new year. This is the first time in a yearly setup where I didn’t make massive changes or do a total overhaul because it’s just worked so well. Simplicity works the best for me because the more tedious a thing becomes, the less likely I am to enjoy doing it. With that said, I realize my journal setup may not work for everyone. What matters is doing what works best for you!
Previous Setups
Want some more ideas on how to set up your bullet journal? Check out my past setups:
My July-December 2022 Setup
My January-June 2022 Setup
My July-December 2021 Setup
My January-June 2021 Setup
Are you keeping a bullet journal for 2023? What does your setup look like? Leave a link in the comments, so I (and others!) can check it out!




Your setup is so perfectly minimal! I could never 😉 I also like to keep my monthly themes minimal – I just rely on stickers and a monthly colour, so I can keep the setting up process short and sweet, and focus more on the planning and using of my bujo. And, yes! Someone that also still uses rolling dailies! I like to create a single-page weekly spread to plot out gym sessions, in-office days and other appointments, but really love rolling dailies to take up as much space as I need. Some days are QUIET, you know?
Wishing you a happy and healthy 2023, Megan! x
Exactly — some days are quiet and I don’t really need much planning, and used to feel weird when I left a day I previously set up “empty.” Rolling dailies really just help you focus on what you need. Plus the freedom is so great. 🙂
Wishing you a happy new year too!!
I’ve really simplified my bullet journal a lot since I started in….2018 as well? I was trying to be aesthetic, and while it was super time consuming, I had more time then? Now I’m much busier, and I would prefer to use my free time differently. I love seeing how other people use their bullet journals to see if it’ll give me new inspiration. Great post! xx
Melina | http://www.melinaelisa.com
Yes, same! It was fun and exciting at first, then it became too elaborate and more like a chore. Now that I’ve simplified it, it’s been more functional and easy for me to use. 🙂 I love seeing how others use theirs, too.
Thanks for sharing how you set up your bullet journal. I love getting inspiration from others even if their journaling style is completely different from mine. I appreciate neat minimal bujo setups even though my style is colorful maximalist! haha
My journal is a bullet/art/scrapbook/creative journal all in one! I have a separate planner that I use to organize my life for the week and month. I prefer to have two different notebooks because I allow myself to let my creativity flow in my bujo whilst in my planner it’s all about staying structured so I can accomplish my tasks for the day. ♥
http://www.mooeyandfriends.com
Hi Michelle! Thanks for your kind words 🙂
I LOVE that you use your bullet journal as a creative outlet for your art. That makes sense why you were separating them — journals have different purposes. I actually have a 3-notebook journaling system, so I too tend to separate things out based on my needs, so maybe I will talk about that soon, too. I find it so interesting to see how others use their journals in their daily lives.