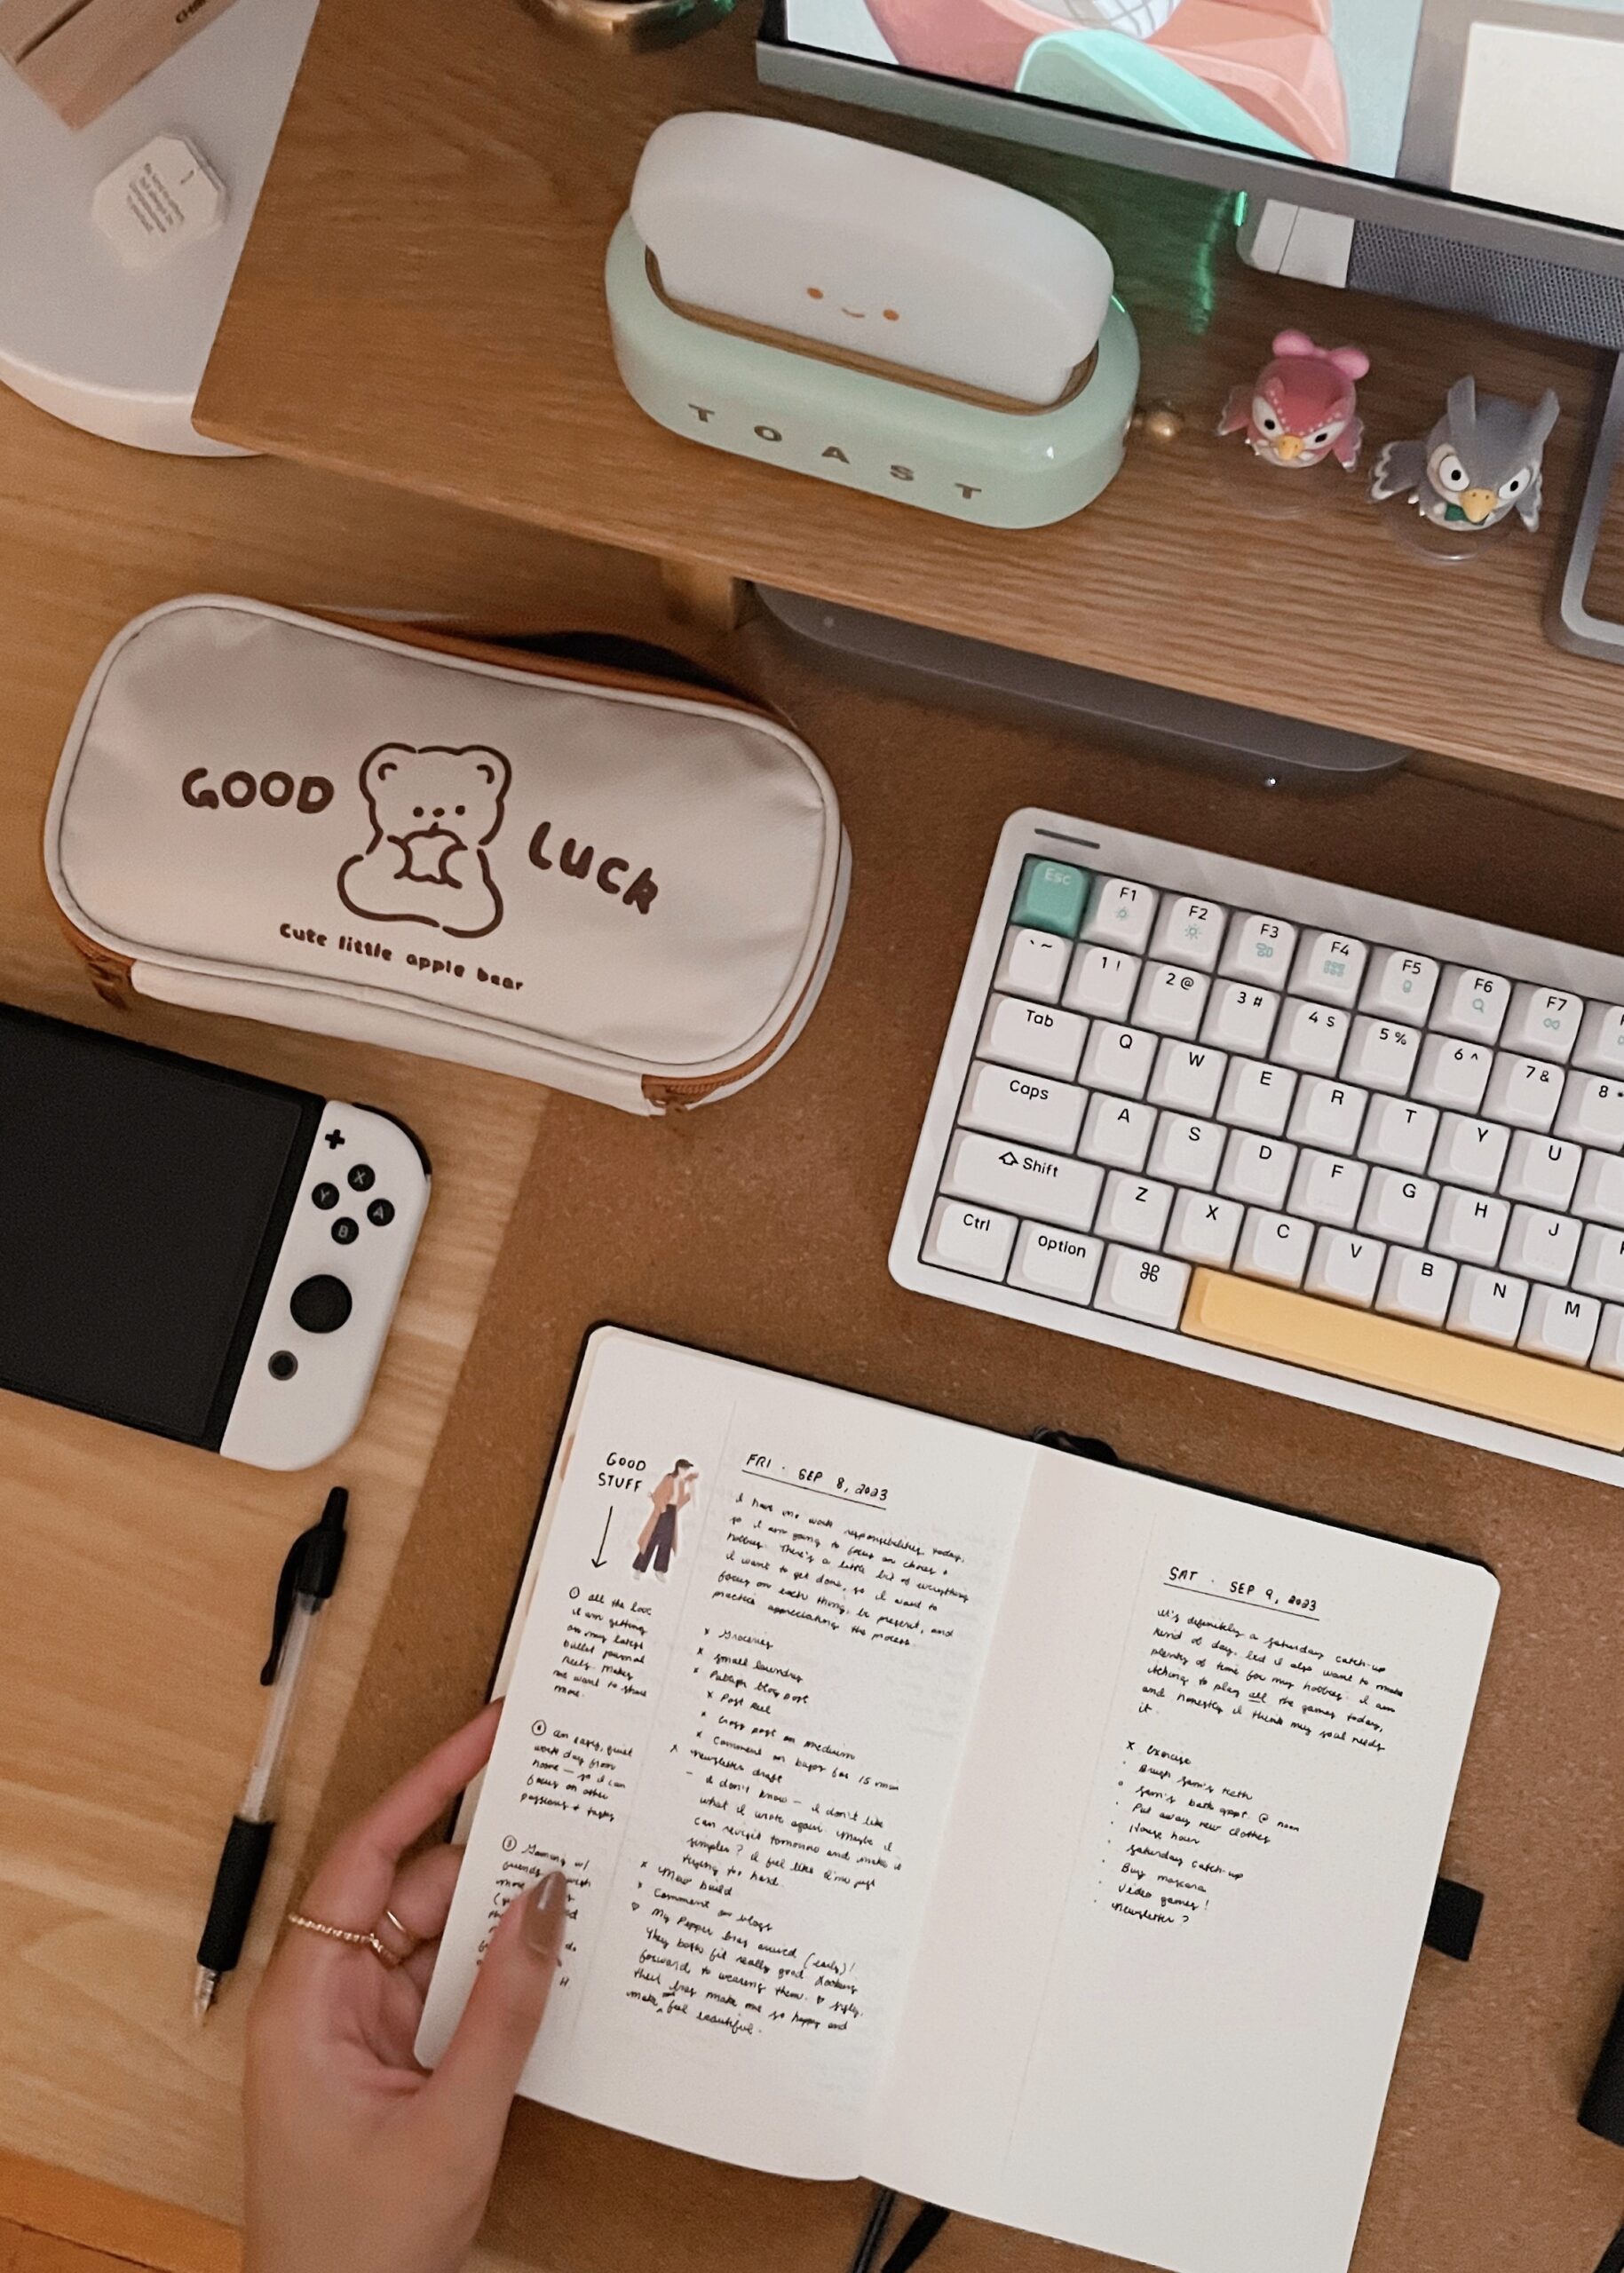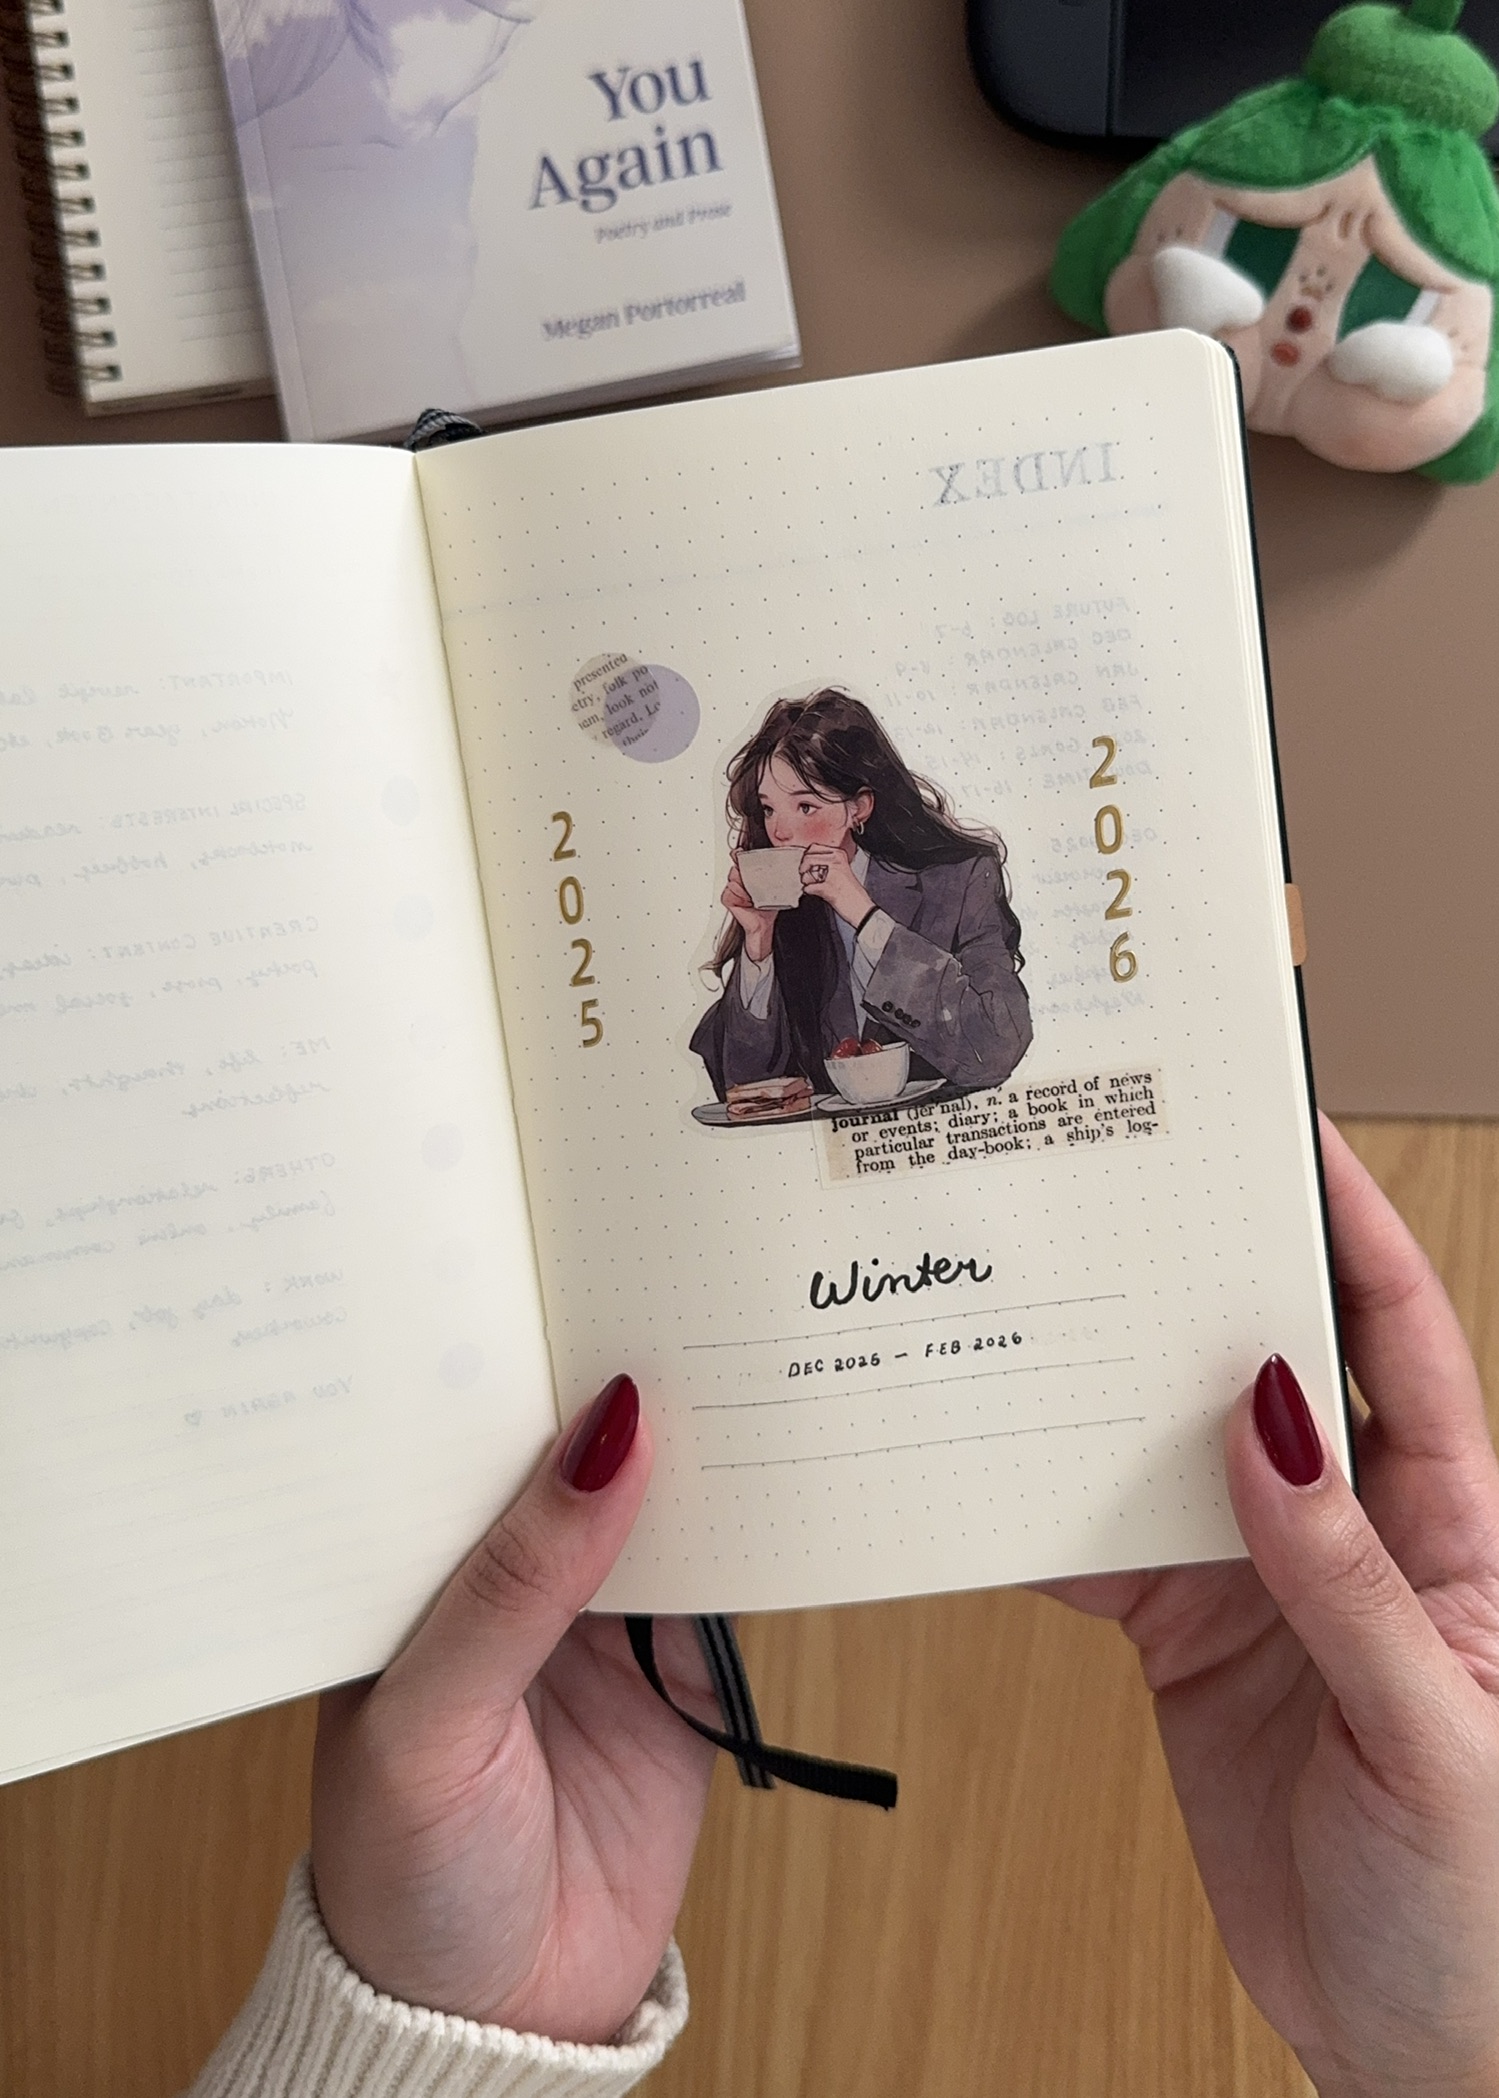
After my seasonal bullet journal stack got over 33K views on Instagram and 624K views on Threads (and counting), many people asked, “What even is seasonal journaling??” and “How do you set up your notebook for it?” The truth is, my seasonal journal setup hasn’t changed too much since 2024. But this year, I’ve refined and updated some key spreads to make this my favorite minimal* bullet journal setup yet.
If you’ve wanted to try bullet journaling but feel intimidated by all the overly aesthetic, themed weekly spreads that feel more like DIY planners than a work-as-you-go productivity tool, then this setup might be great for you. The entire process took me about 2 hours. First, I pencil in the layout for each page (1 hour), then the next day, I carefully ink everything in pen (1 hour). And I only do this once every three months when I first set up the notebook. Each weekly spread thereafter takes me only 15 minutes to set up and fill in.
Let’s take it page by page.
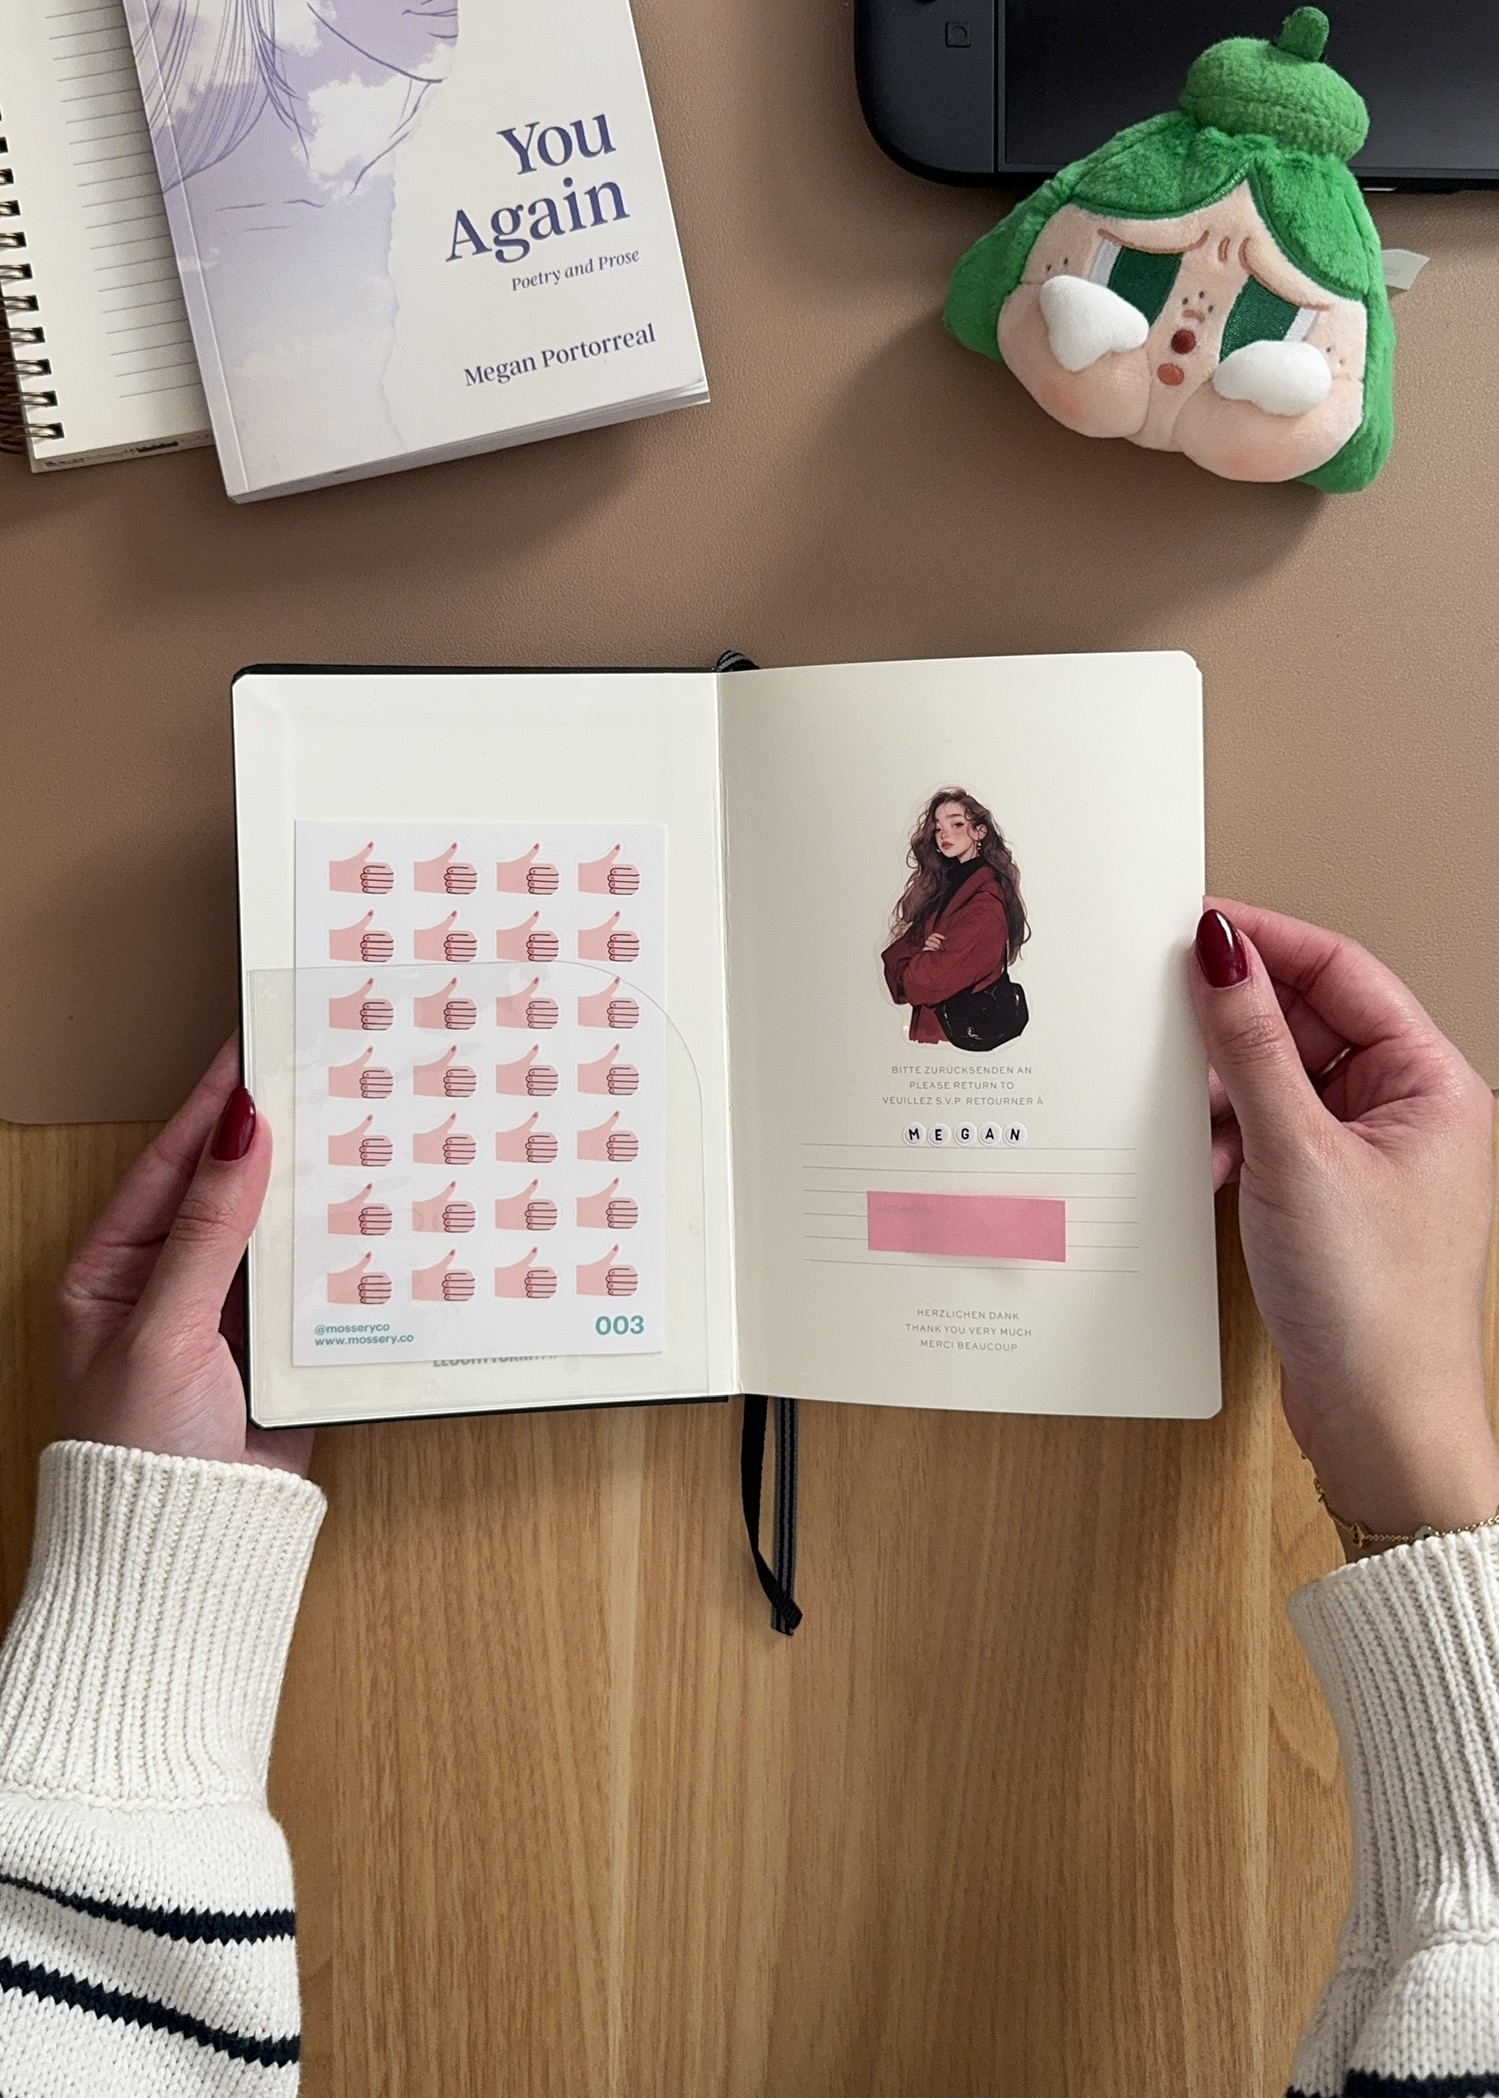
Front interior. I added a clear slip pocket to the front for stickers and notes, then filled in my contact info in case I lose my notebook.
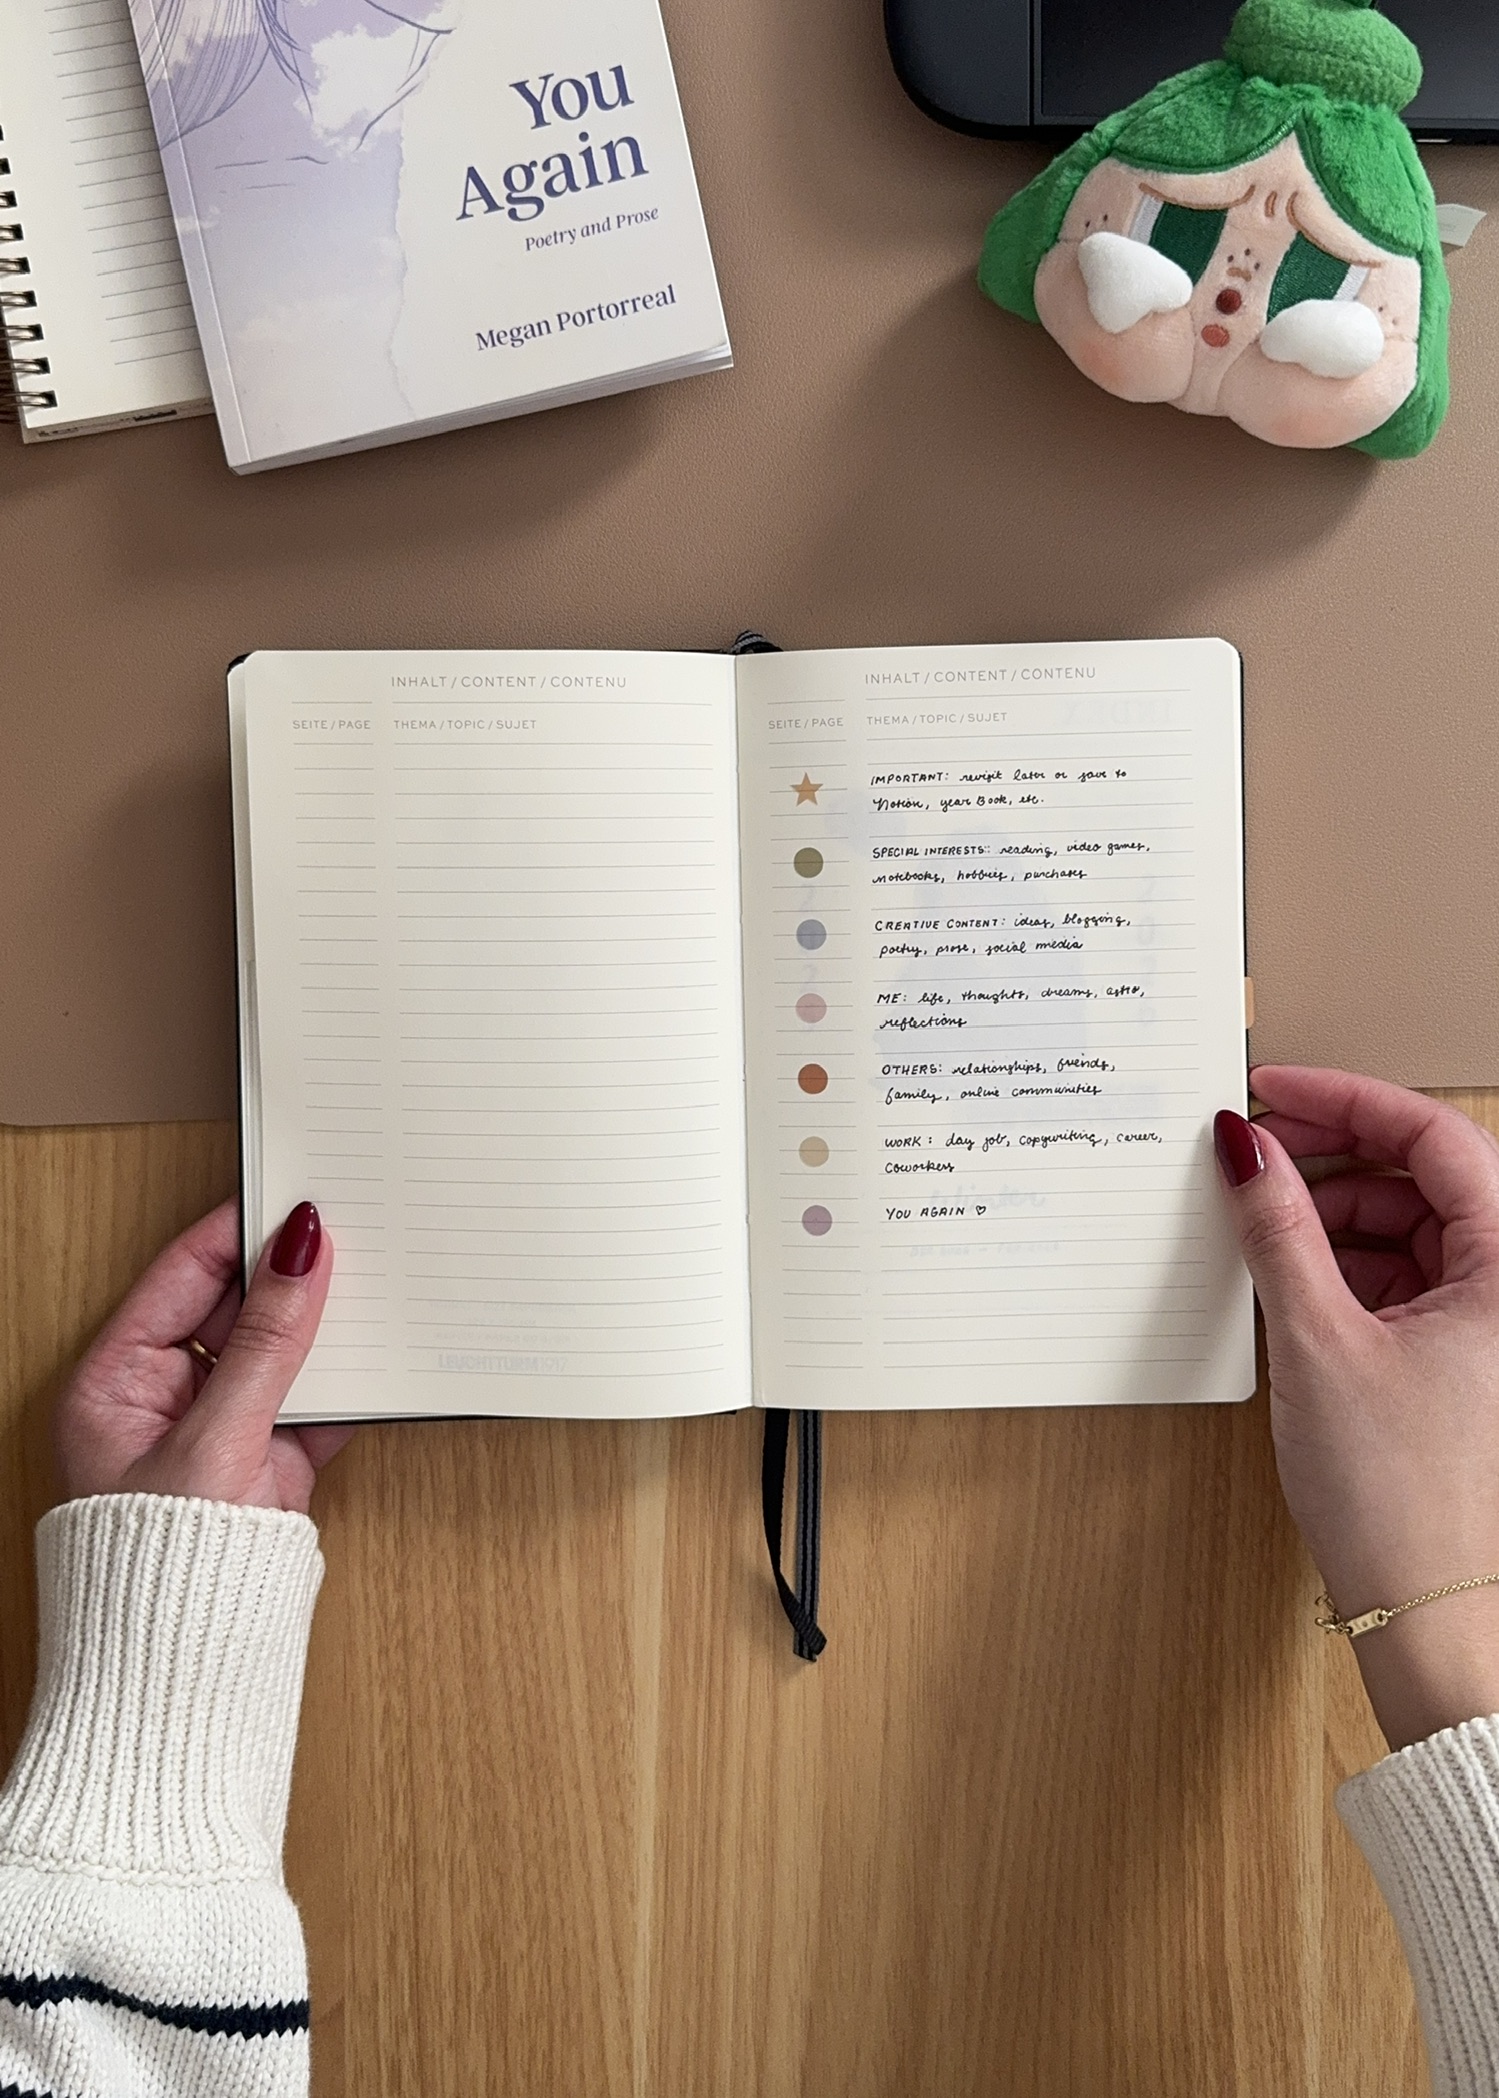
The key. This is my color-coded system for tracking the topics I write about the most in the notebook so that I can search for specific topics at a glance.
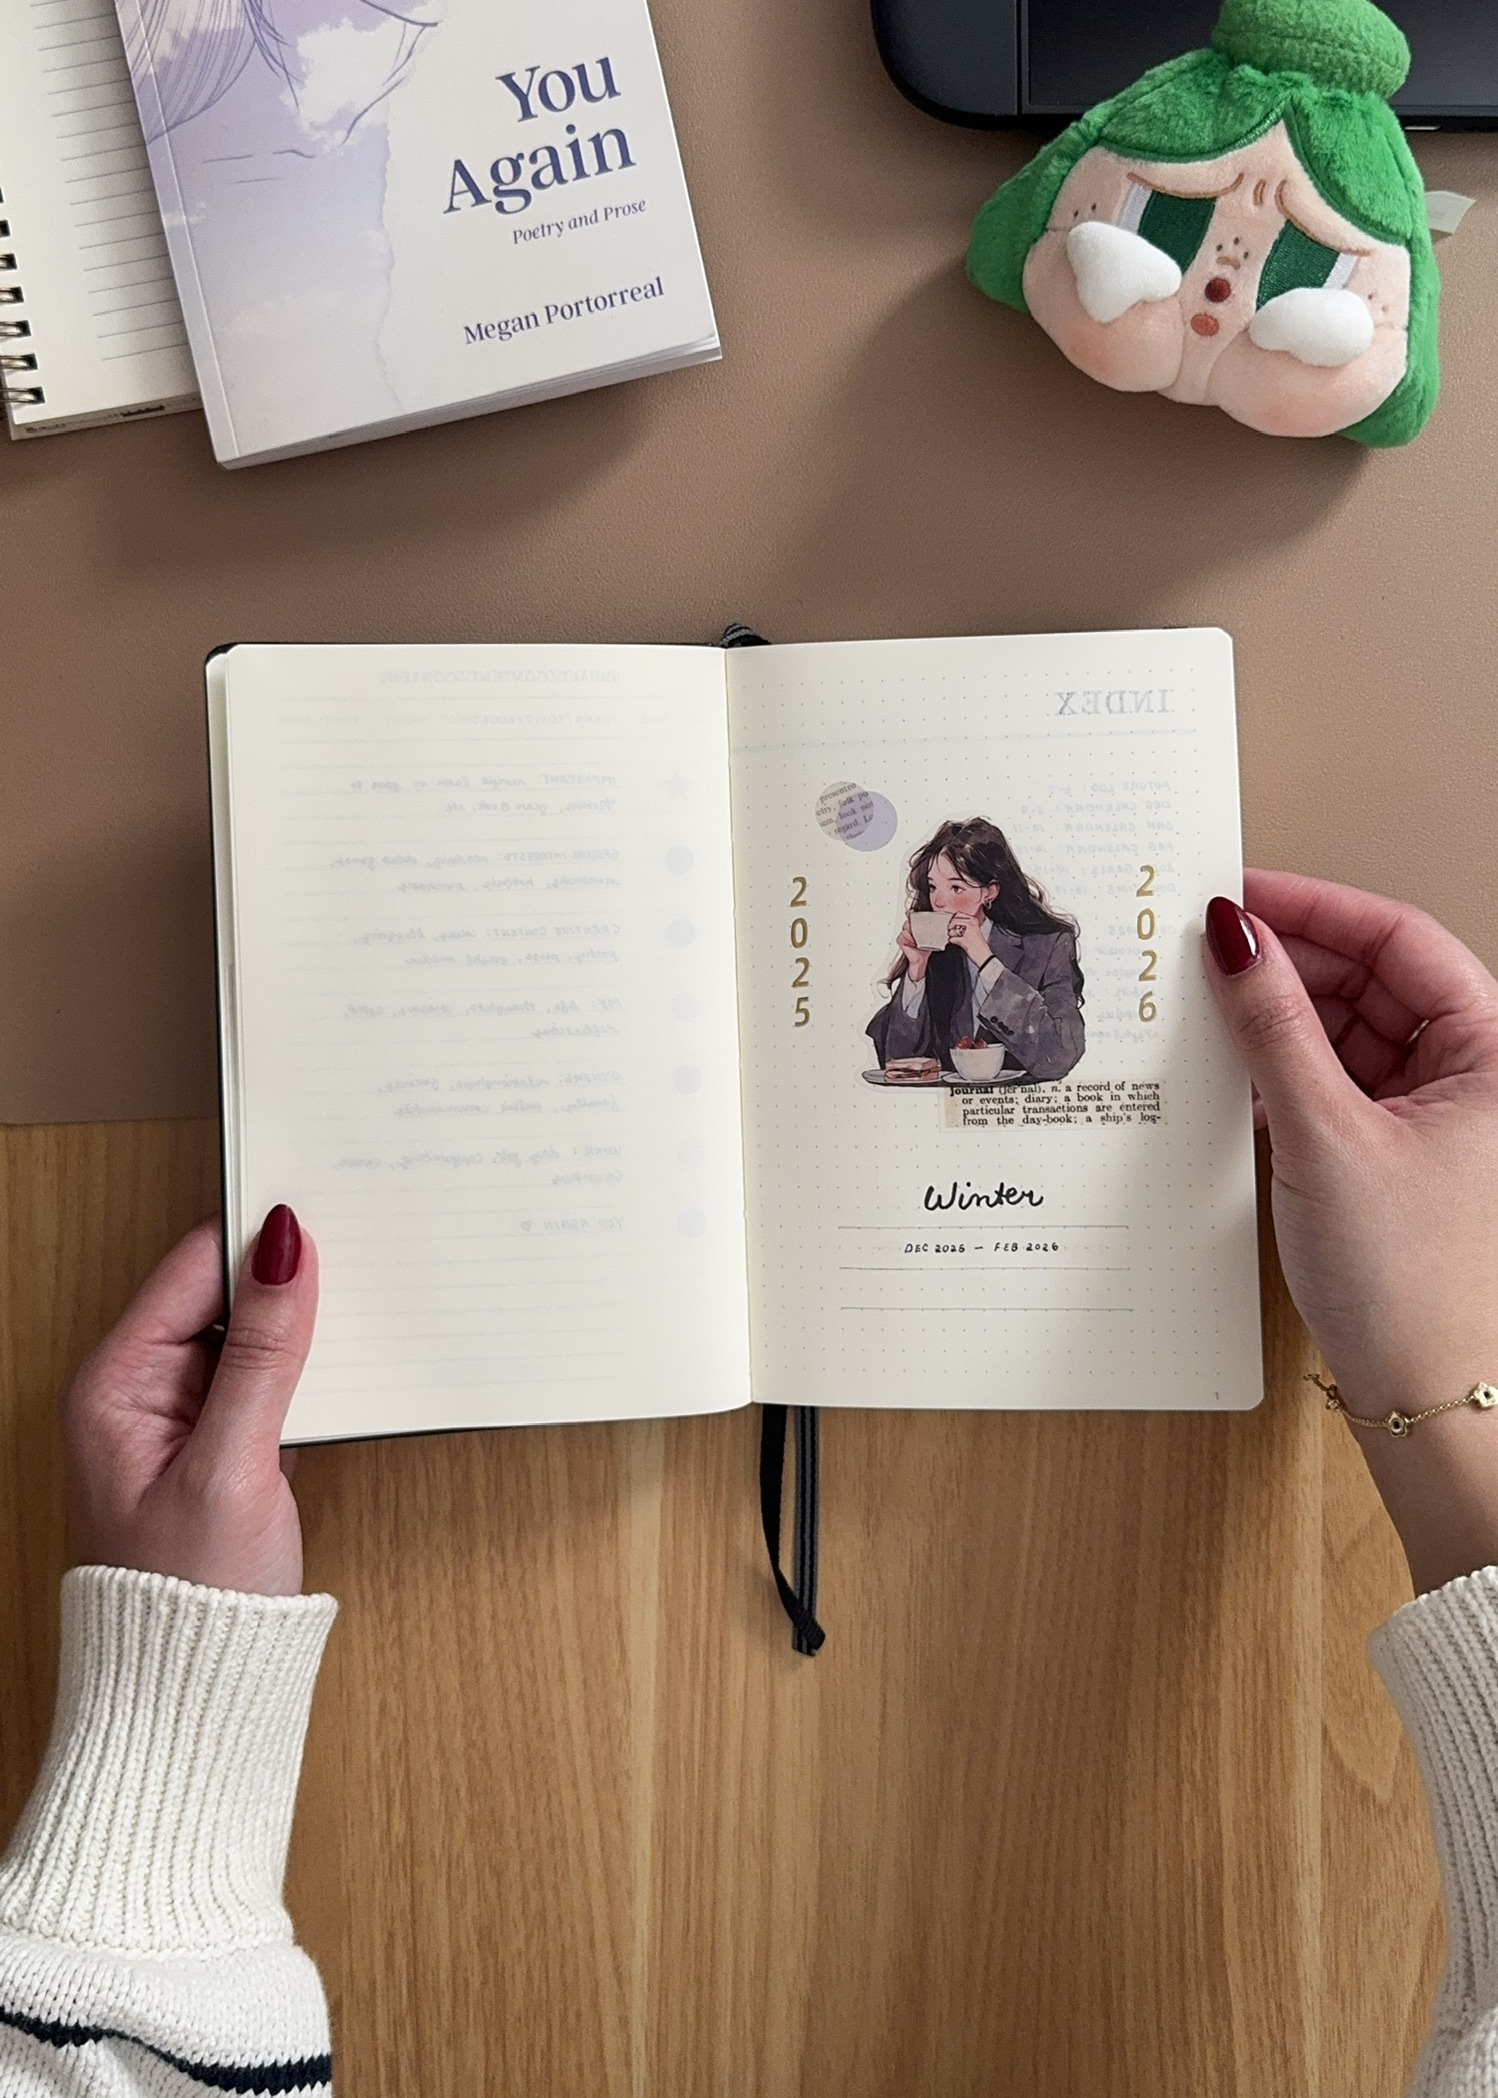
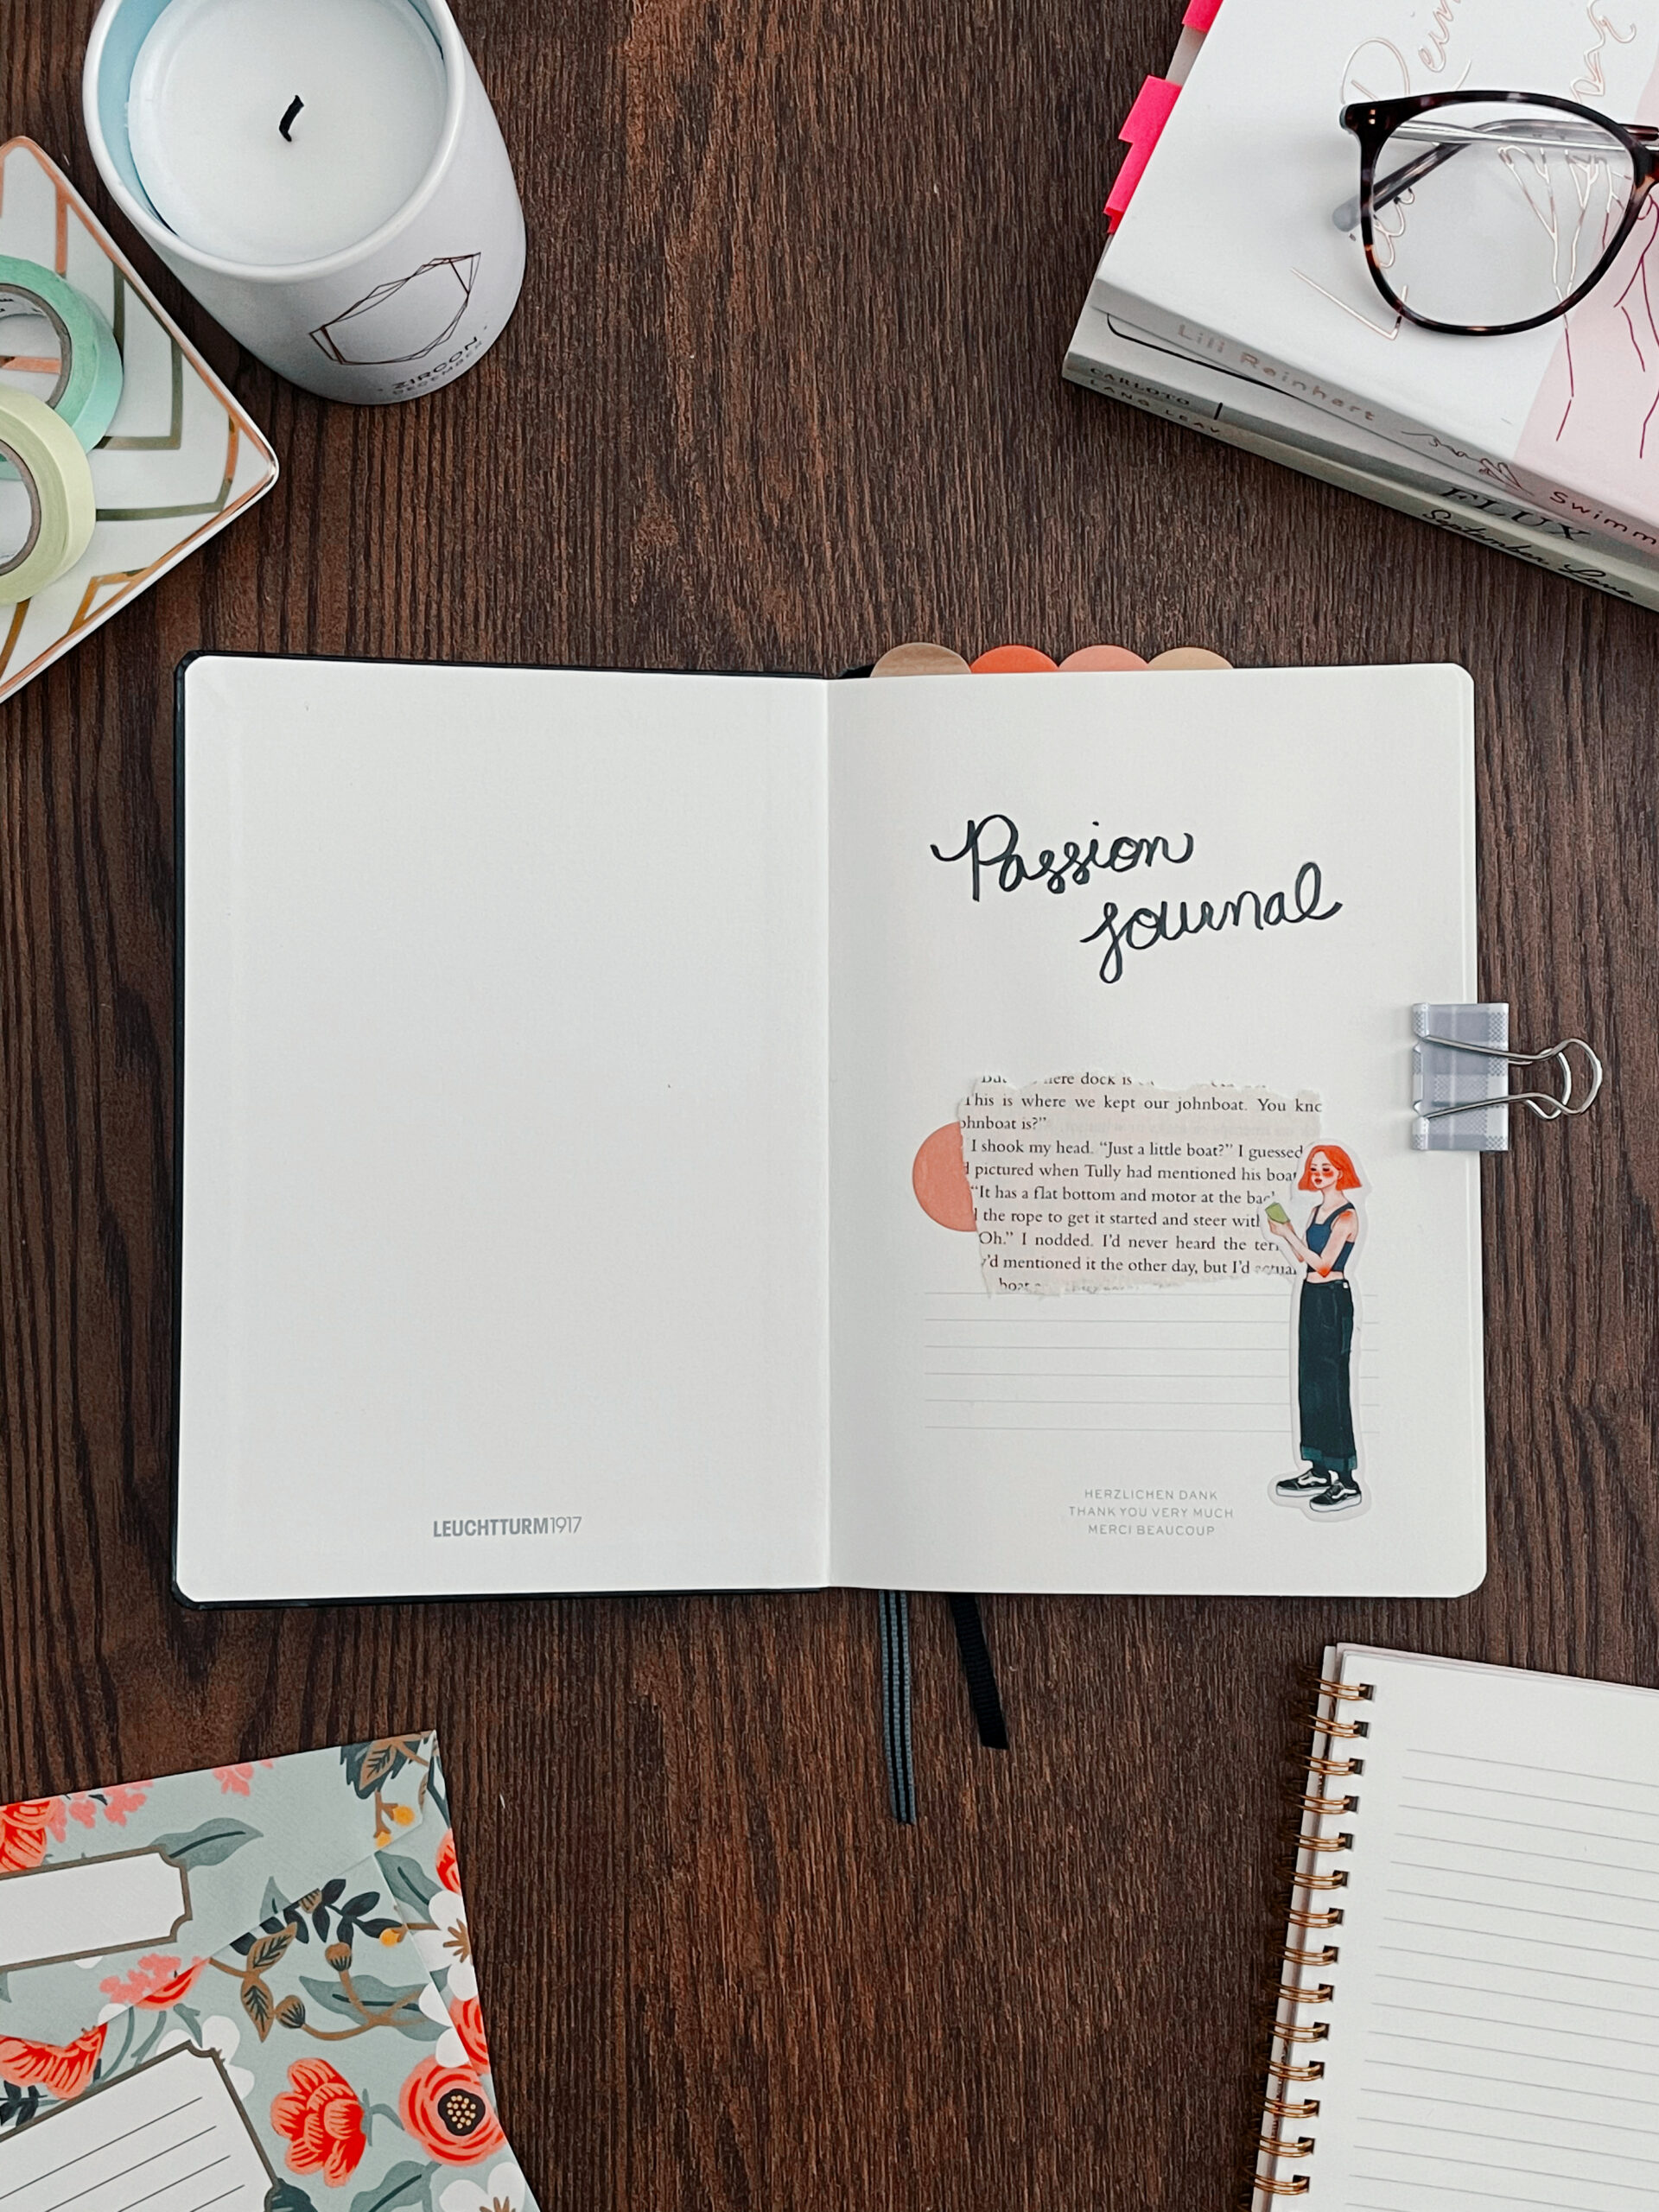
Title page. Purely decorative, this is just the title page of my notebook, which I decorate with my favorite seasonal stickers.
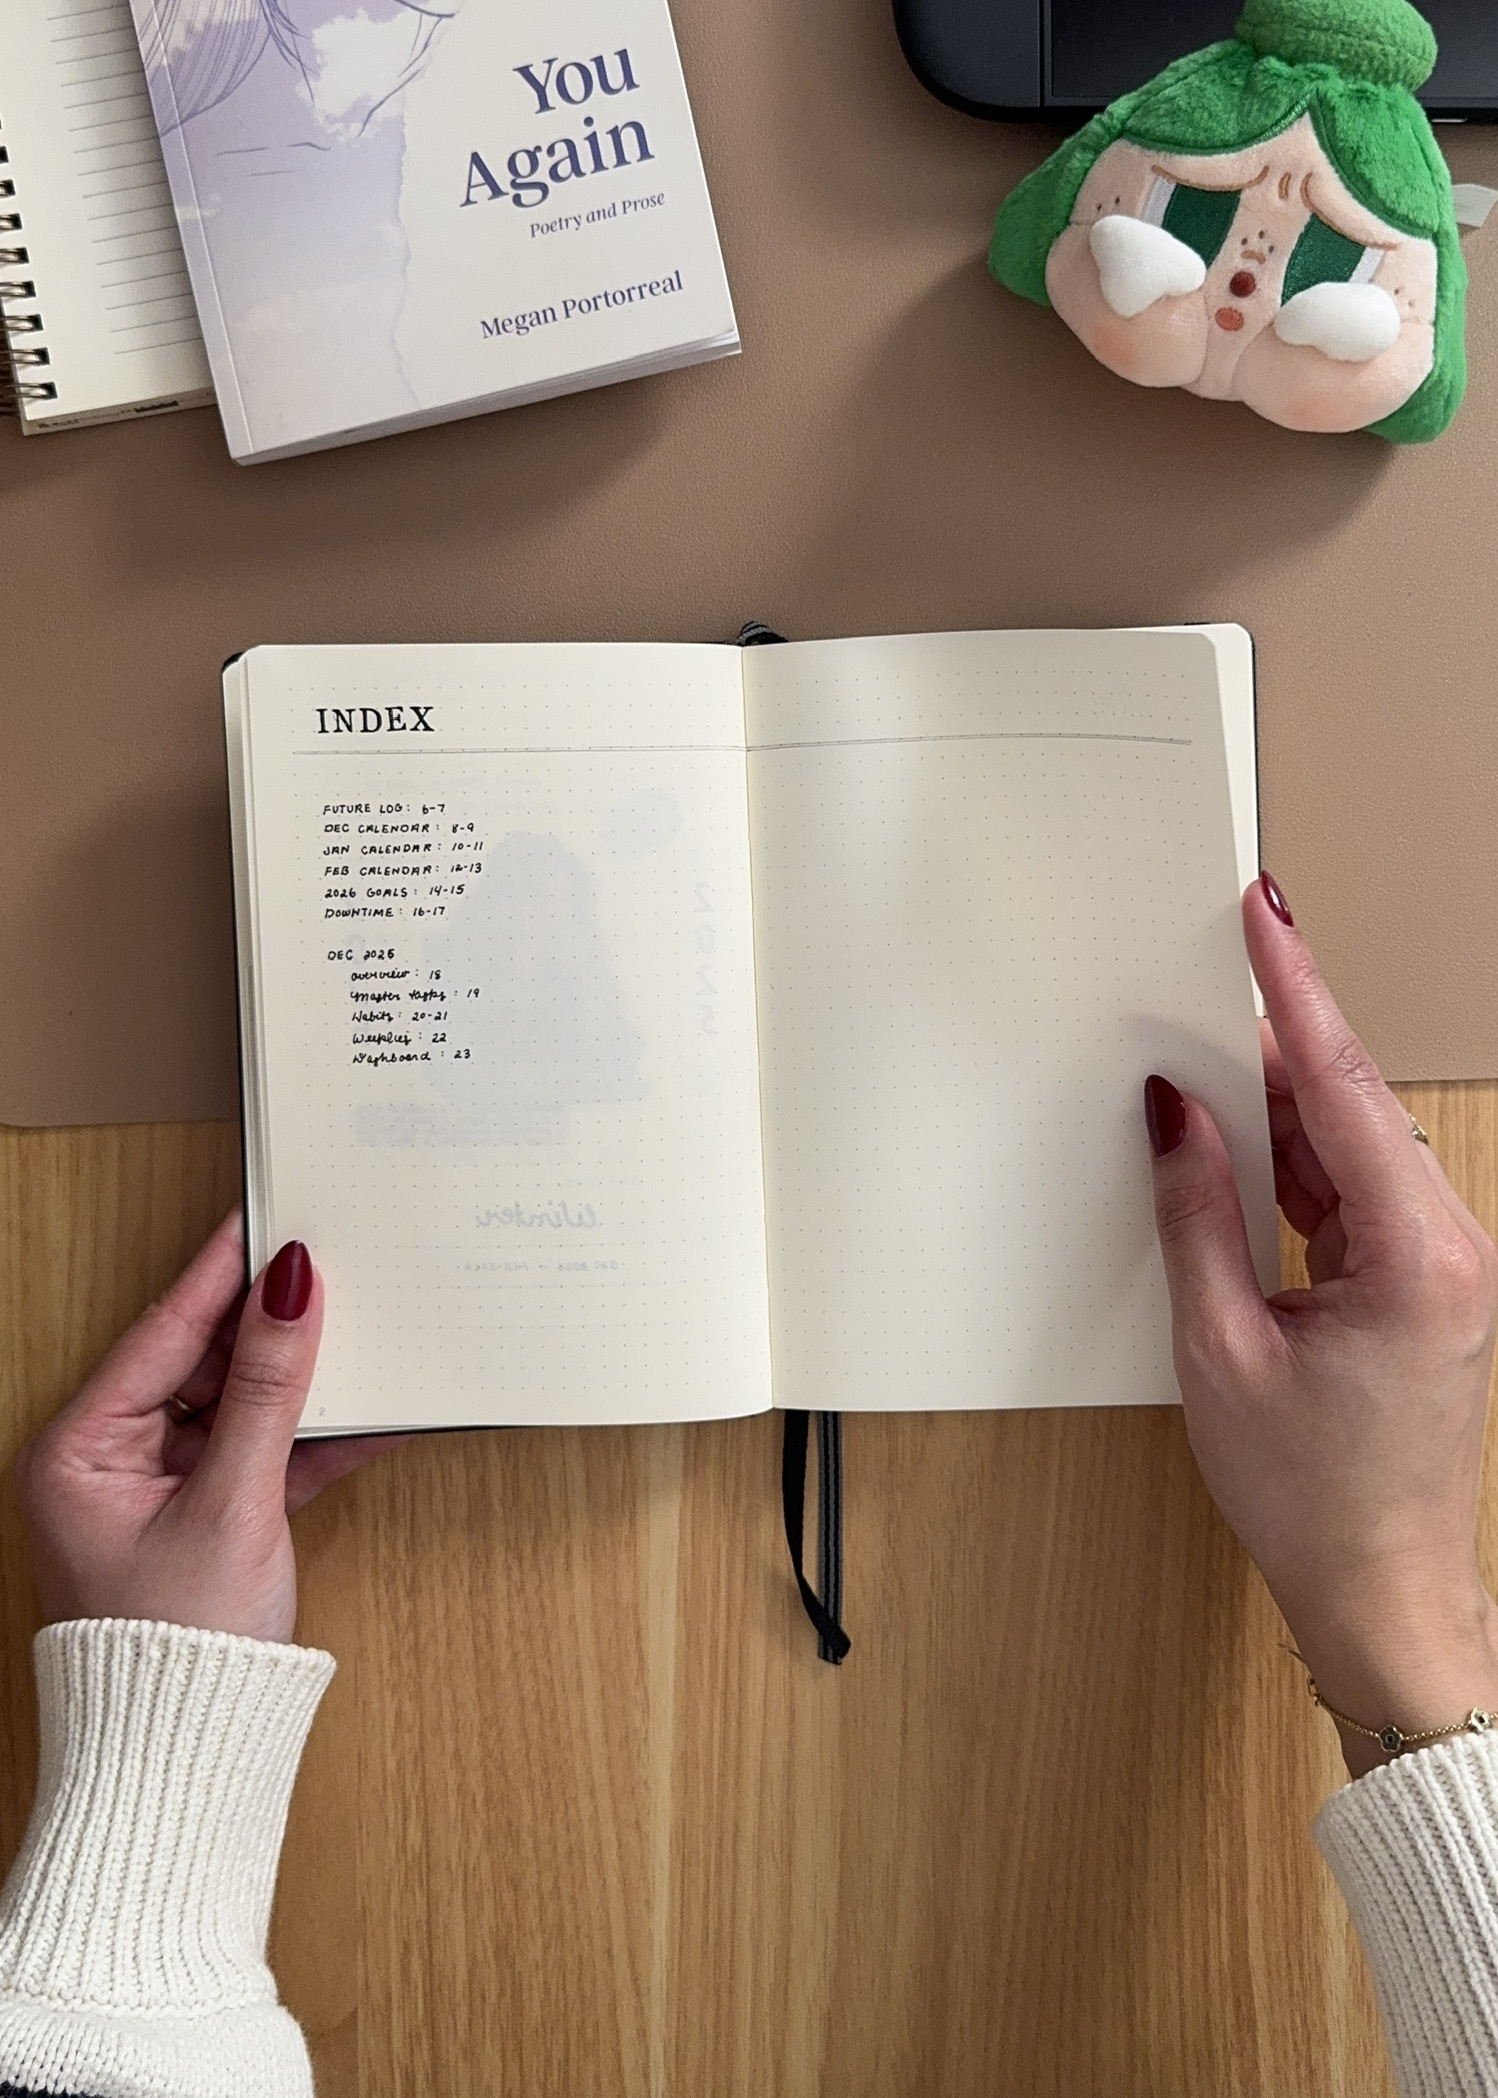
The index. I use the traditional bullet journal method index, where I write the topic, then list the page numbers after it. Since you can’t CTRL+F in notebooks, this is how I track keywords I want to search for later. I give the index 4 pages, since each month usually requires a little over one page.
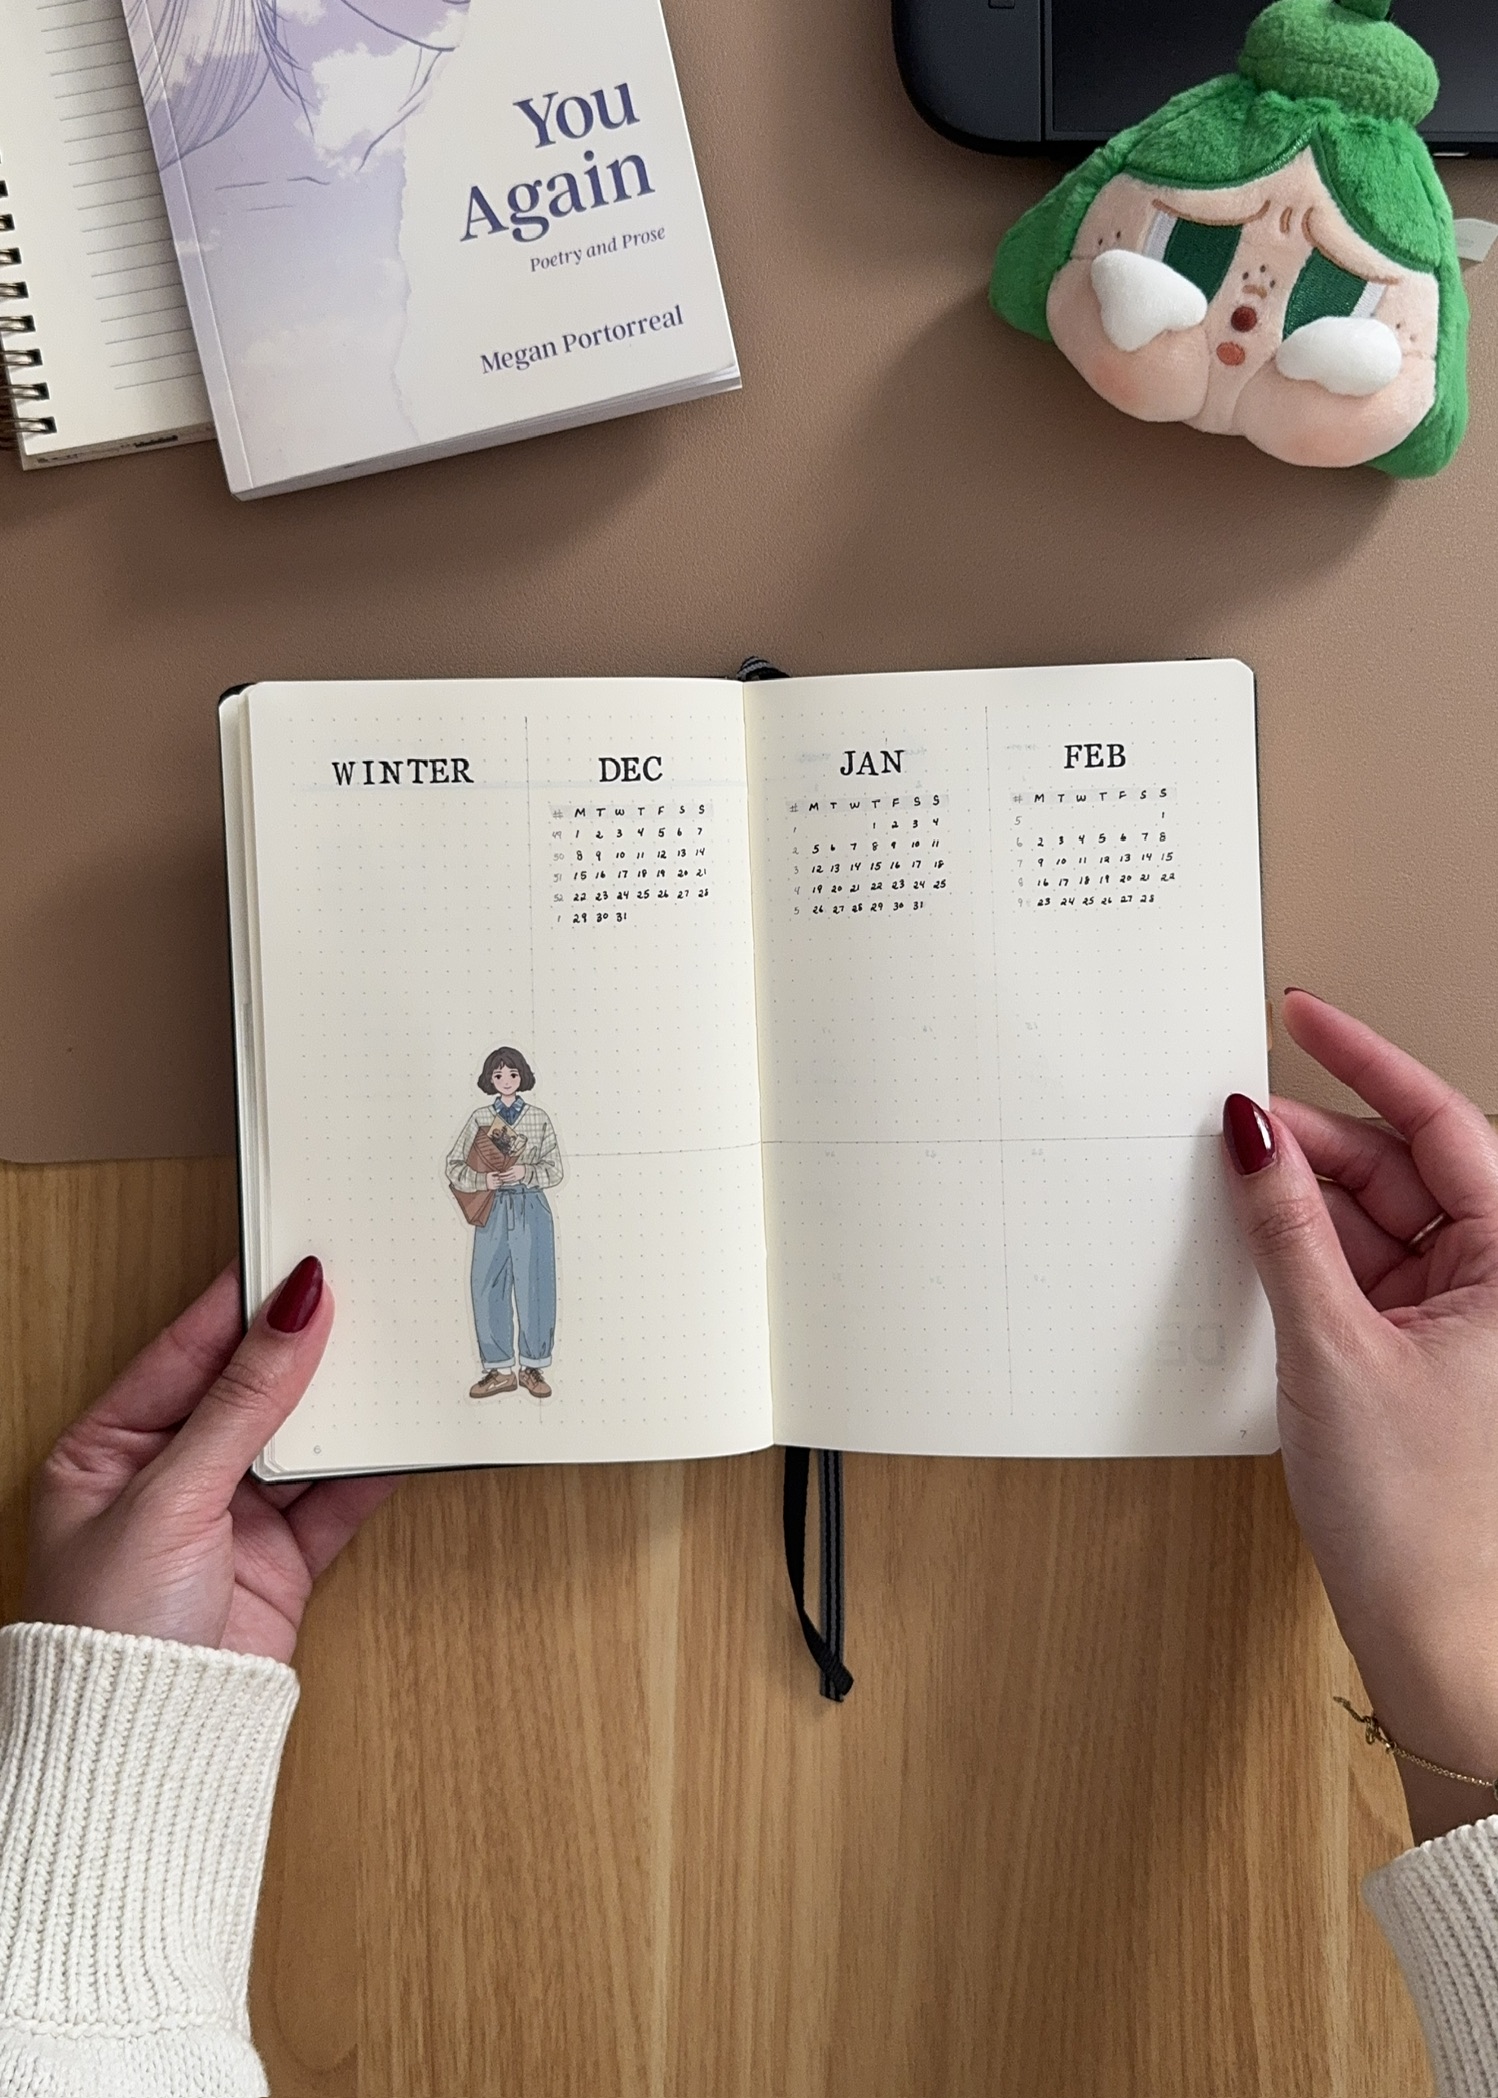
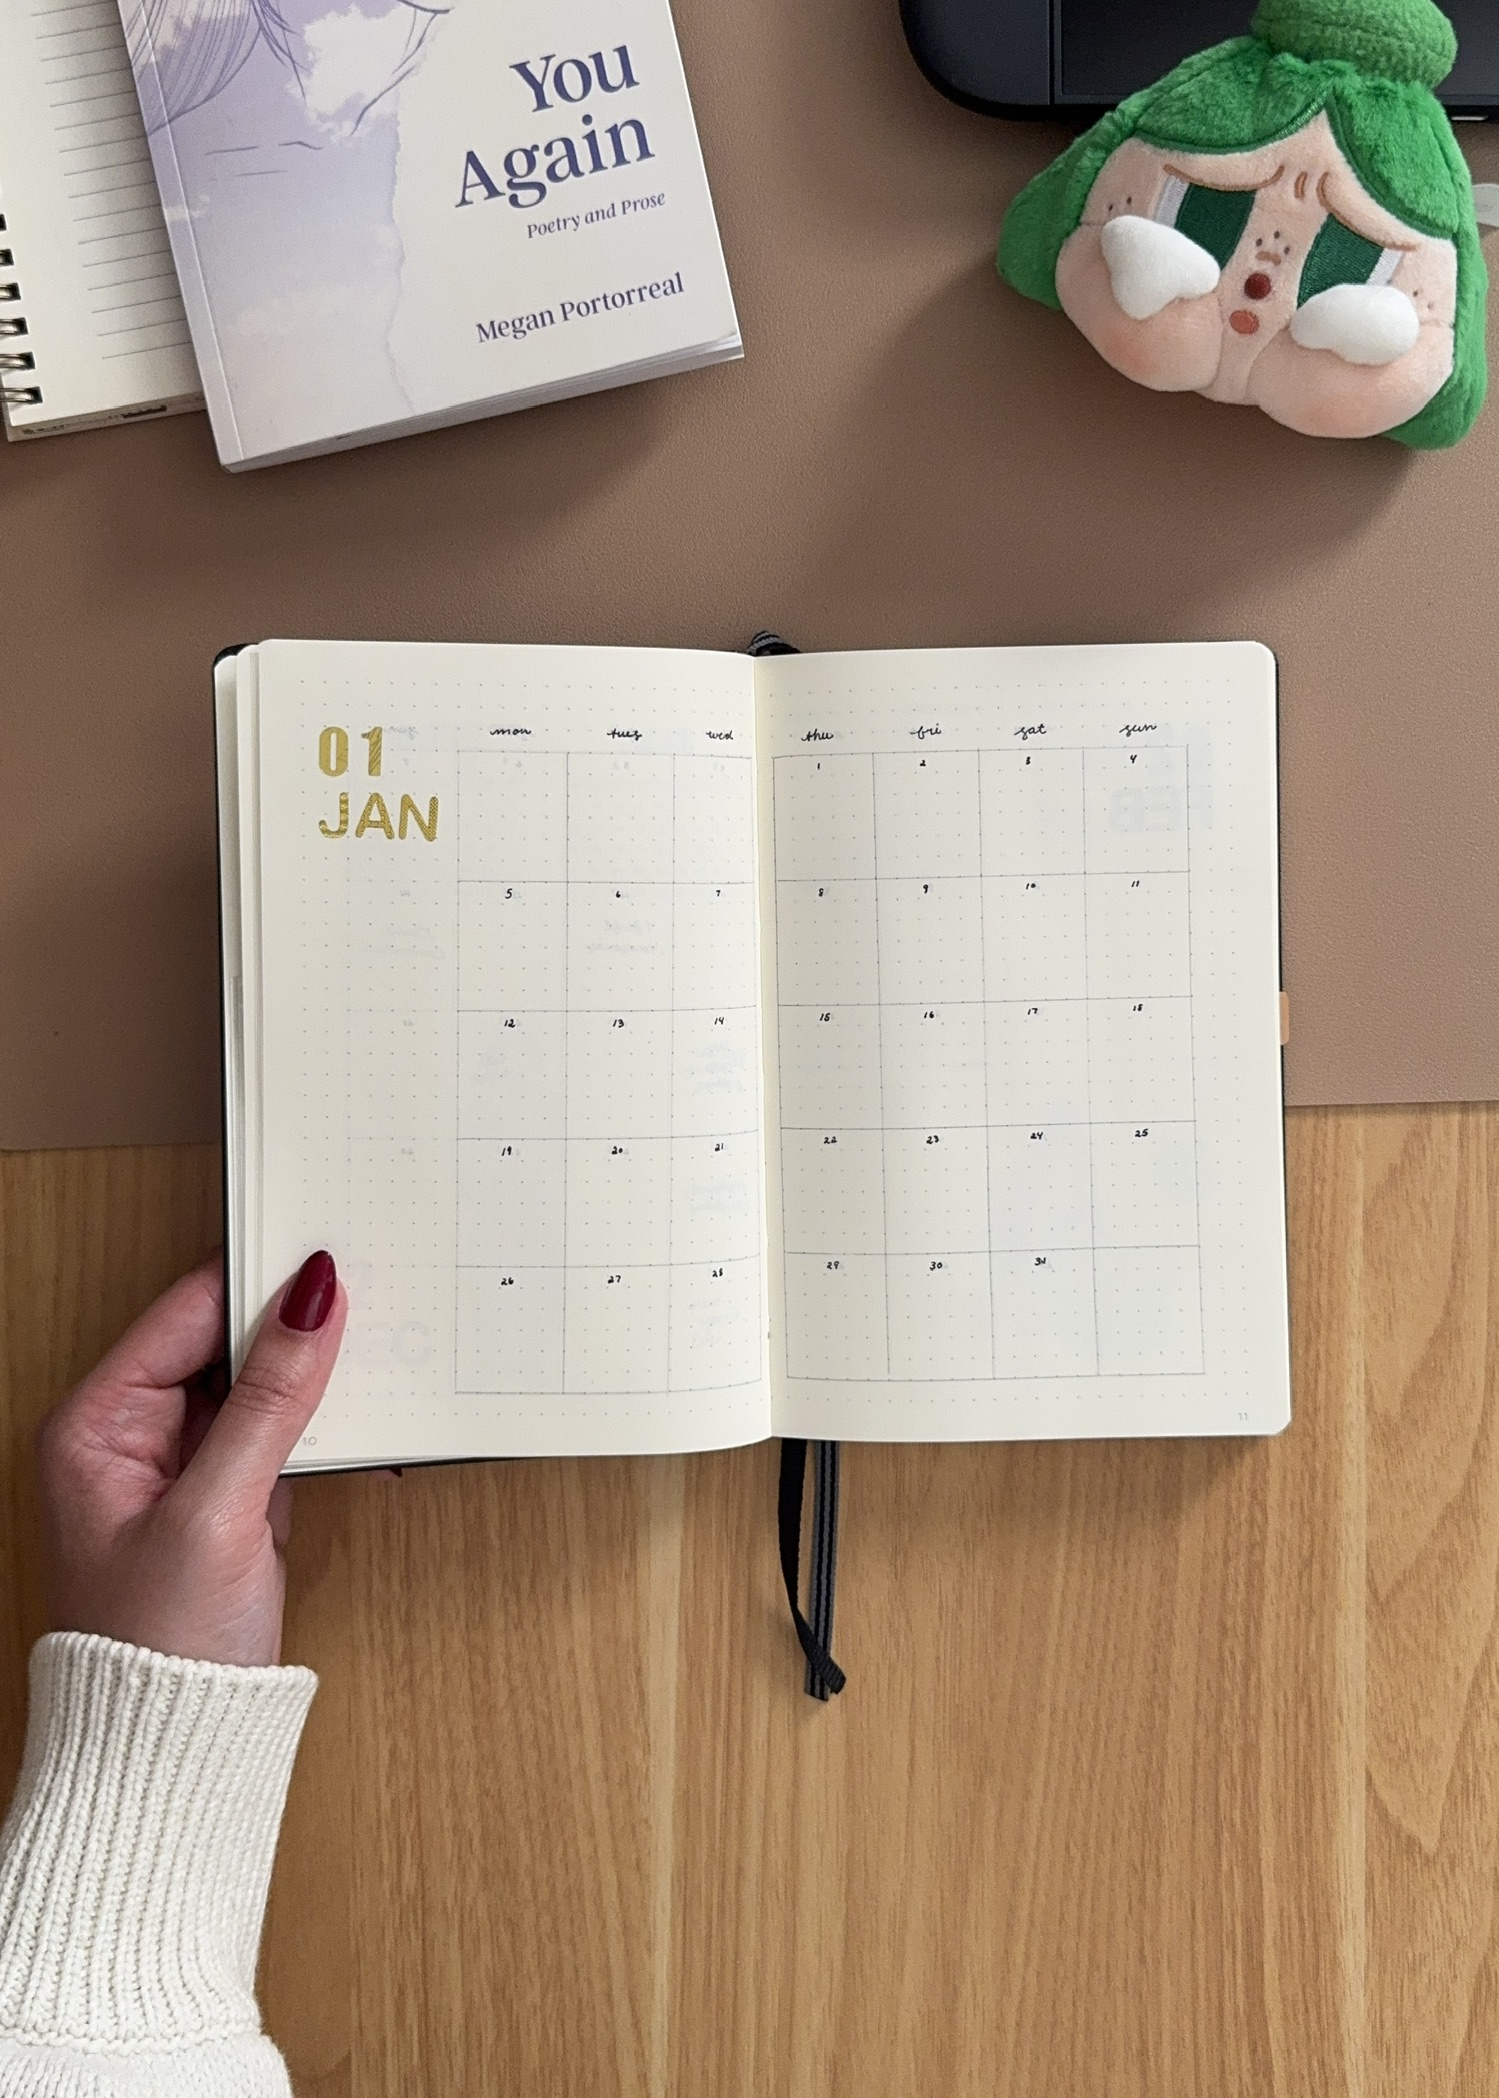
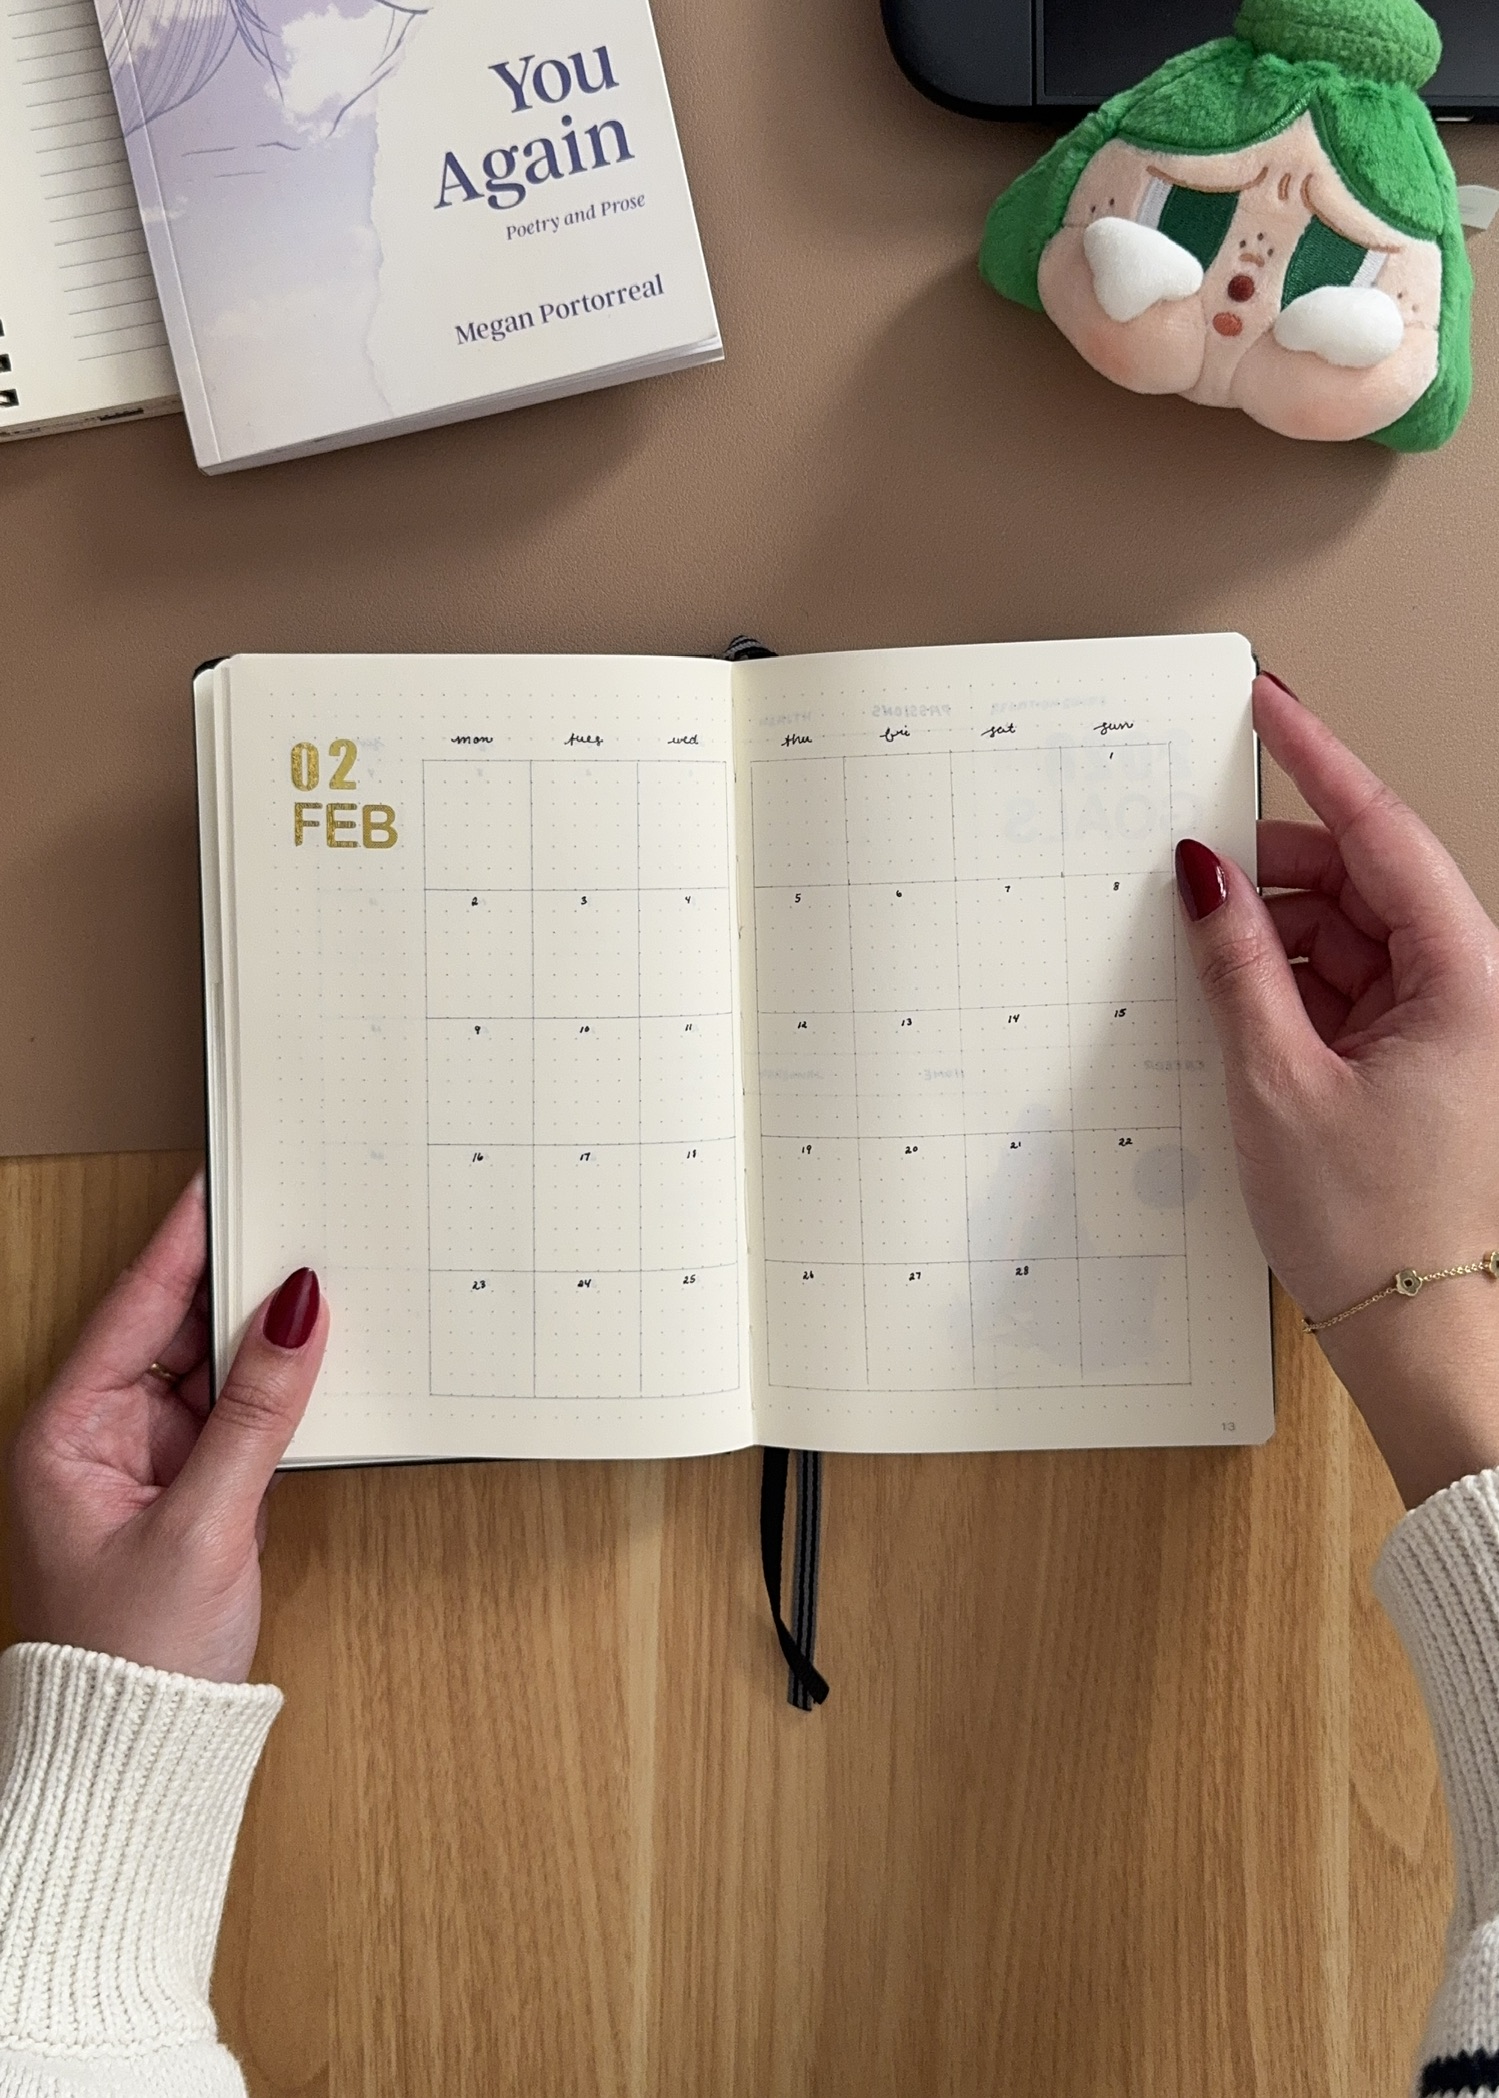
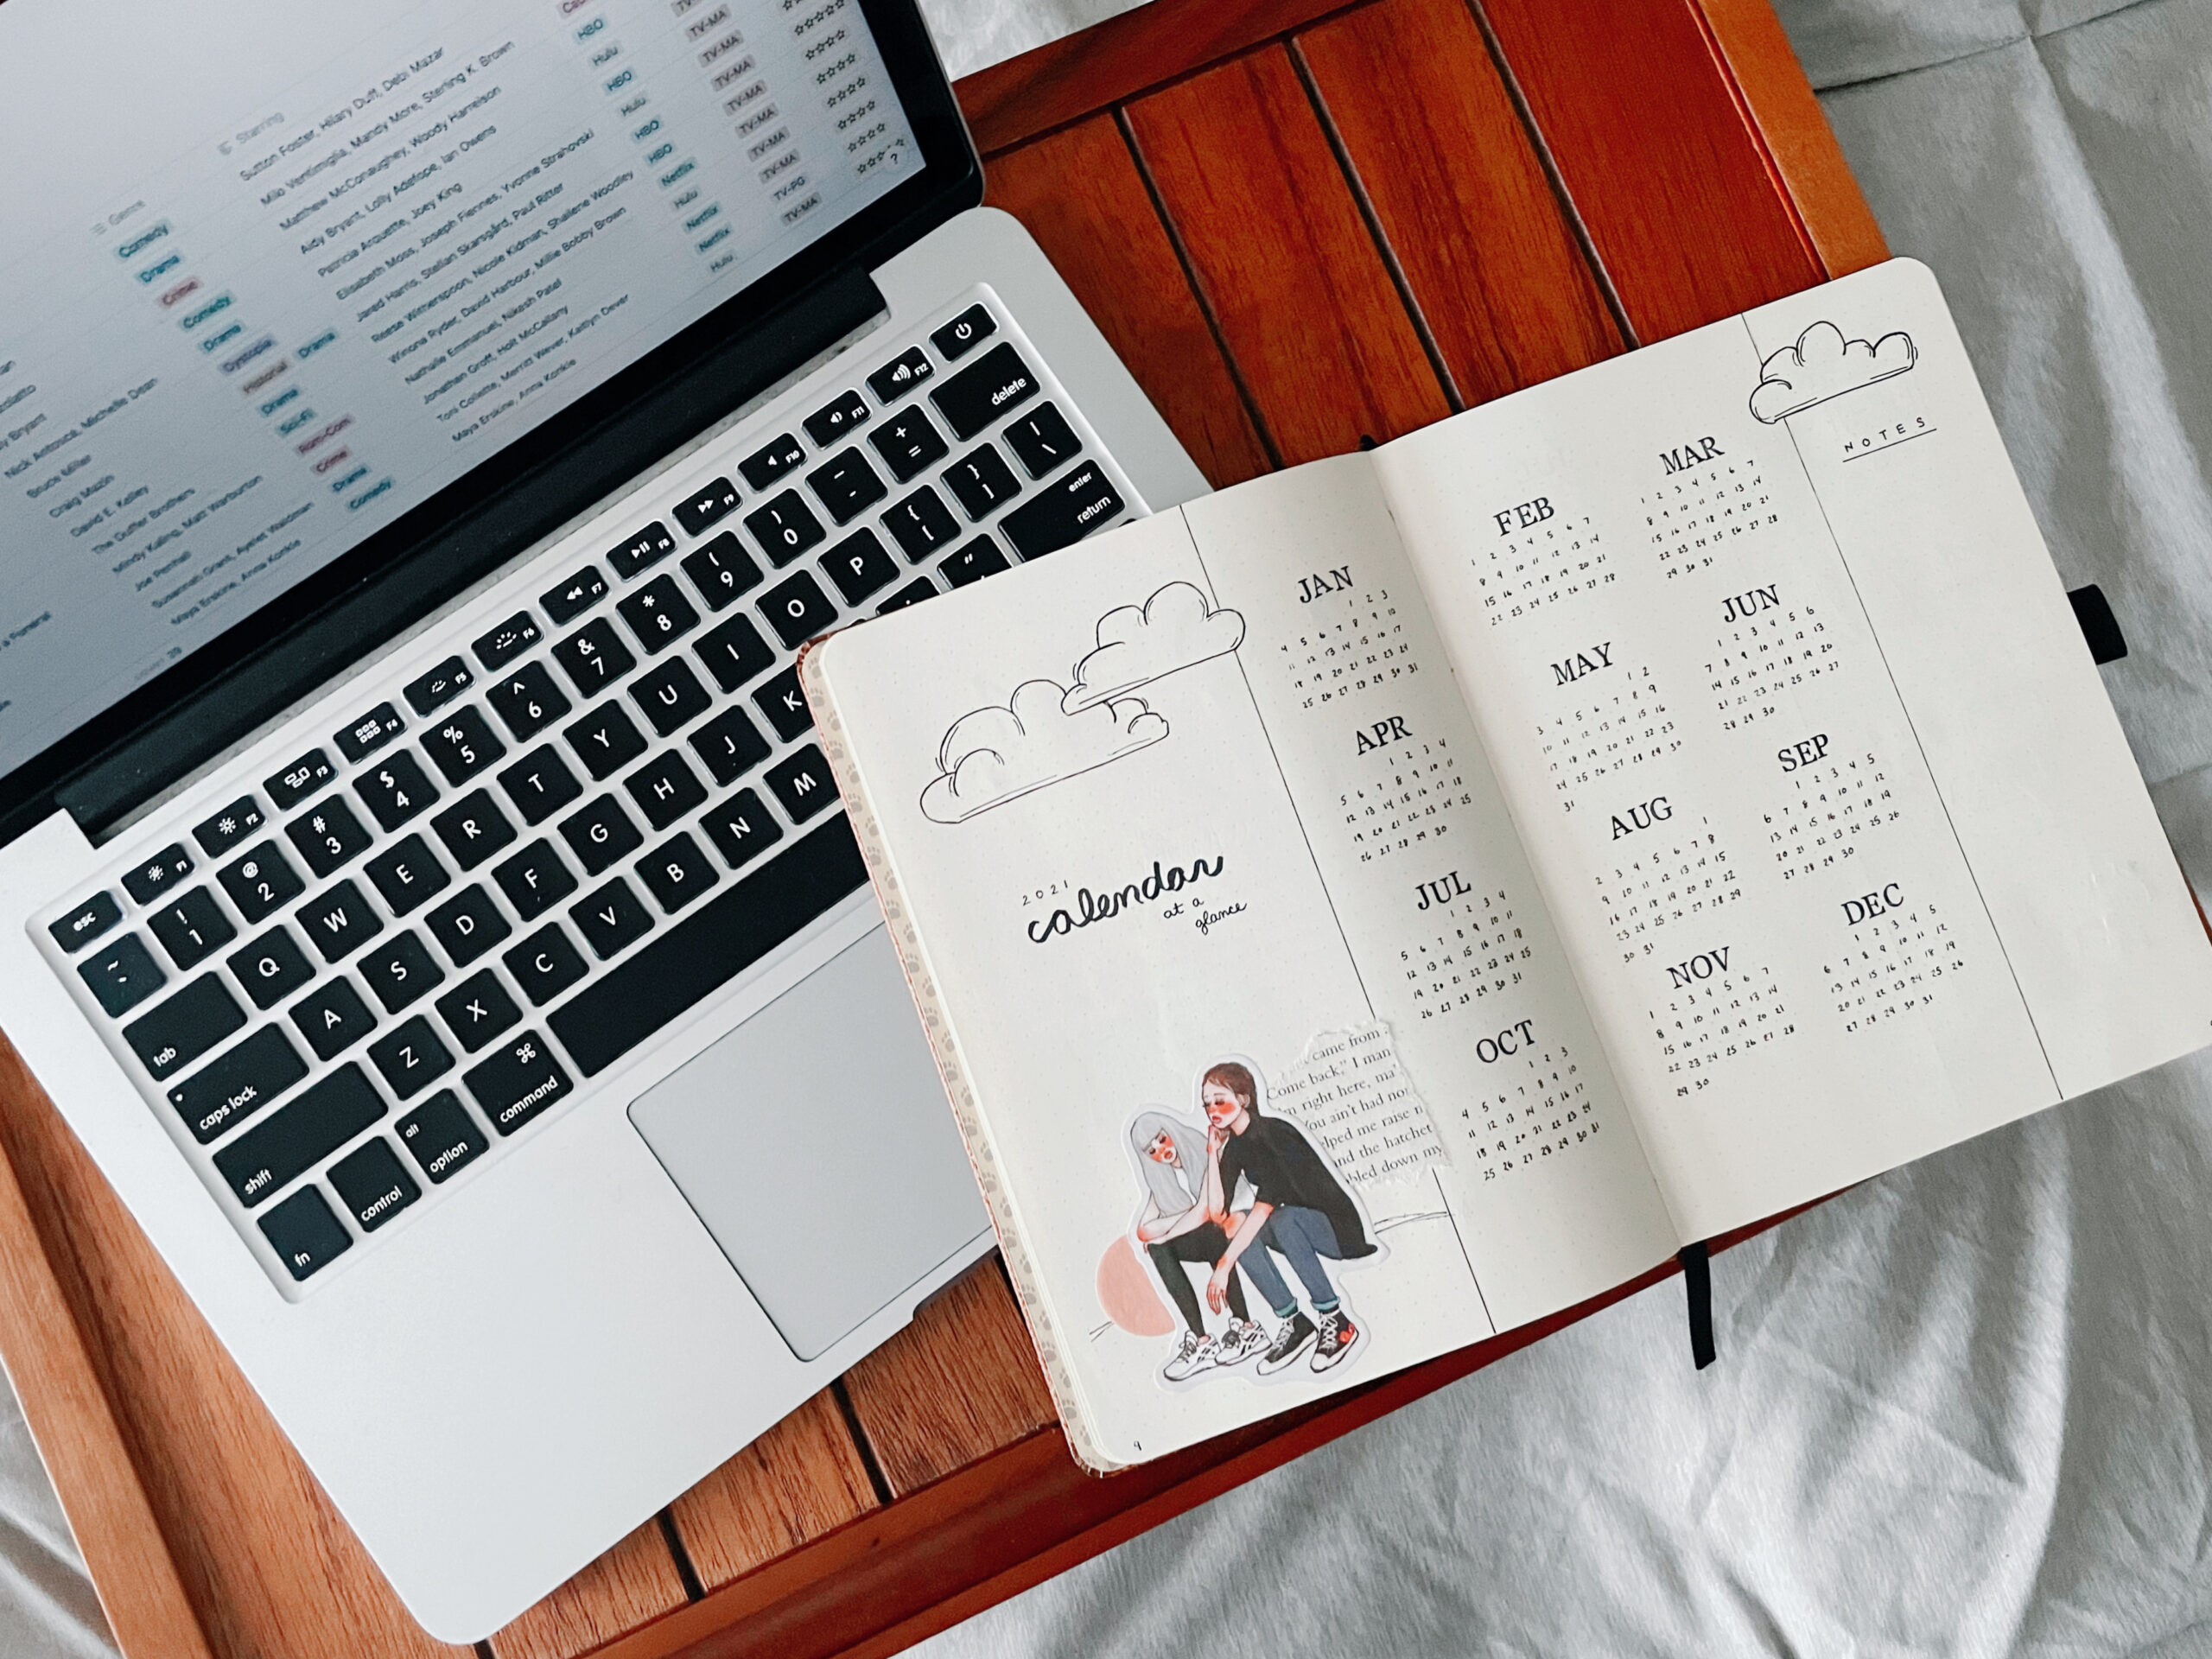
The future log. On the left, I write my general goals for the season. And under the months, I list key events coming up, as well as any specific monthly goals I’d like to take into account.
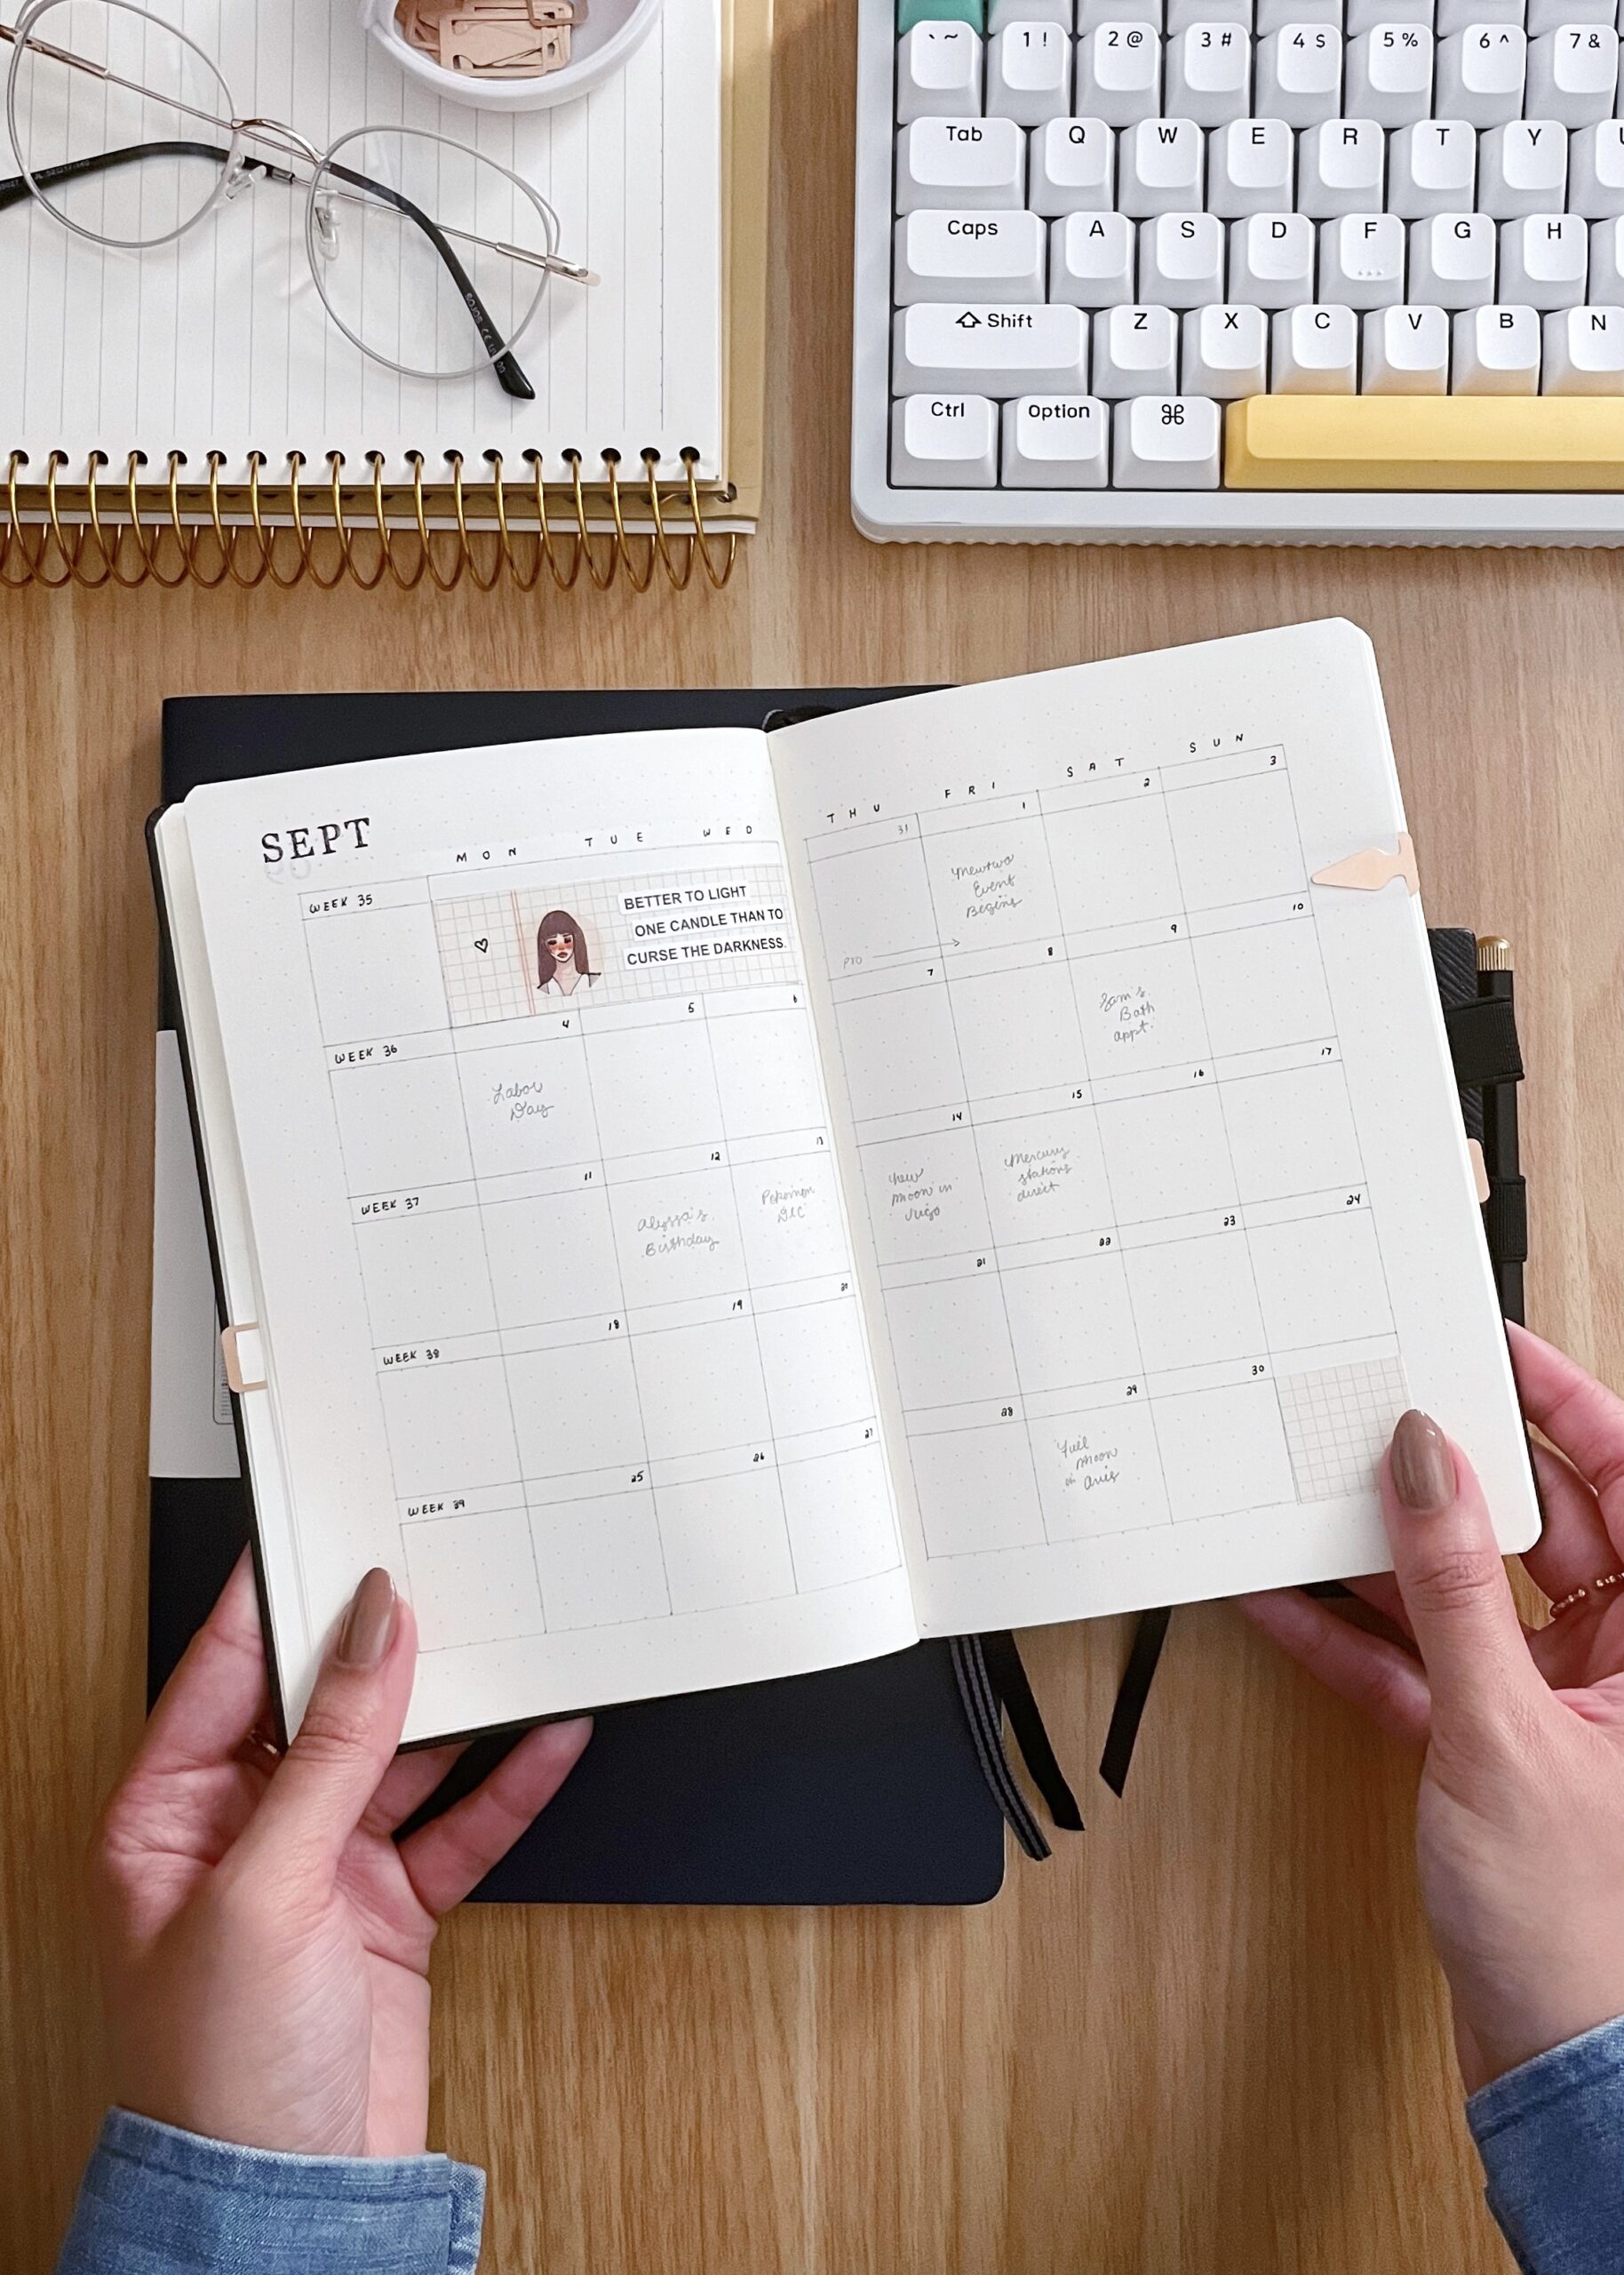
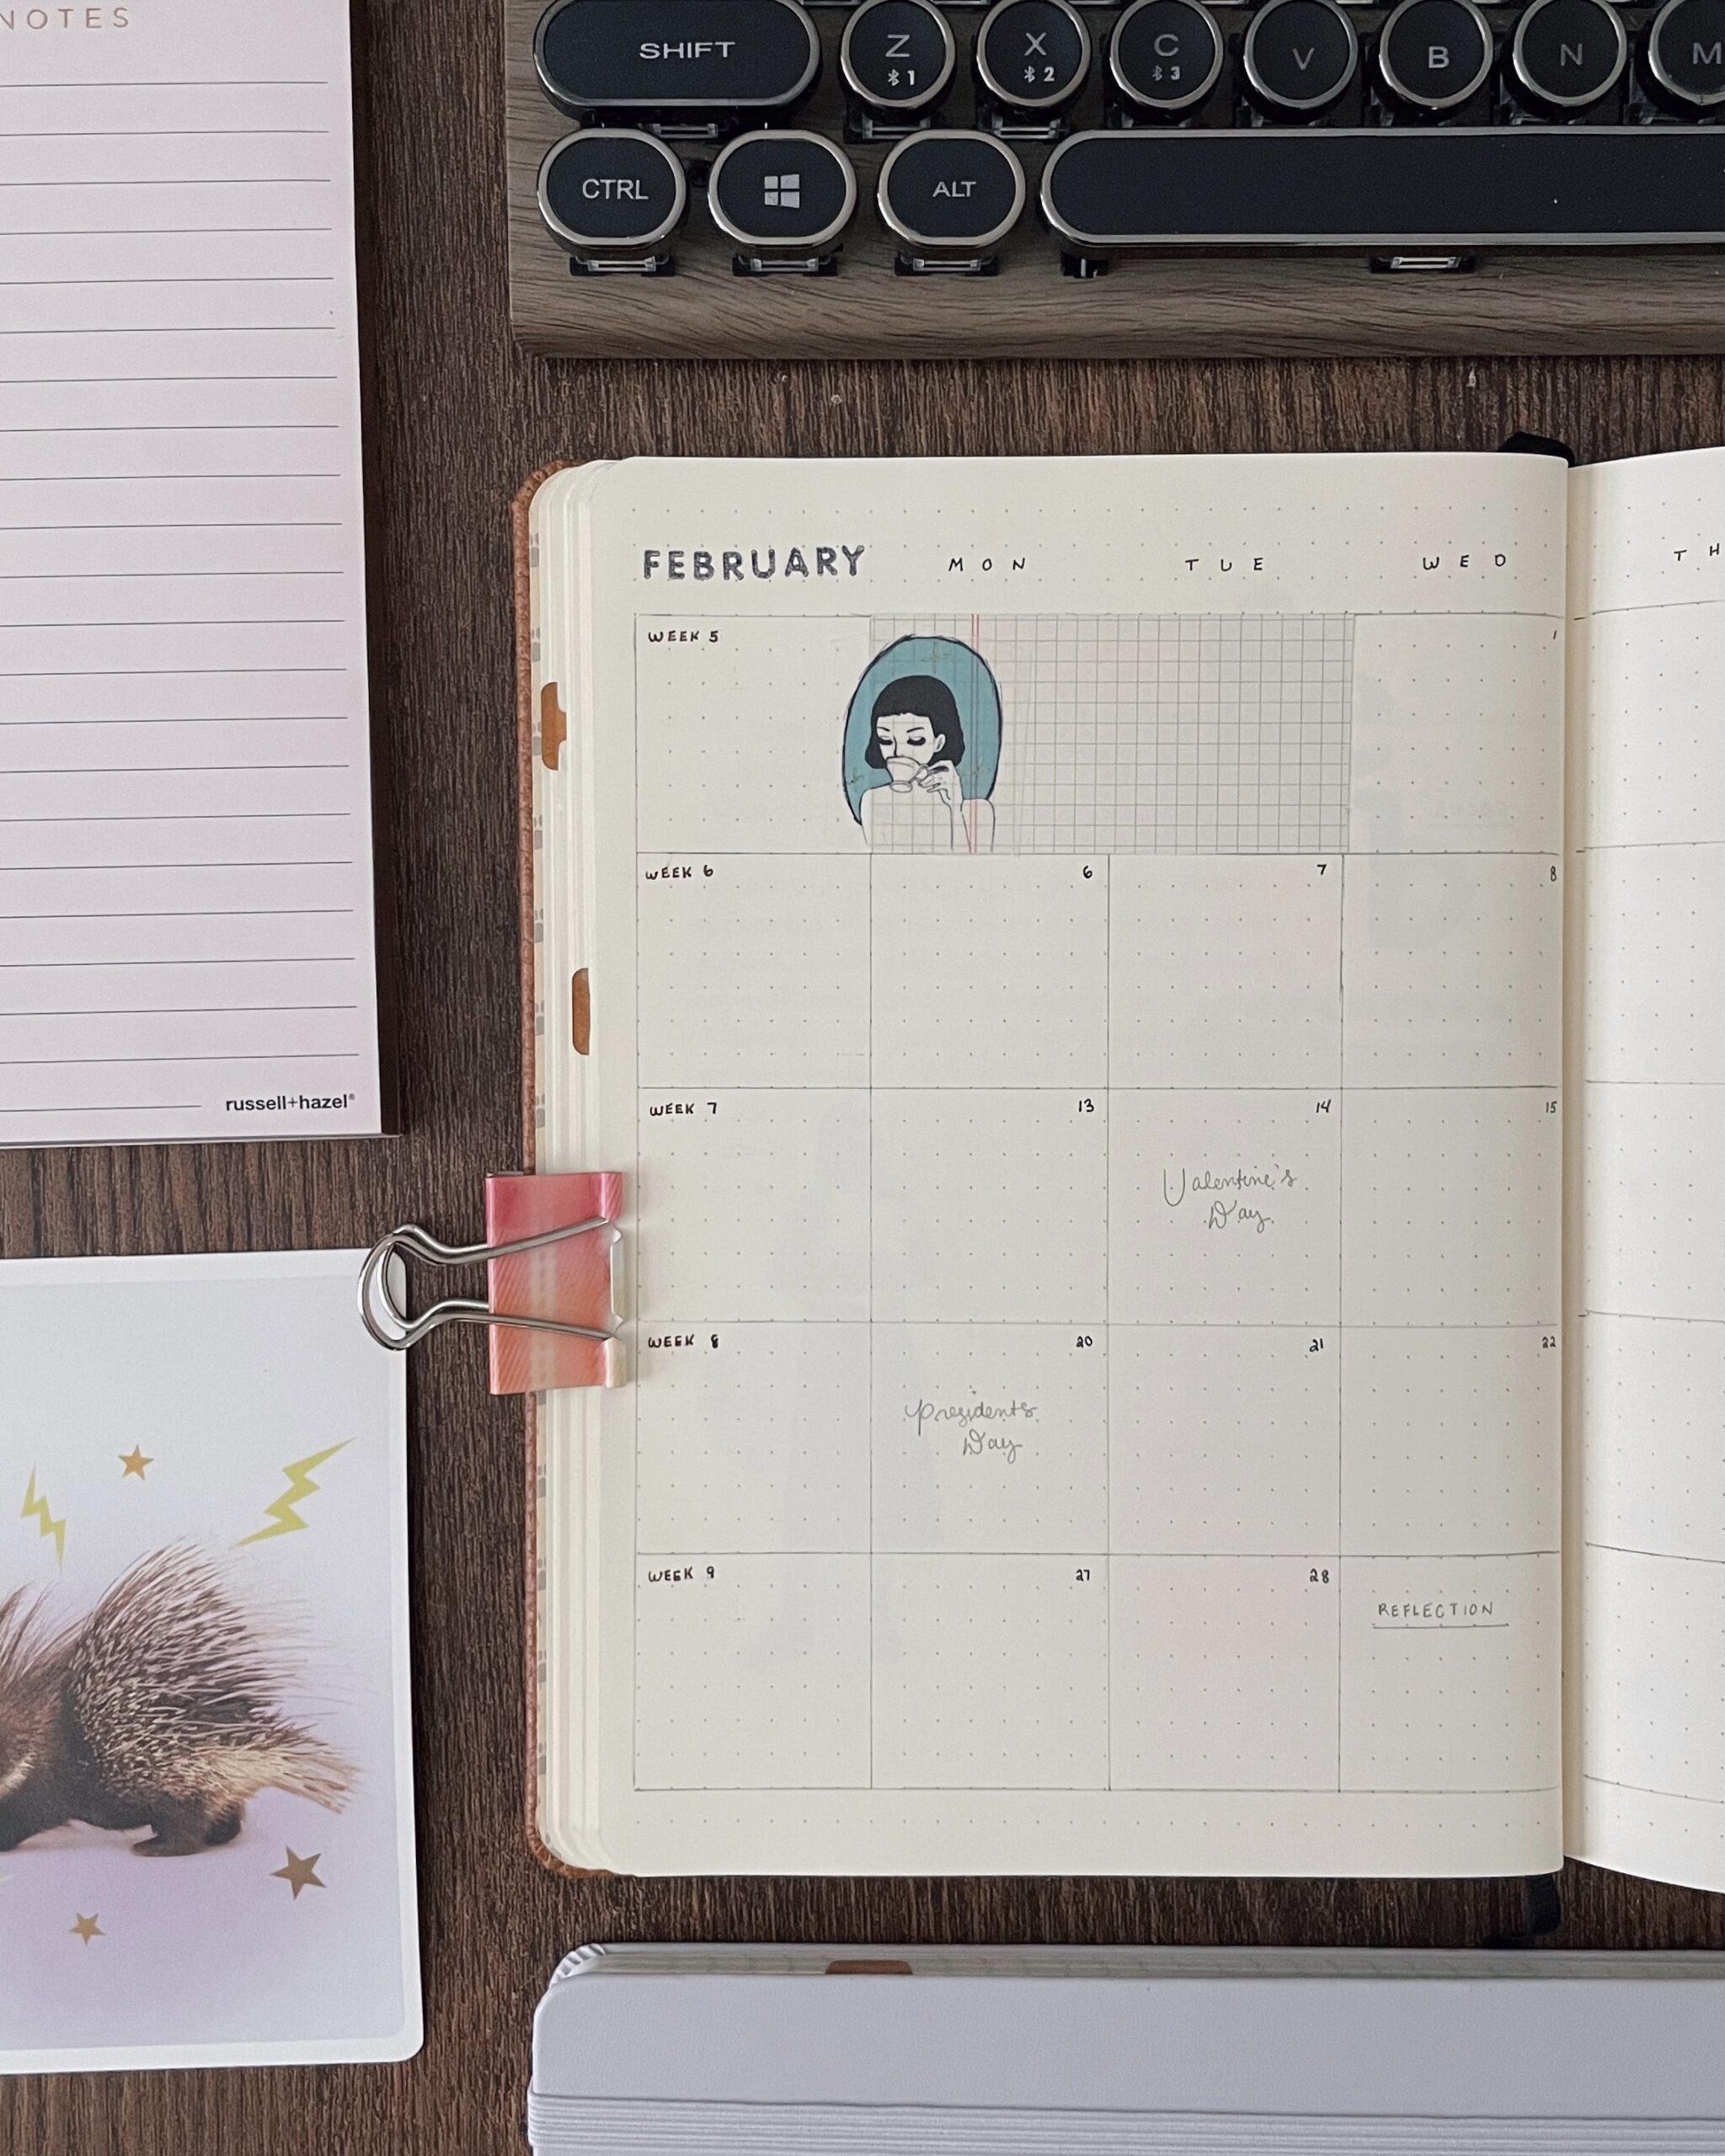
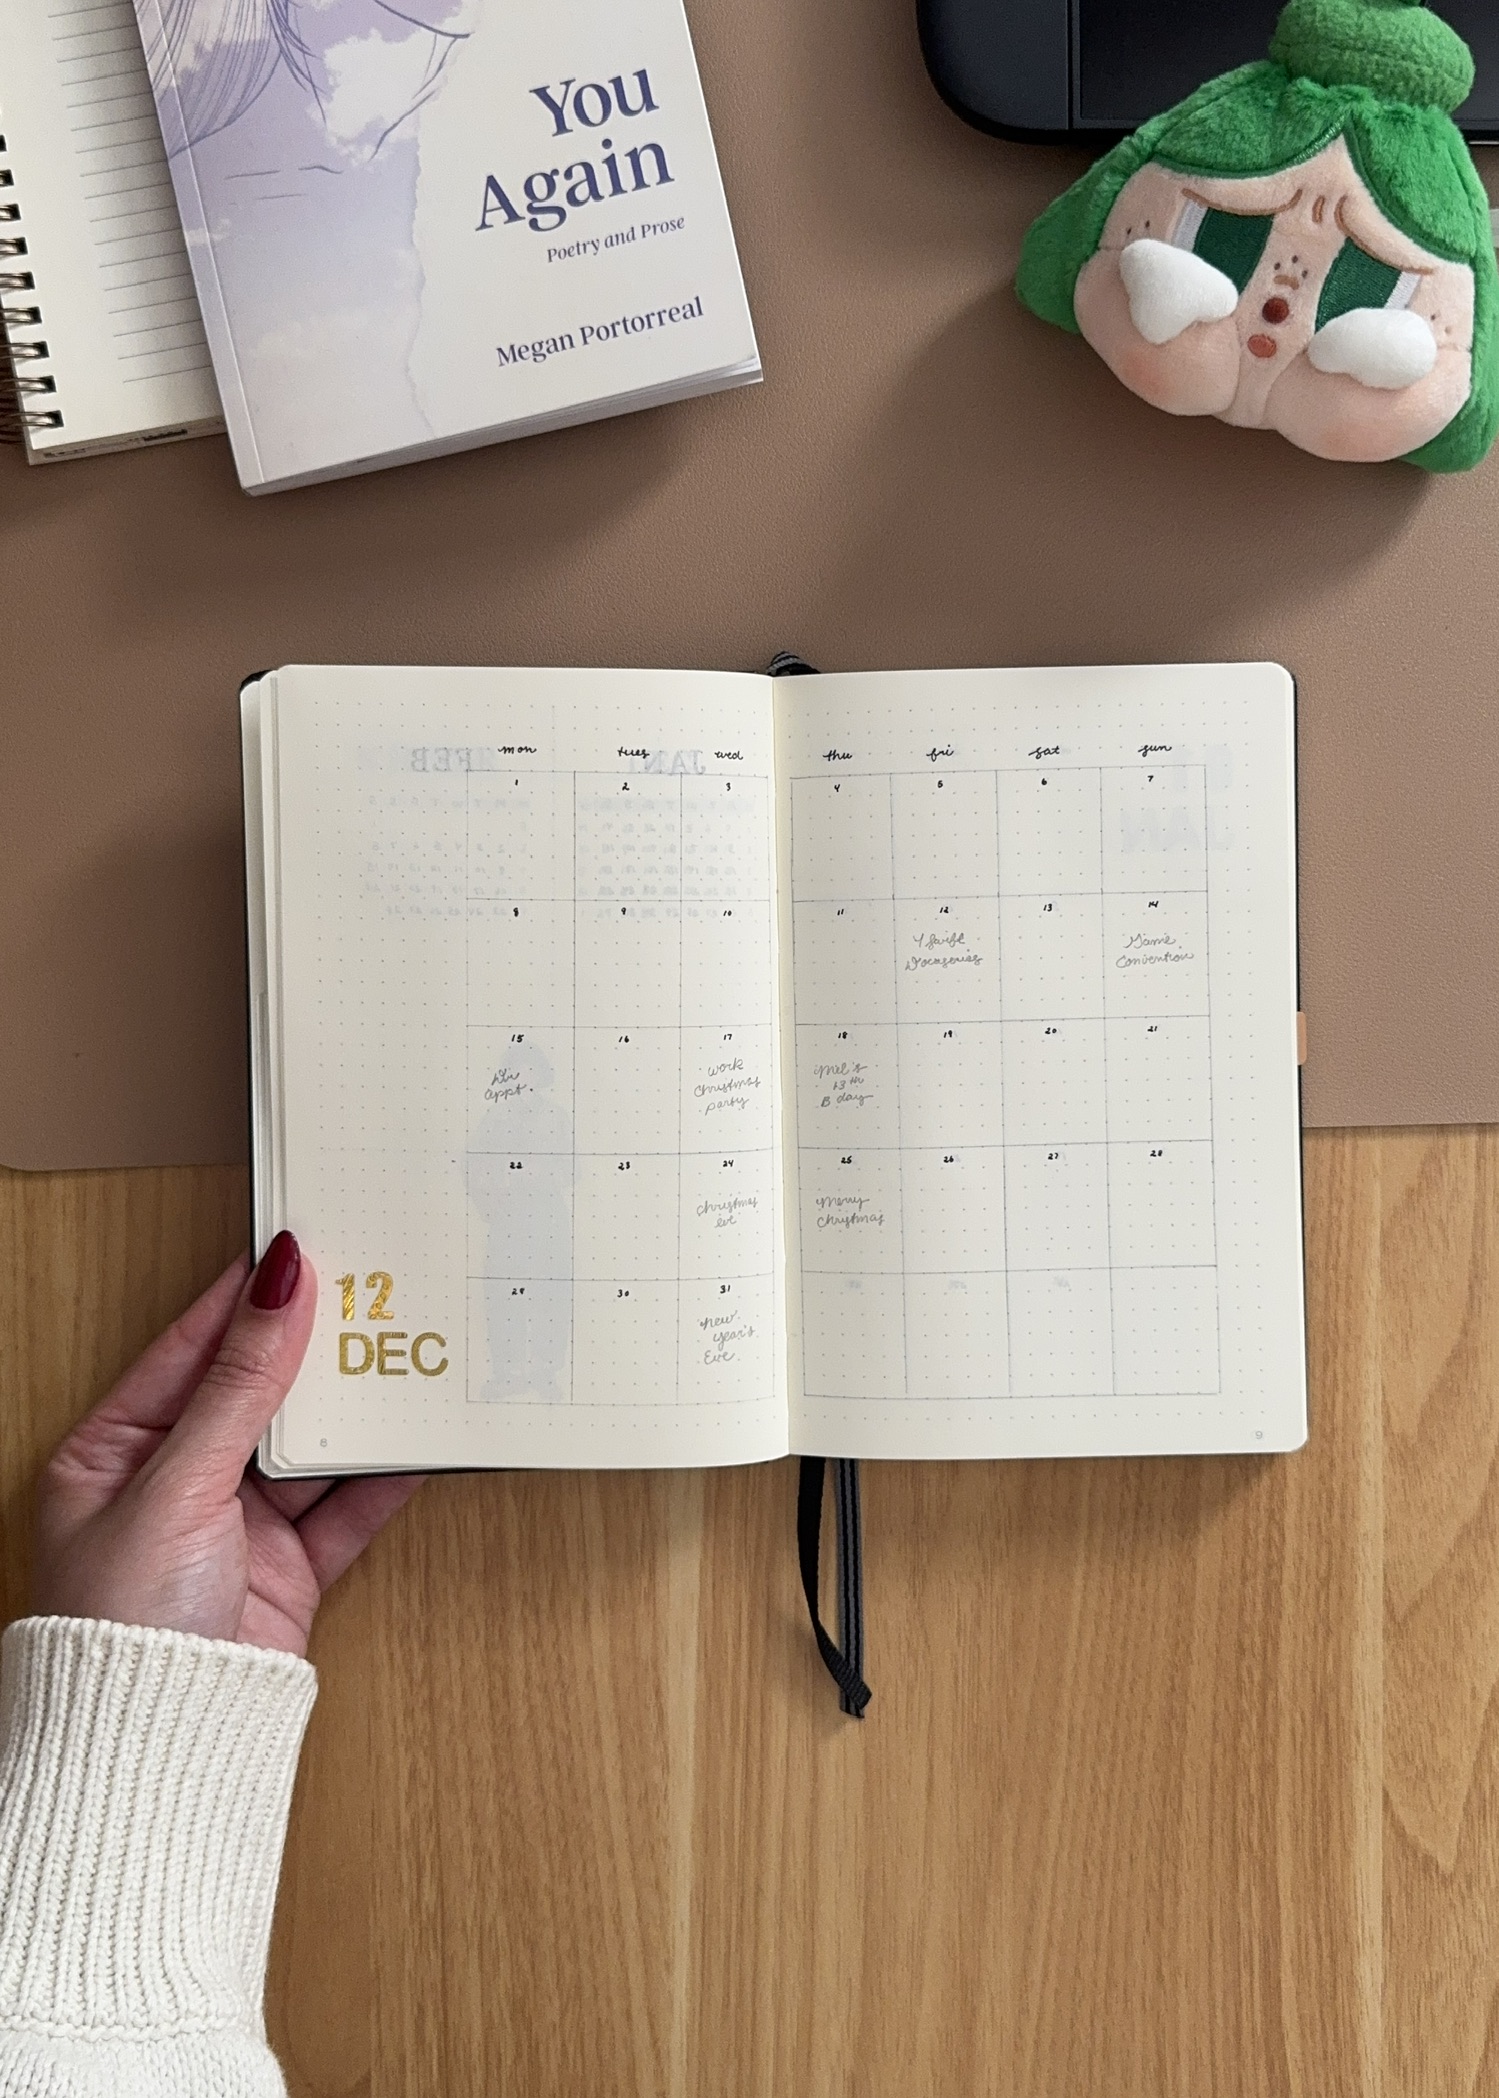
The calendar spreads. This is purely a memory-keeping tool; I don’t “plan” in here, but instead fill out the events of each week in pencil, then ink them in pen once the day has passed. It’s my way of looking back on the month at the end, and it’s always one of my favorite spreads to see completed.
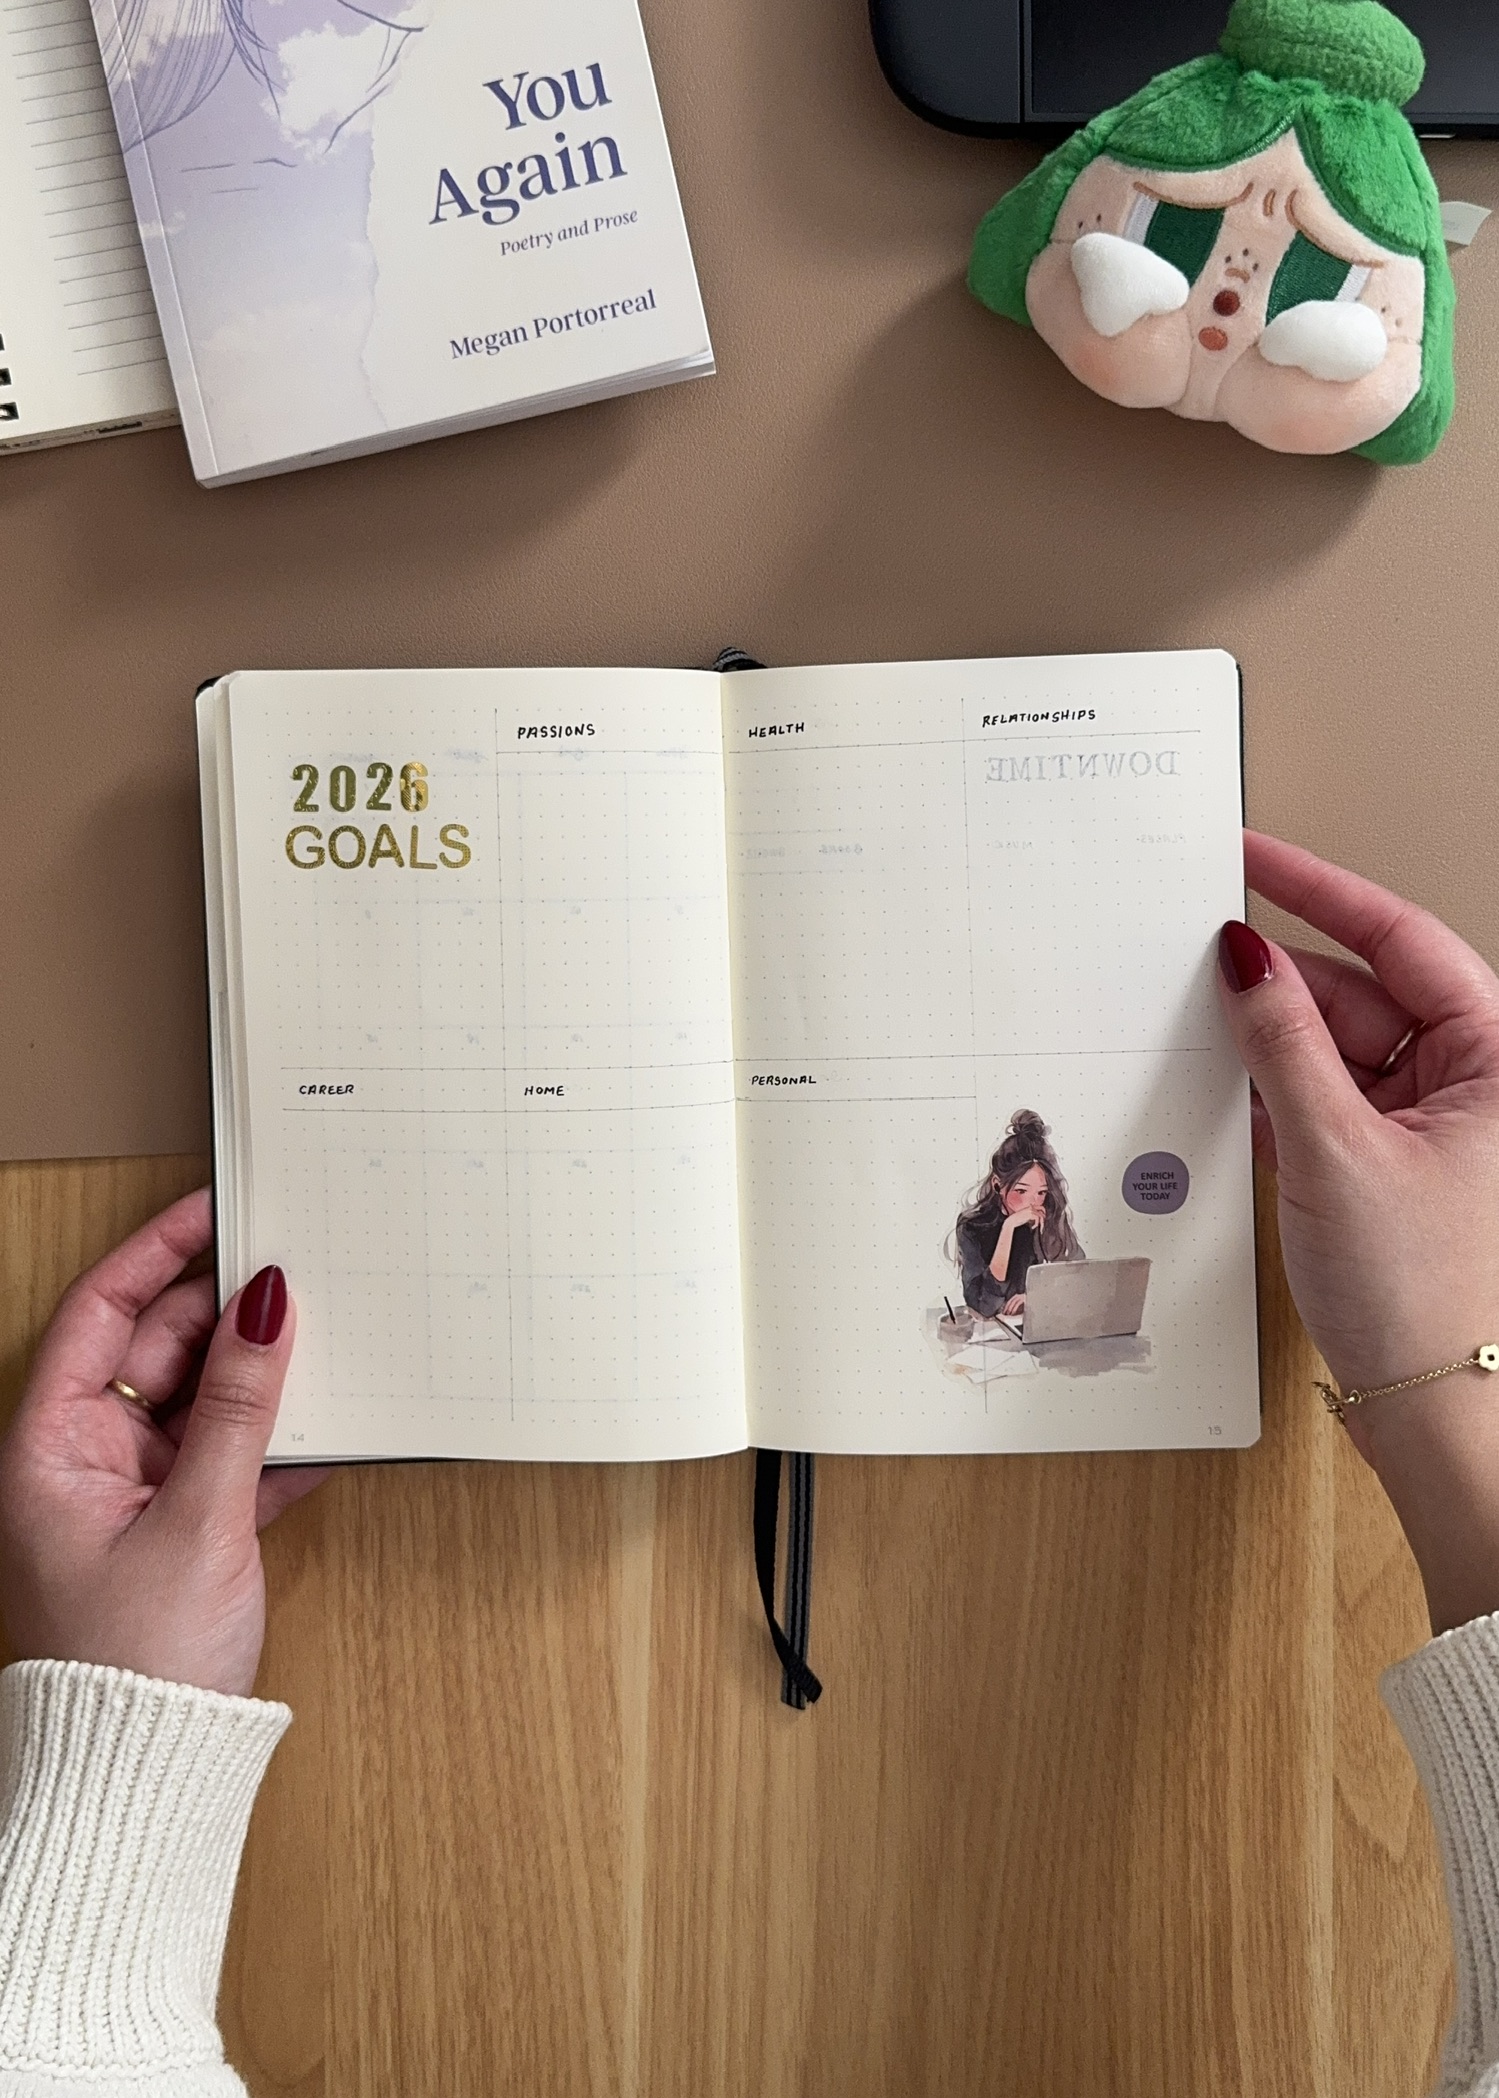
2026 goals. This is a new spread where I will list my general goals for the year under each life domain. This spread also lives in my Year Book so I can reference it year-round.
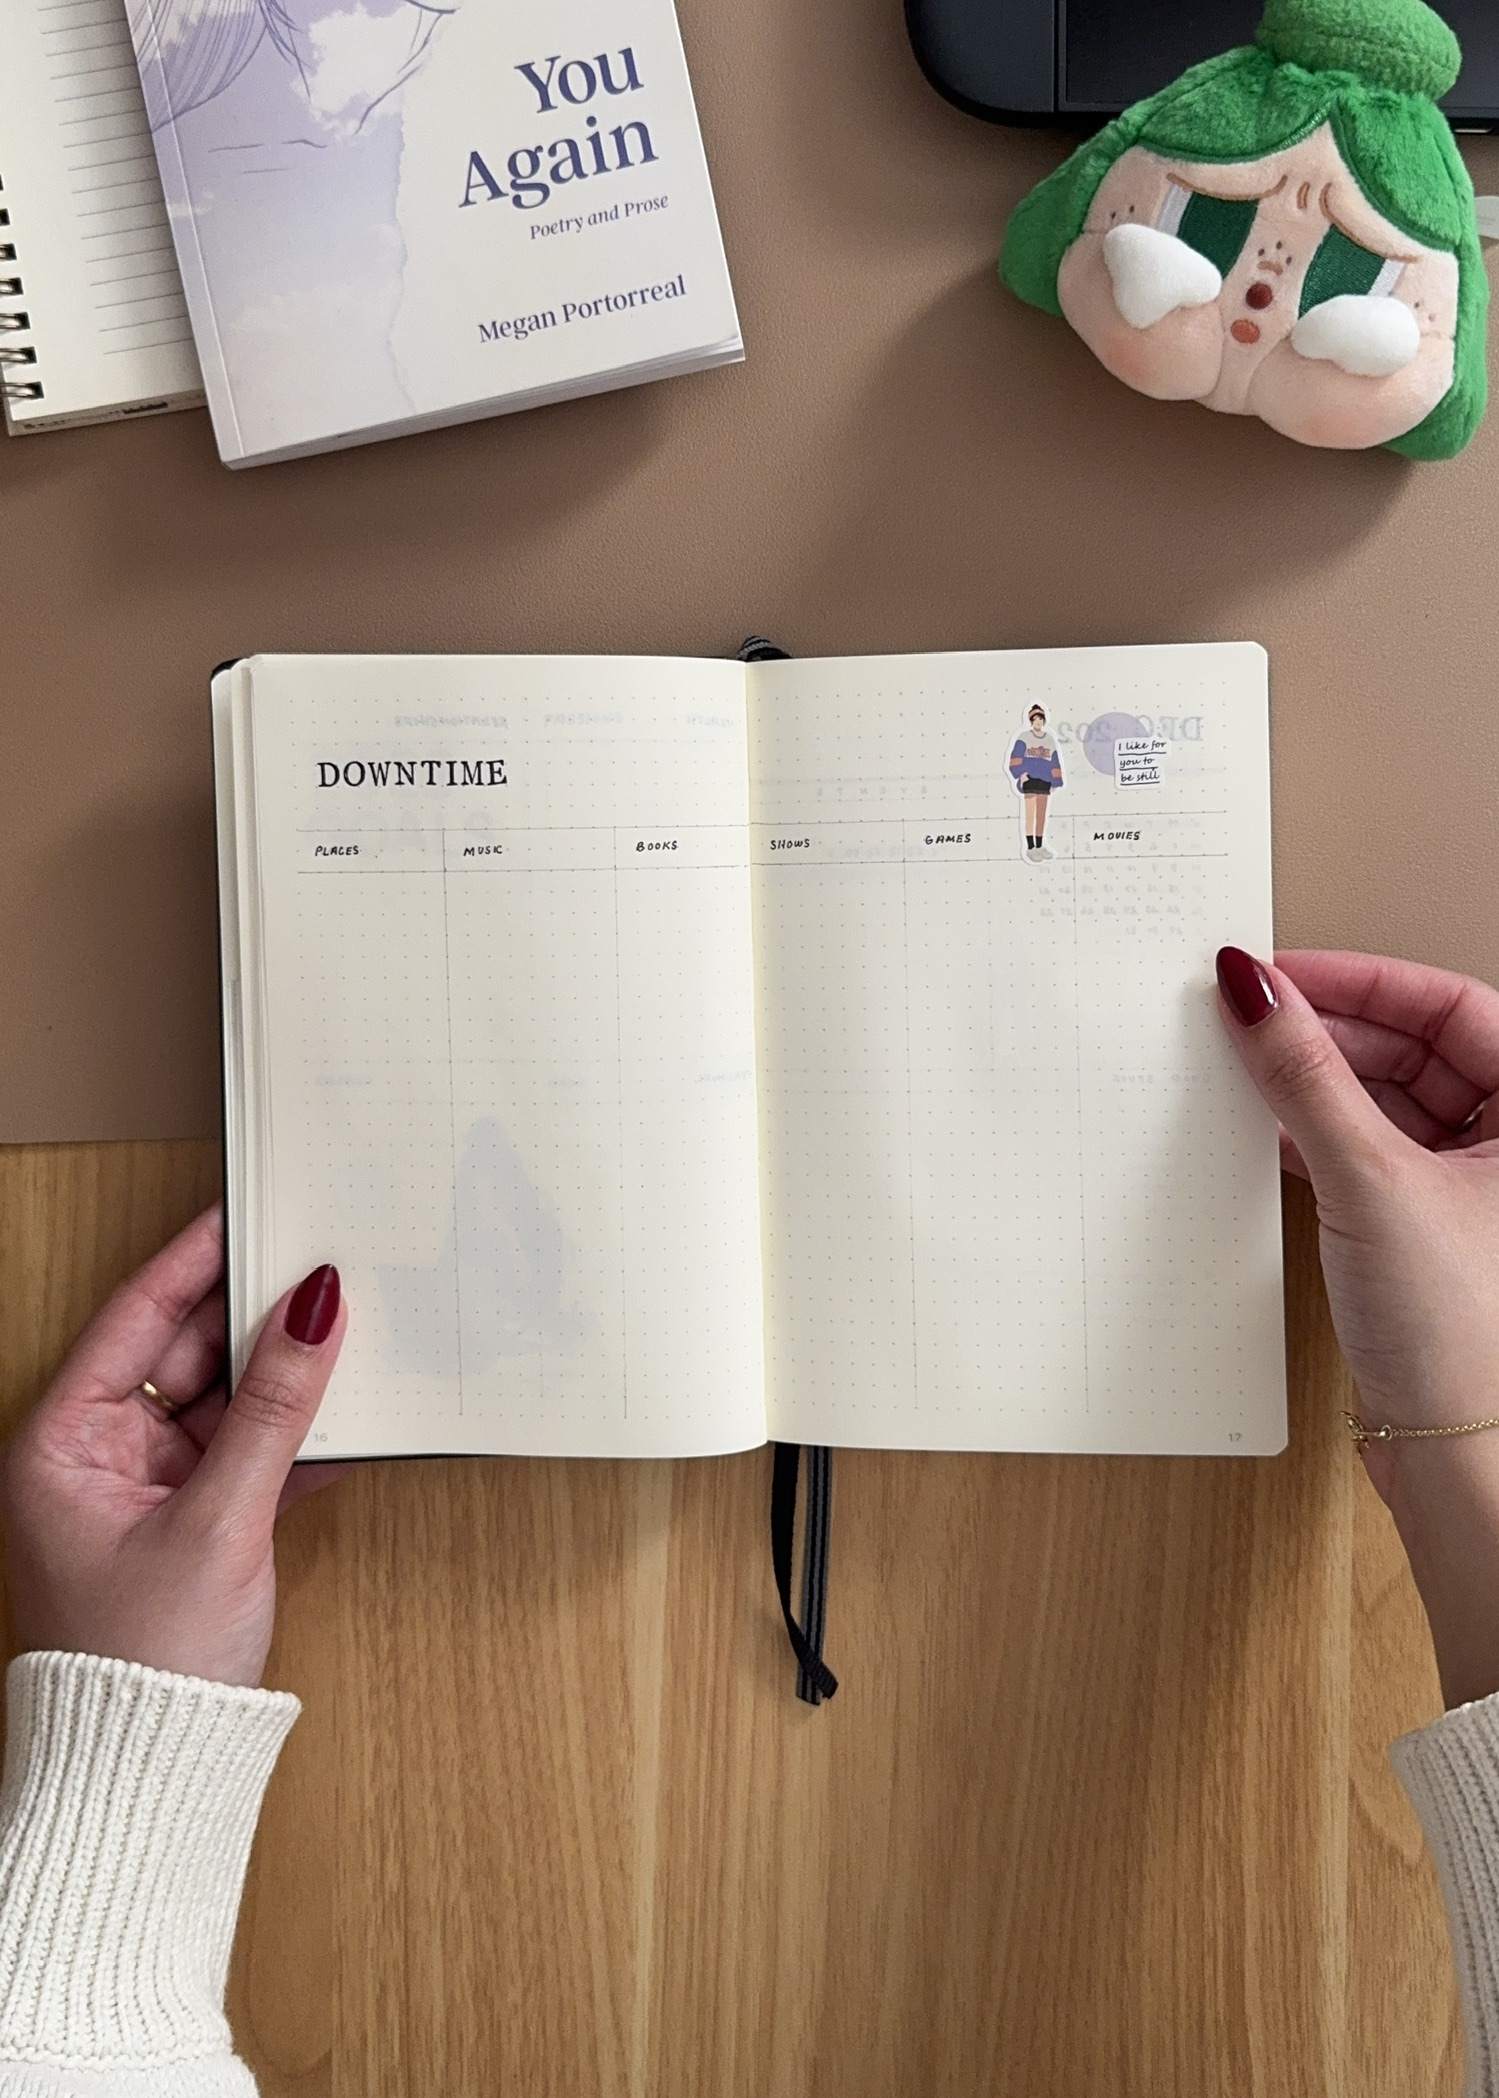
Downtime. This is my hobby and entertainment tracker. I love keeping track of the places I go, games I play, and entertainment I consume each season. It’s cool to look back on.
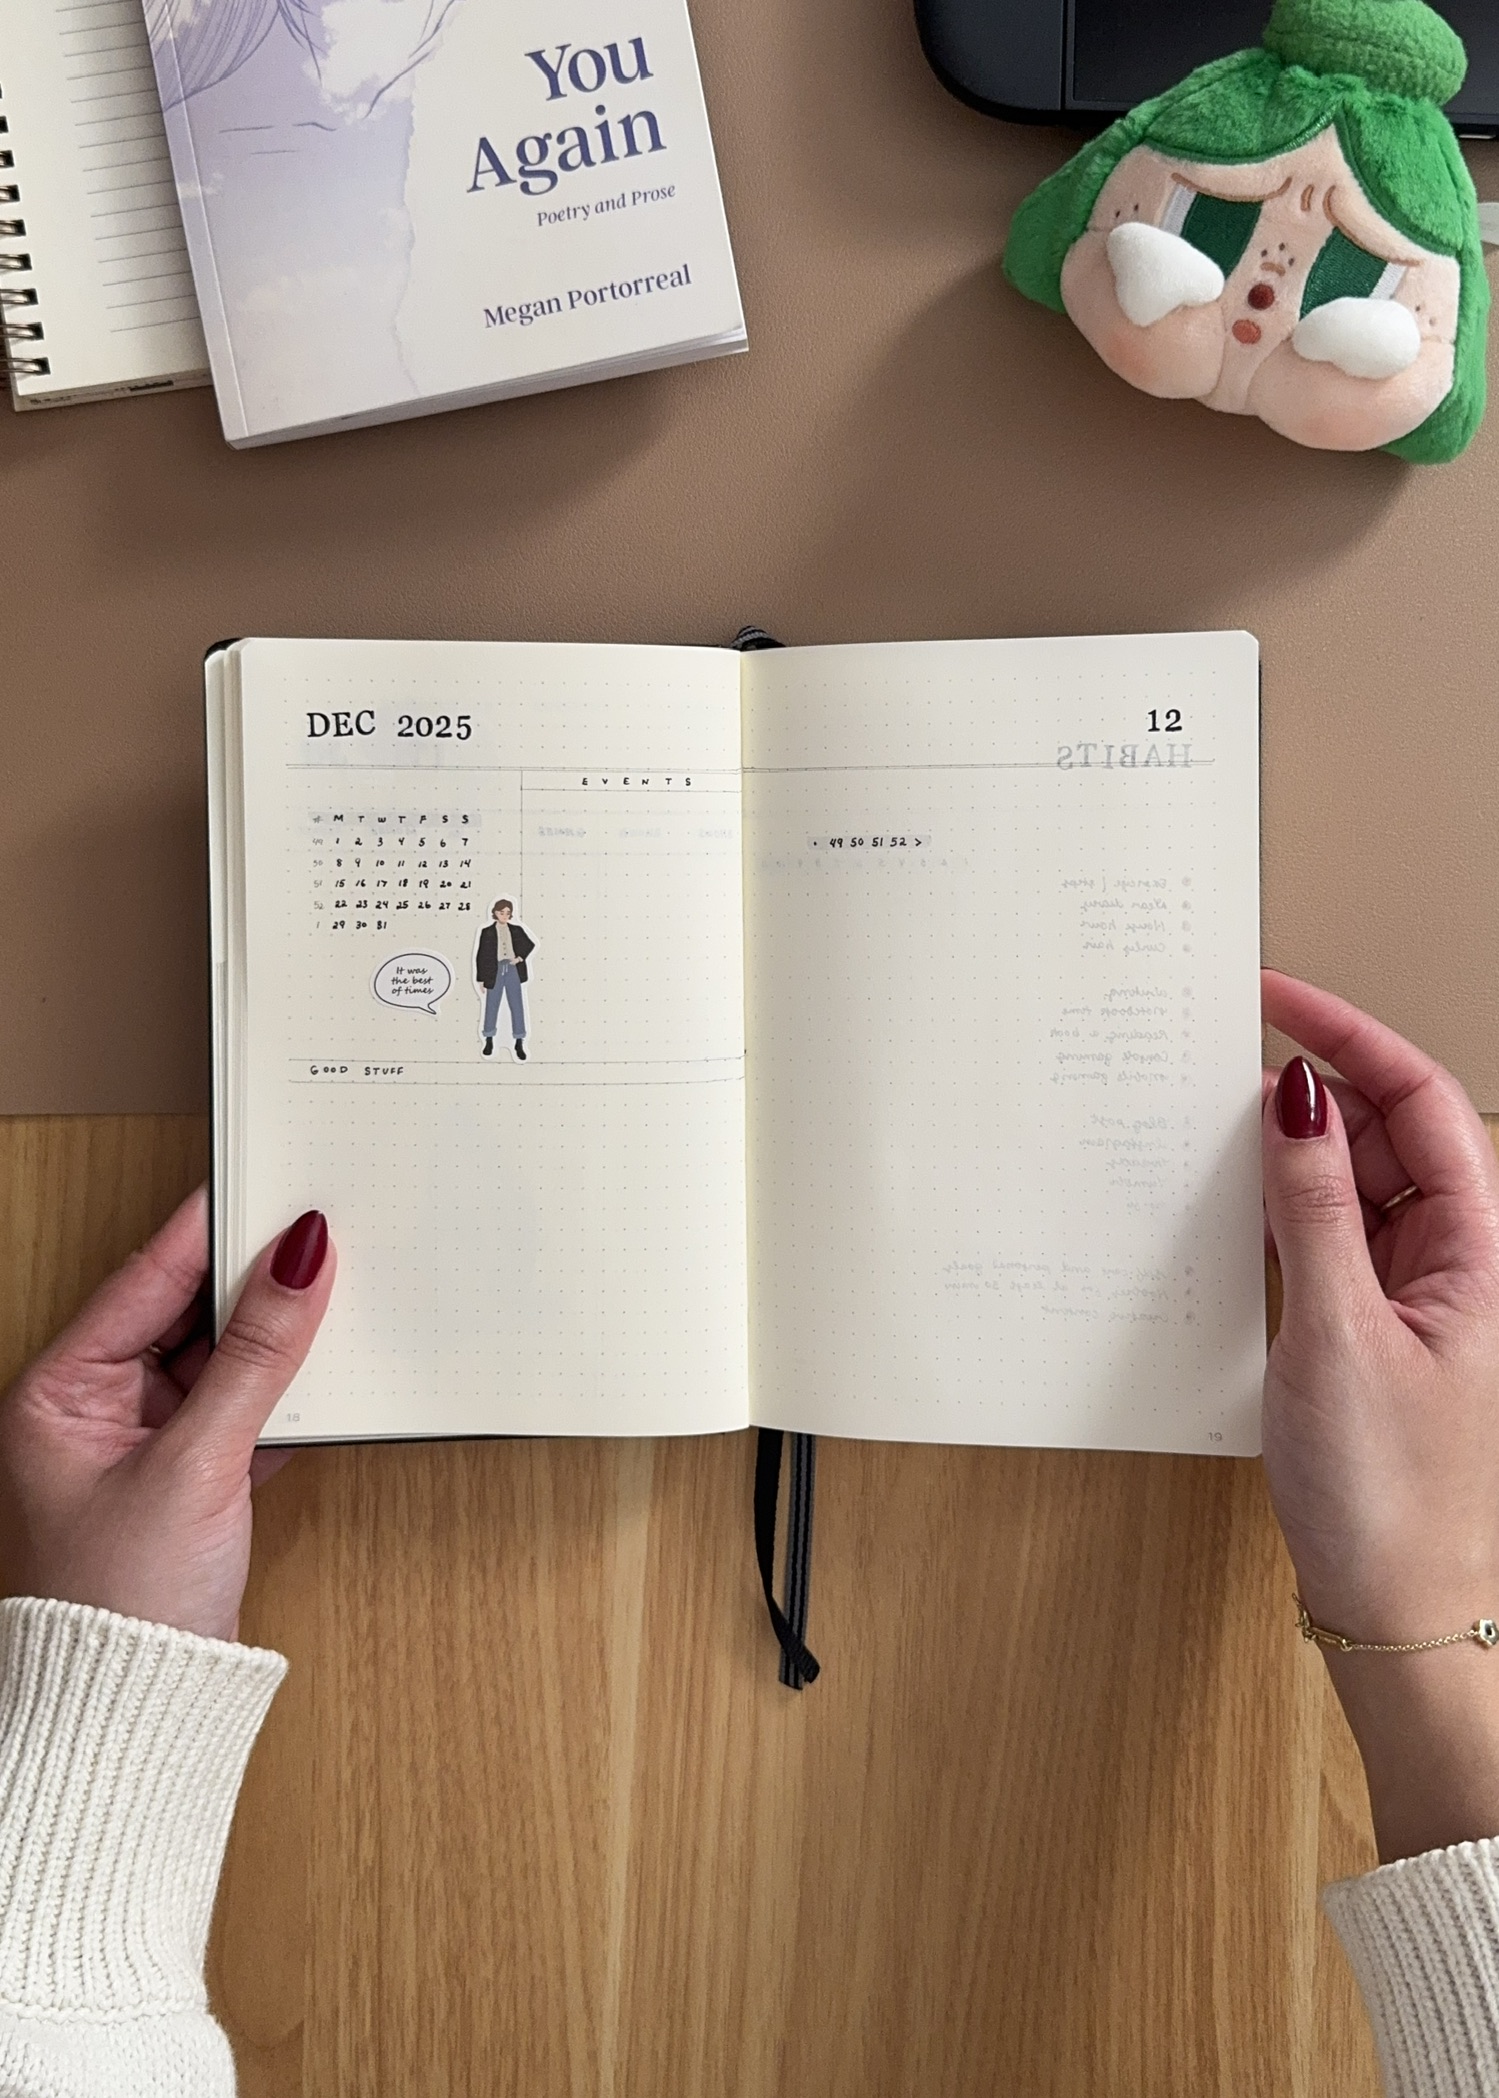
Monthly dashboard. This signals the start of the month, where I list the key events, highlights, and tasks I’d like to complete by the end of the month. Each week, I then migrate tasks into the appropriate weekly setup (as I go, not in advance).
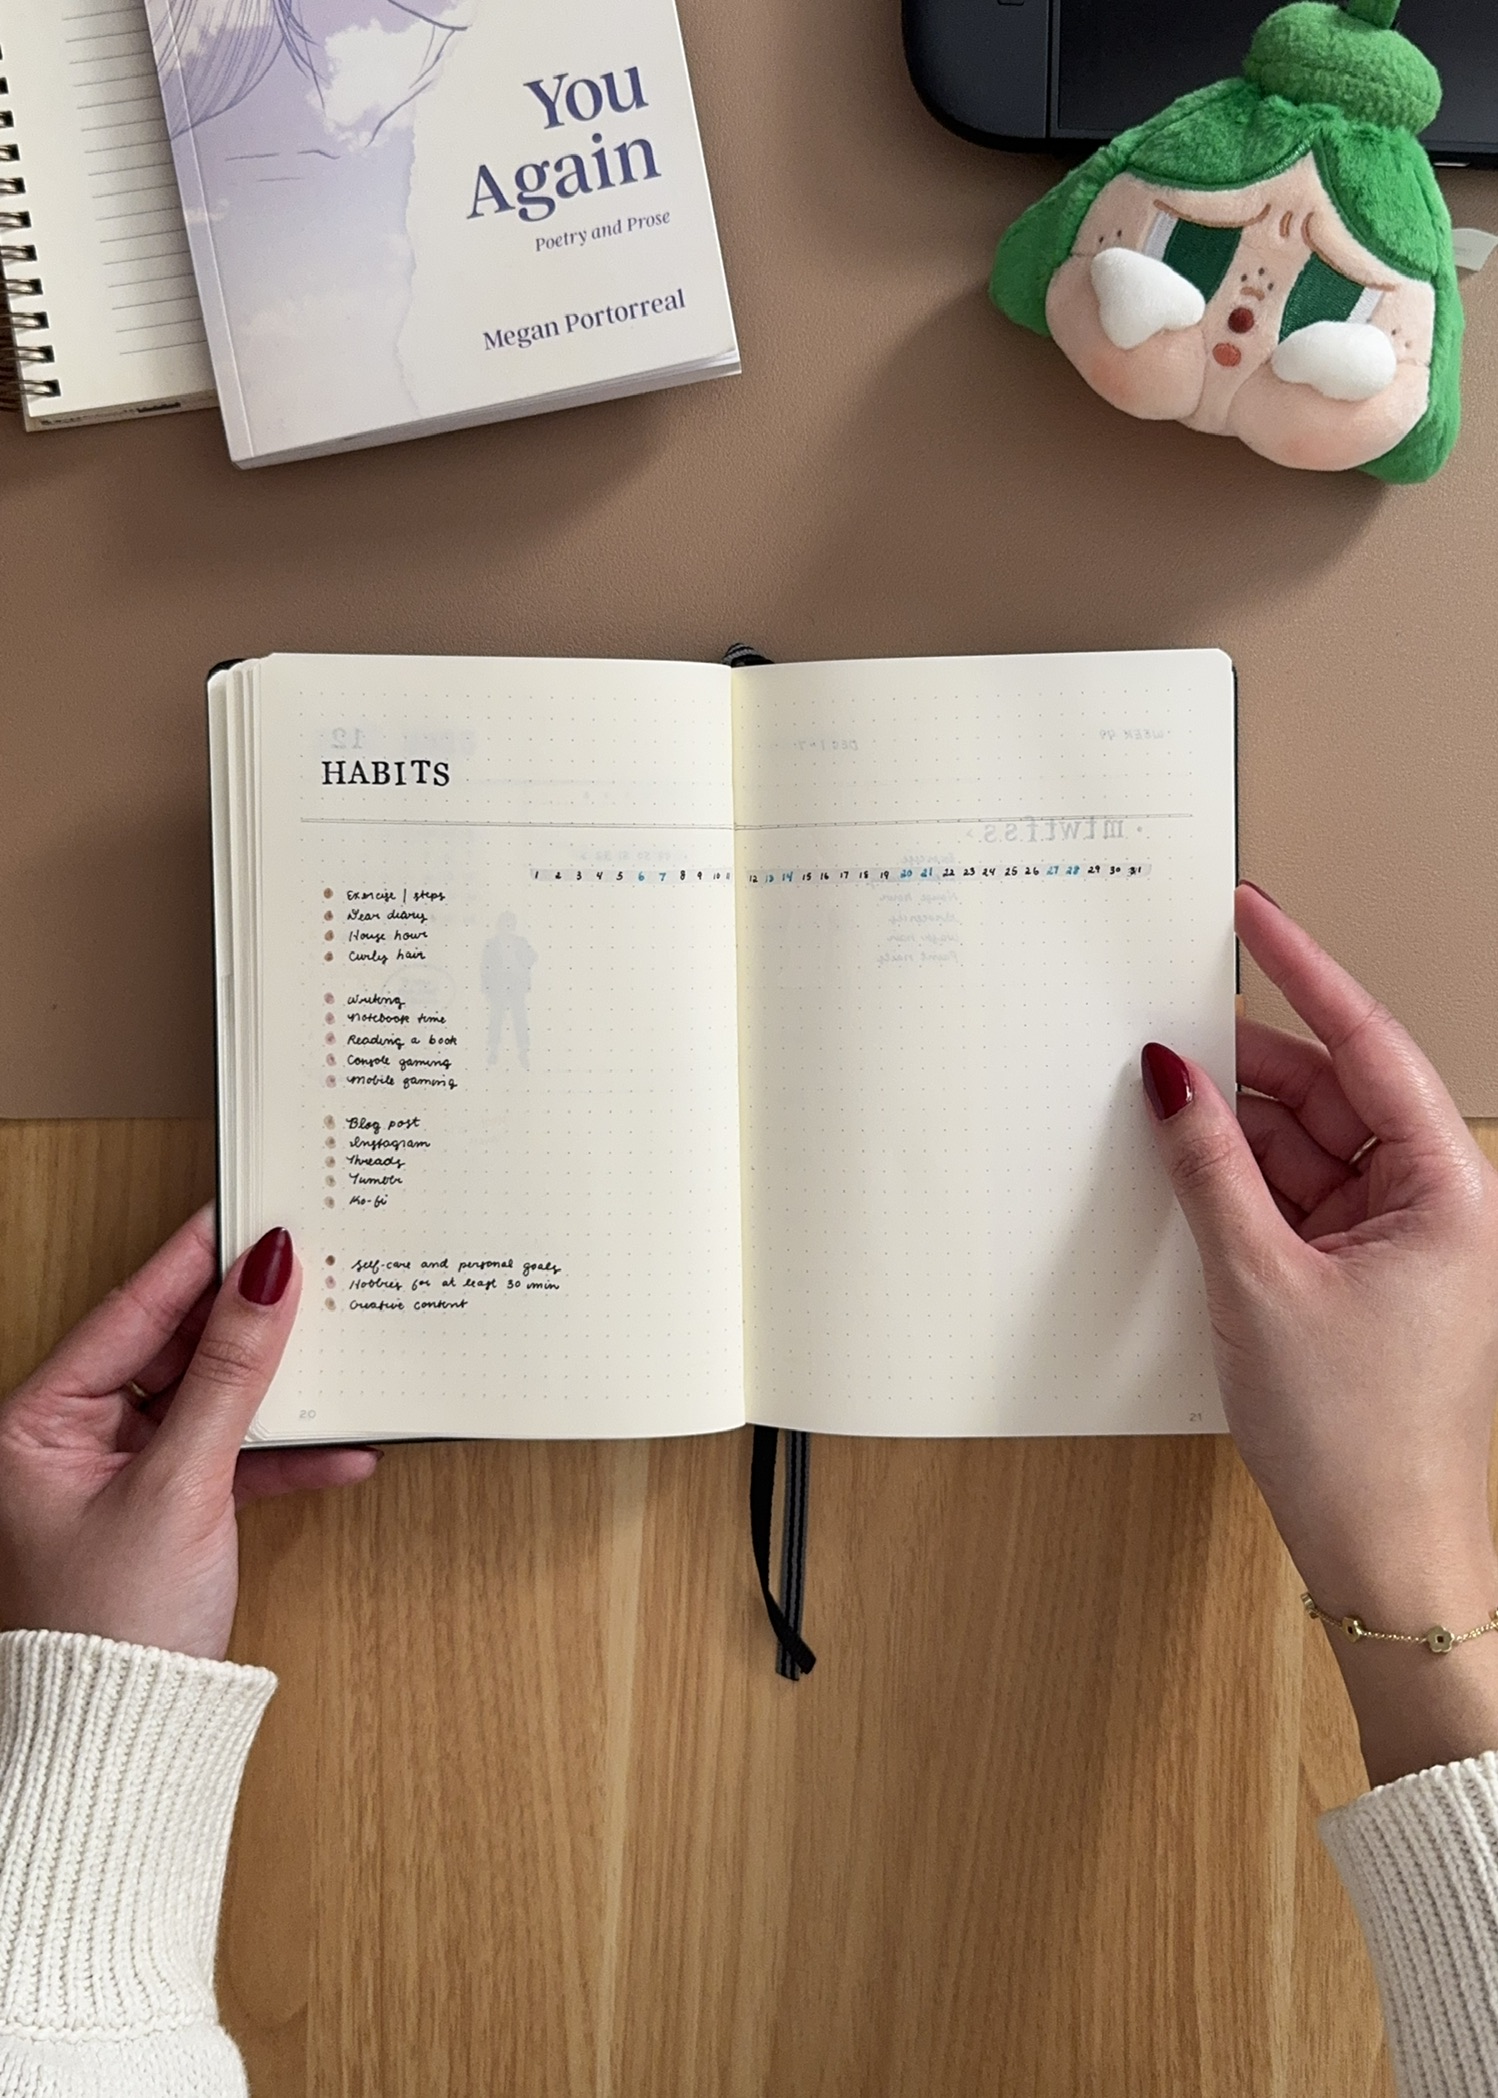
Habits. This is my habit, hobby, and content tracker. This is where I keep track of everything I want to make time for, so I can see at a glance how I did at the end of each month.
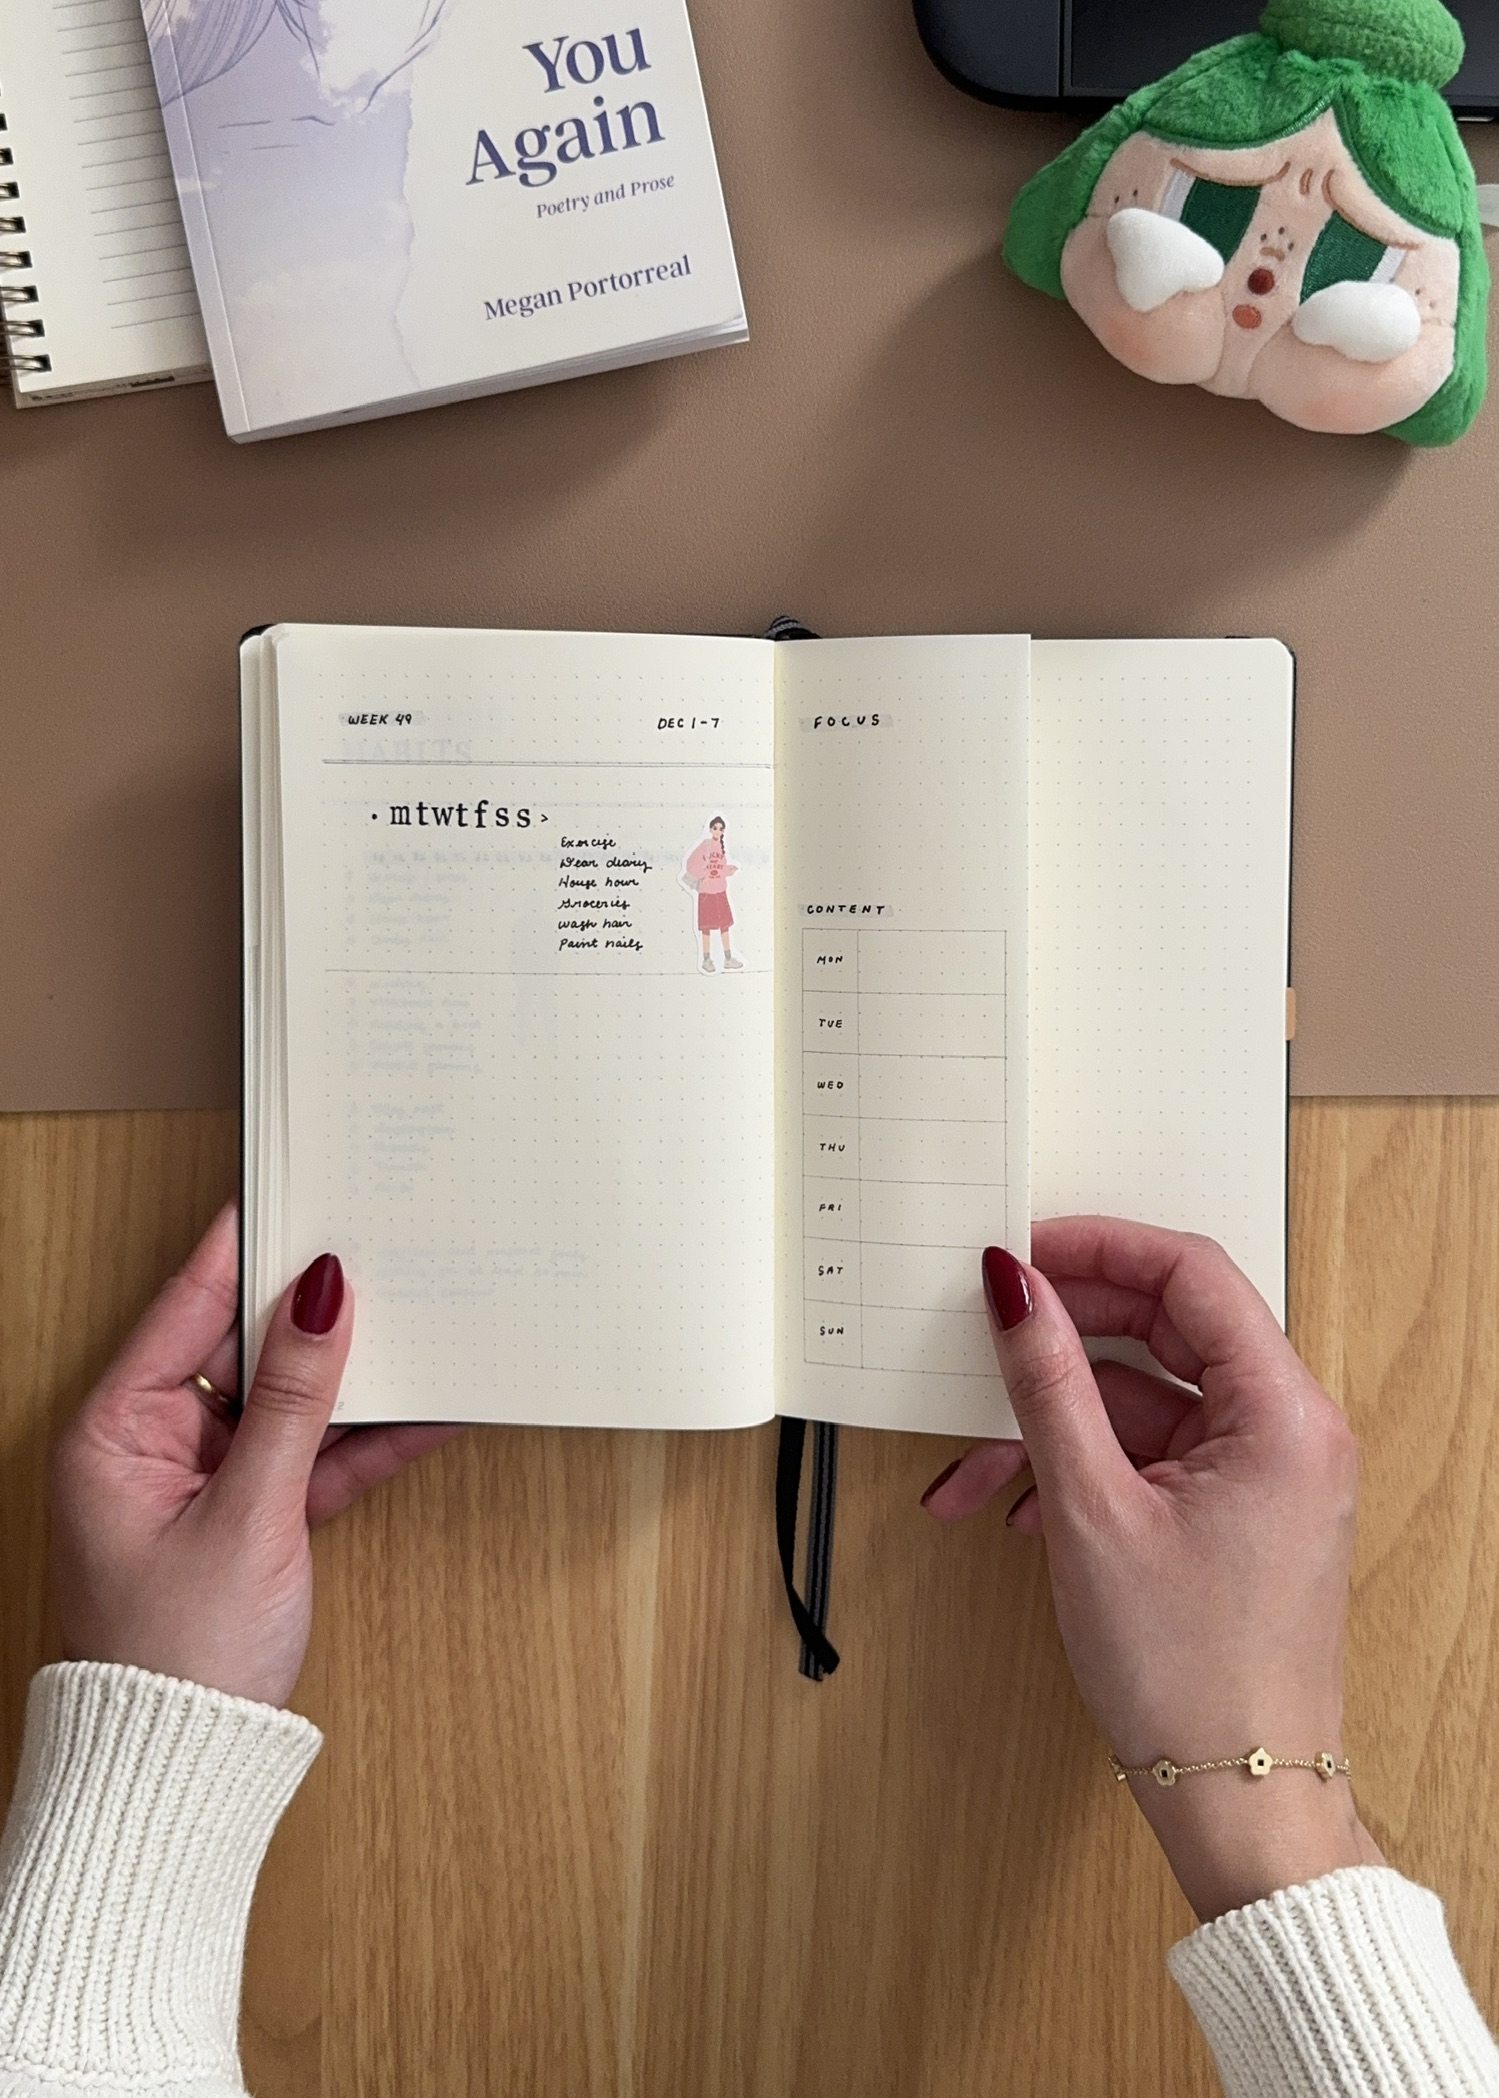
Weekly dashboard. This signals the beginning of the week, where I list my weekly habits and migrate tasks from the monthly dashboard. Then I have a folded page for the focus and content calendar. Conveniently, it also acts as a bookmark. After this, I use the rolling daily method to jot down the day’s tasks and notes. The pages are blank, so I pencil in a 4 cm column and plan as I go.
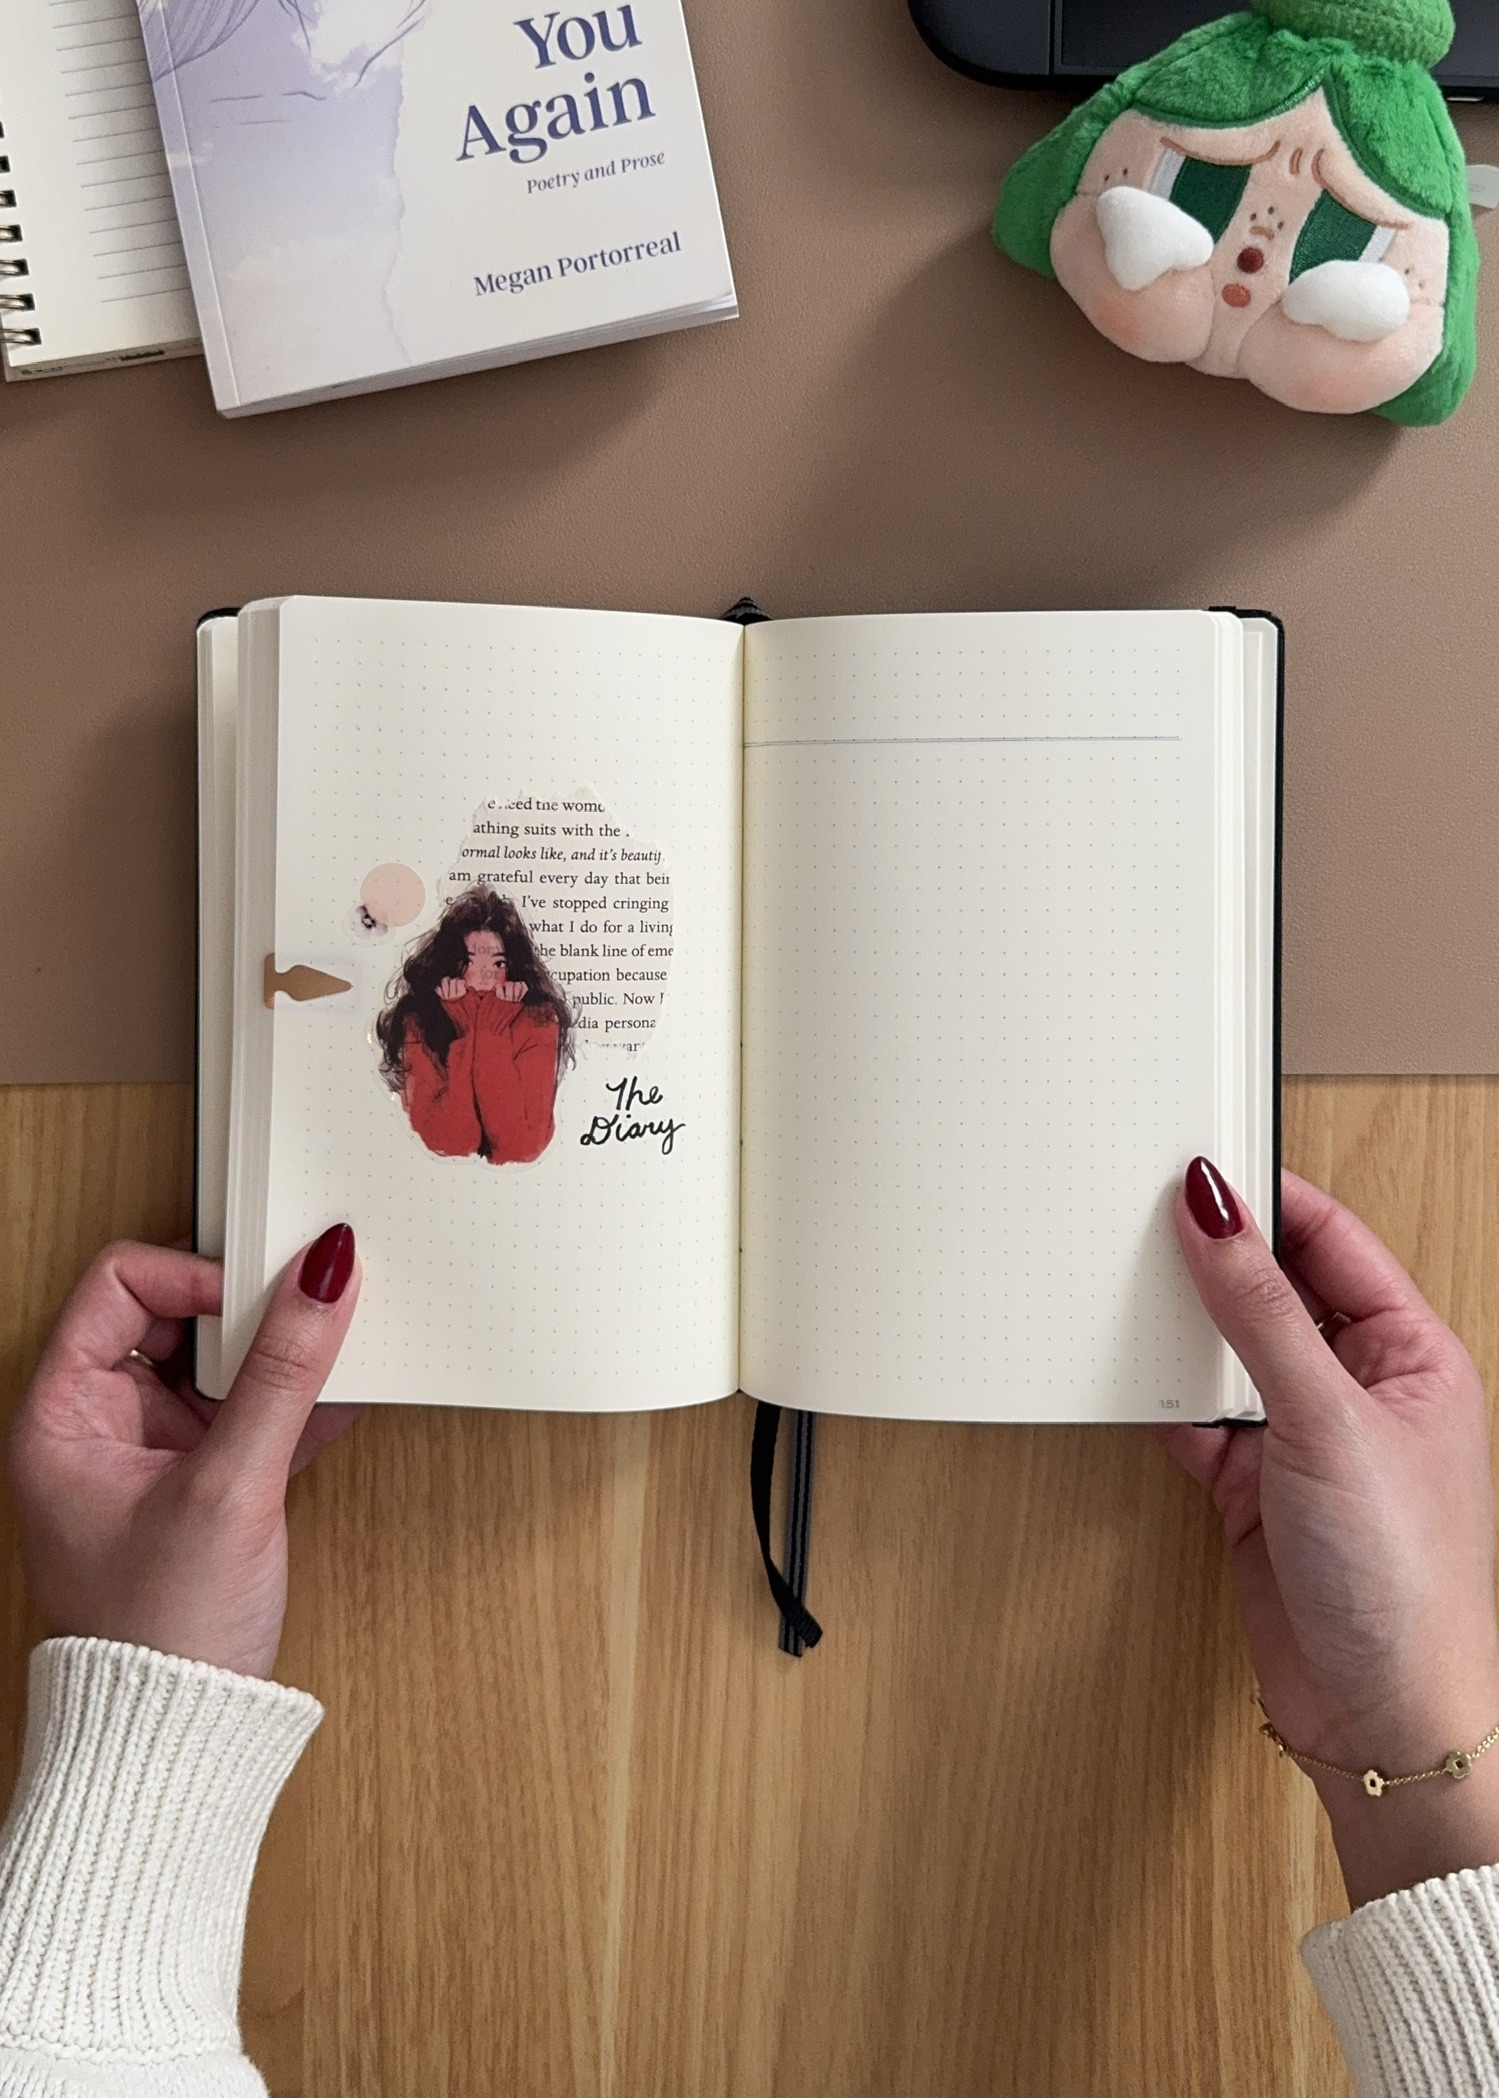
The diary. Finally, in the back half of the notebook is the diary. Here is where I do all my long-form journaling and memory keeping, separate from my to-do lists.
And that’s my winter bullet journal setup! If you have any questions, please let me know in the comments. Follow me on Threads, Instagram, and Ko-fi for more journaling posts in 2026, too.
*Minimal, meaning, I don’t paint, draw, or create elaborate planner-style spreads. I use the rolling daily bullet journal method and plot as I go. My notebook remains blank until I fill it in with what I need that day. And all I really use is a $4 pen, pencil, and stickers.